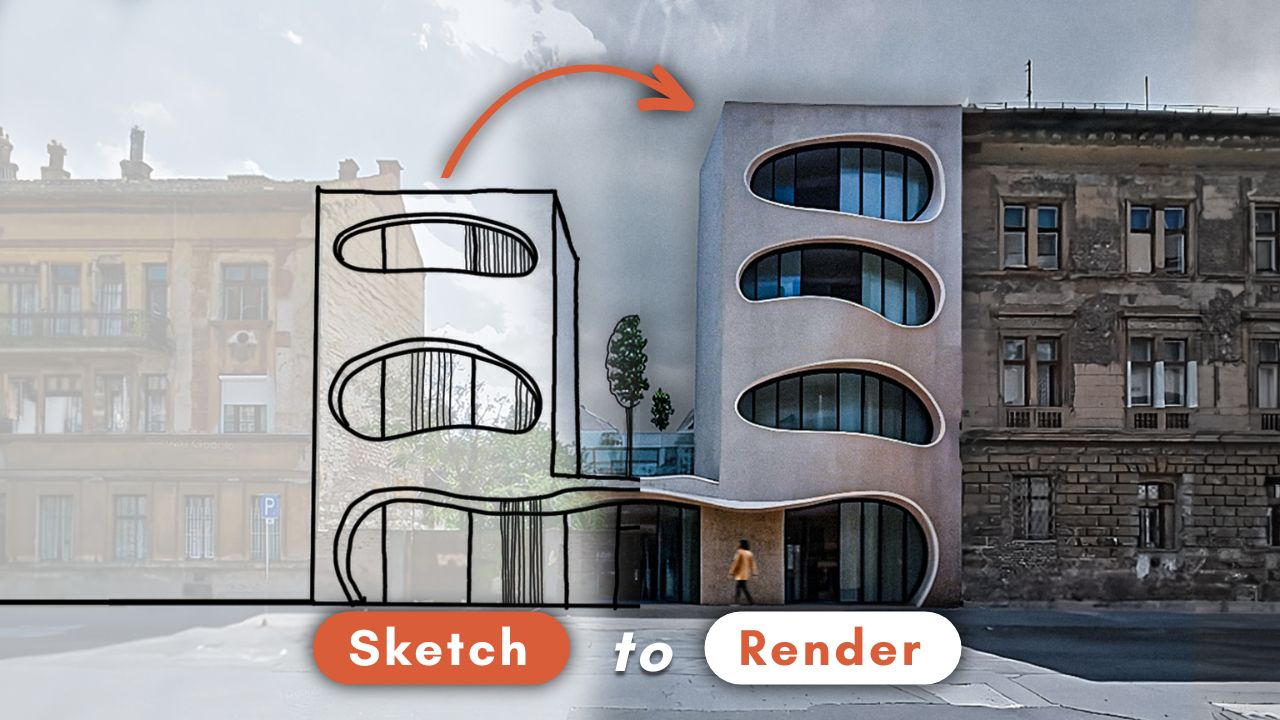
Can you sketch on top of your images and turn them into realistic views just with a couple of clicks?
Yes, you can.
Resources
- Realistic Vision V3.0
- Realistic Vision V2.0
- EpicRealism
- ControlNet Models
- Ultimate SD Upscale
- Install Stable Diffusion Locally (Quick Setup Guide)
Or you can sketch your ideas on a picture and turn it into something like this too.
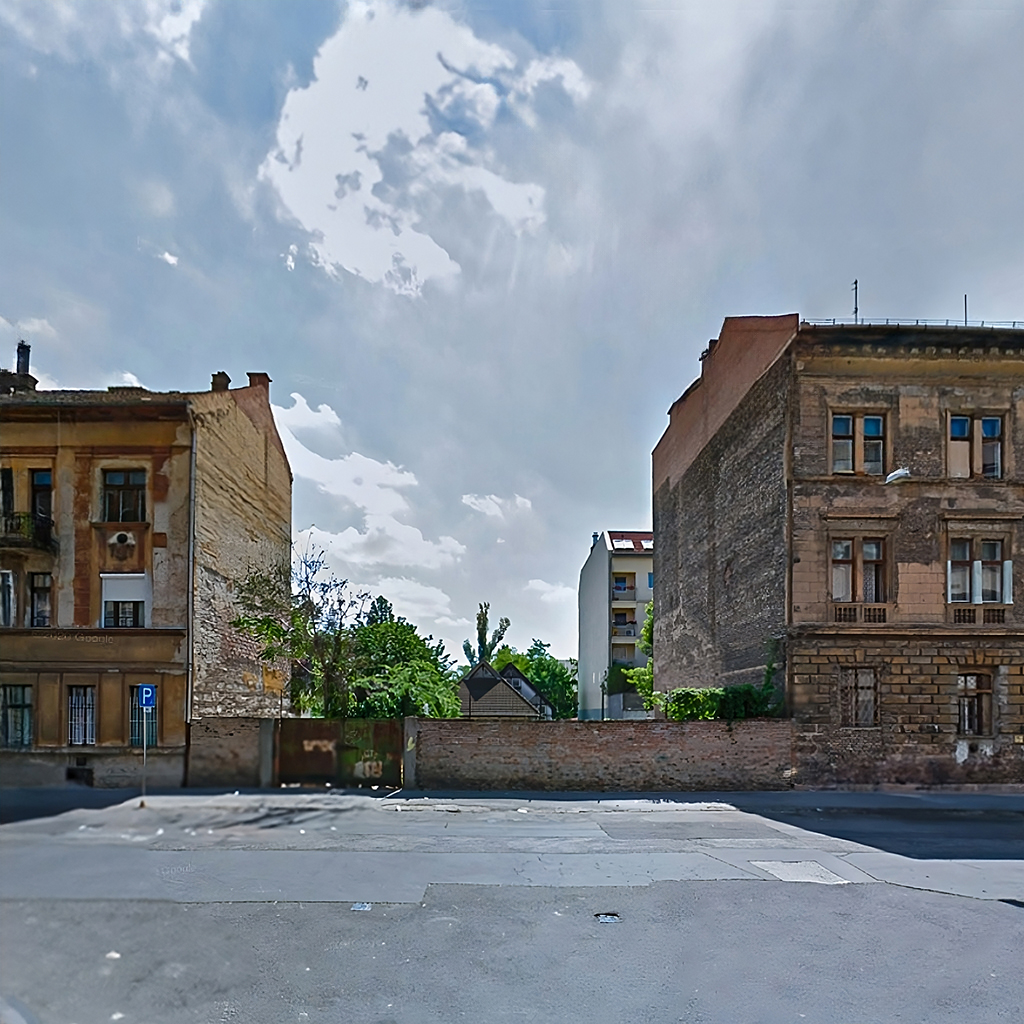
Let me show you how. I have created two simple design alternatives for this empty plot in the city on top of a screenshot I took from Google Maps. And secondly, I tried to add pieces of furniture to this empty apartment interior view with my amazing sketching skills.
First I have sketched some simple form ideas on top of this image. This workflow is not to replace any render engine or is ideal for creating final images for your project. But I think it’s a nice way to explore and show different alternatives in the beginning phases of the design. Or maybe create more loose sketches to generate ideas on top of it.
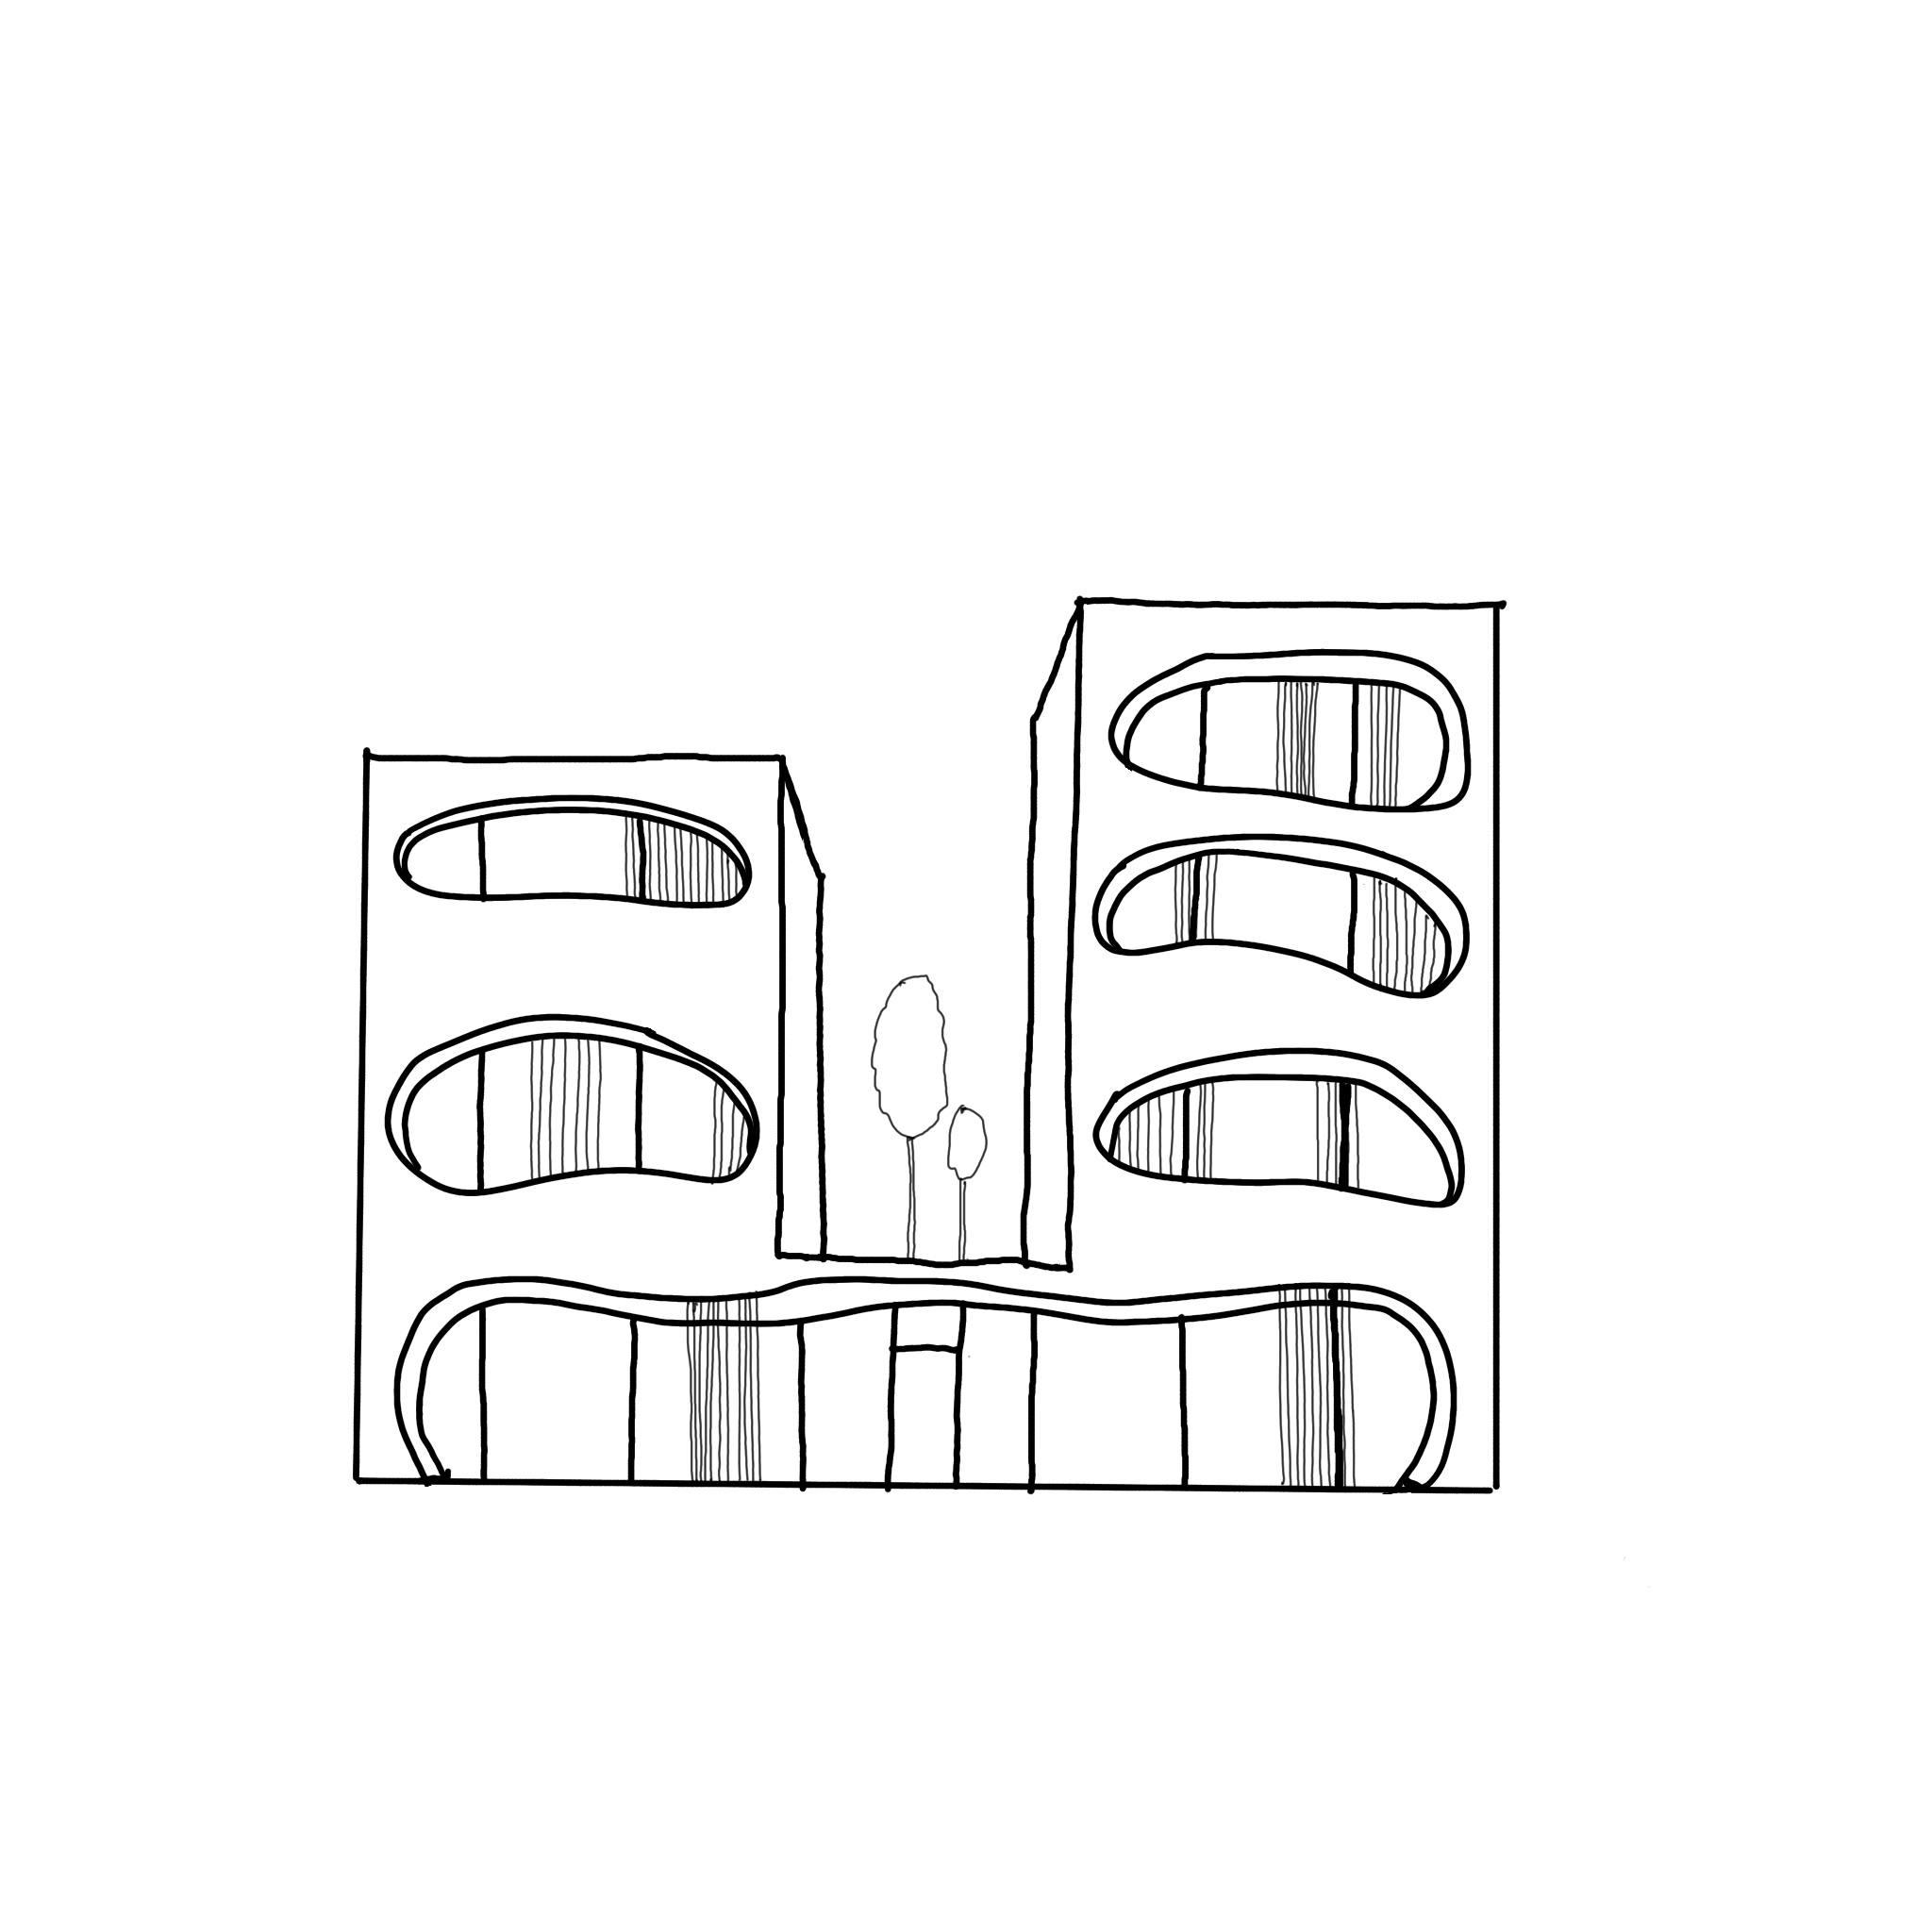
These are the two quick drawings I have. I wanted to keep them simple and didn’t add any shading or hatches to them because when you add a lot of things it gets confusing for AI.
I have used Stable Diffusion and ControlNet, of course. If you are new to Stable Diffusion, you can watch this video to learn more about it. And if you don’t have it installed I have placed a tutorial you can use.
Additional to the scribble model for ControlNet we need the inpaint model too, which is one of the new ones. You can download it from here together with all the other available models.
We need to use two Contolnet models at the same time, if you see only of them available like this, you can change it by going to Settings > ControlNet > and changing the Multi-ControlNet slider.
After you change it click to Apply settings and ReloadUI.

1st Exterior View
I will place the base image into the first unit and choose the inpaint option from here, it will automatically change the preprocessor and the model to inpaint options. For the preprocessor, I got better results with the +lama version but feel free to experiment with all of them. And most importantly we need to mask out the areas we want to edit in the image but before I do that I will upload my sketch first.
I will click on the second ControlNet unit, drop my sketch and choose the scribble. We don’t need any preprocessor because it’s already a sketch. Don’t forget to click enable. And now I know approximately how much I need to mask out to insert my sketch here. We can choose the brush here and start painting, if you want you can change the brush size here.
There is a new update for the Realistic Vision model as v3. I have experimenting with it for the last couple of days, I want to say it’s better but I couldn’t see much difference between 2nd and 3rd versions. Let me know what you think about it if you tried it yourself.
I have used Realistic Vision v2 and 3 together with the Epicrealism model and choose the best result between them.

The prompt will only affect the sketch so you can describe your design in the prompt as materials, forms, colors, etc. I have shared all of the prompts in the resources. You can find them in the down below. But mostly I used pretty simple prompts just to describe the overall materials.
I have generated both 512×512 and 1024×1024, it is up to you but of course, you get better results with larger resolution. Yet, you can always upscale them later.
But I believe it is more important to have the same image size as the controlnet input as your generation size. So my base images in ControlNet were 1024 too.
Here are some of my favorite ones for this sketch. For most of them, it could understand the opening and the terrace in the middle part. It is a bit hard to create a depth feeling just with the scribble mode.
Of course, we can use the depth map but we need to add a bit more steps to the process and at least create a simple base model and place it with the same view.
Instead of that, for a design iteration, we can get something nice with enough trials. That’s the most important element in this workflow I think, passions. Because you may need to adjust settings, change your prompt and create hundreds of generations to have an image you actually like or can use.
2nd Exterior View
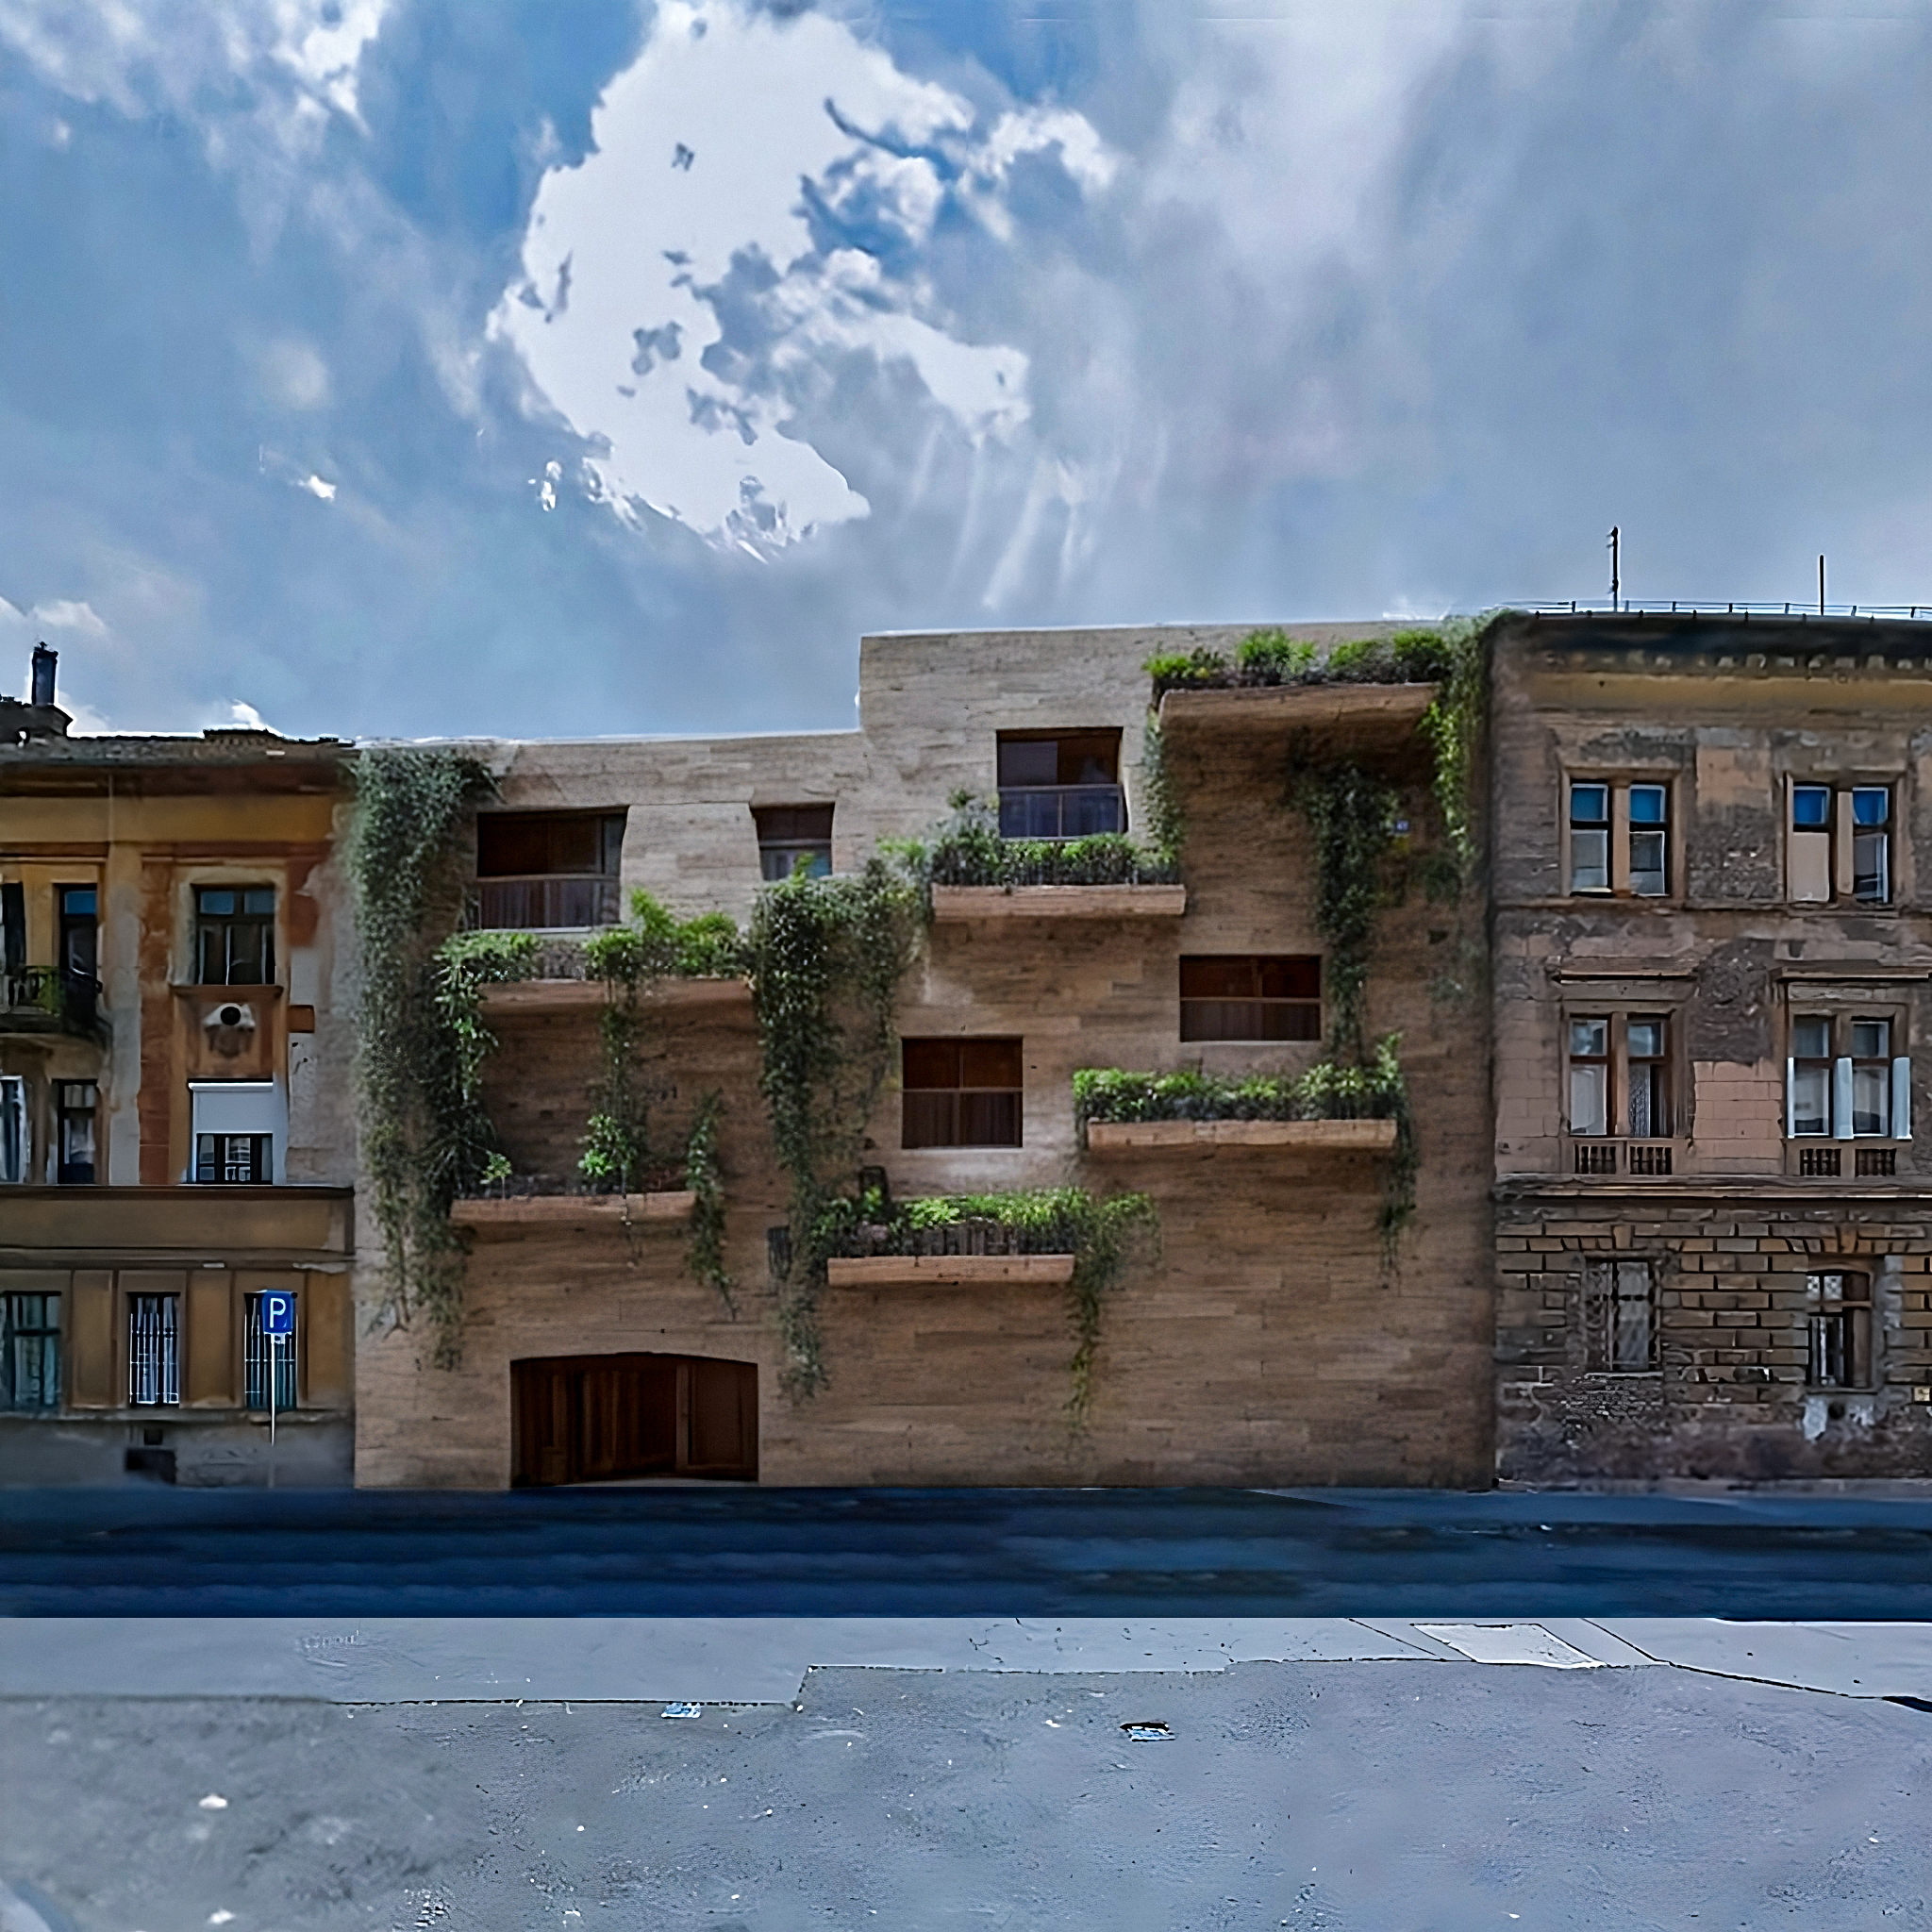
Here is my second sketch for the same location, for this option, I only added some platforms, openings, and lots of plants on the facade.
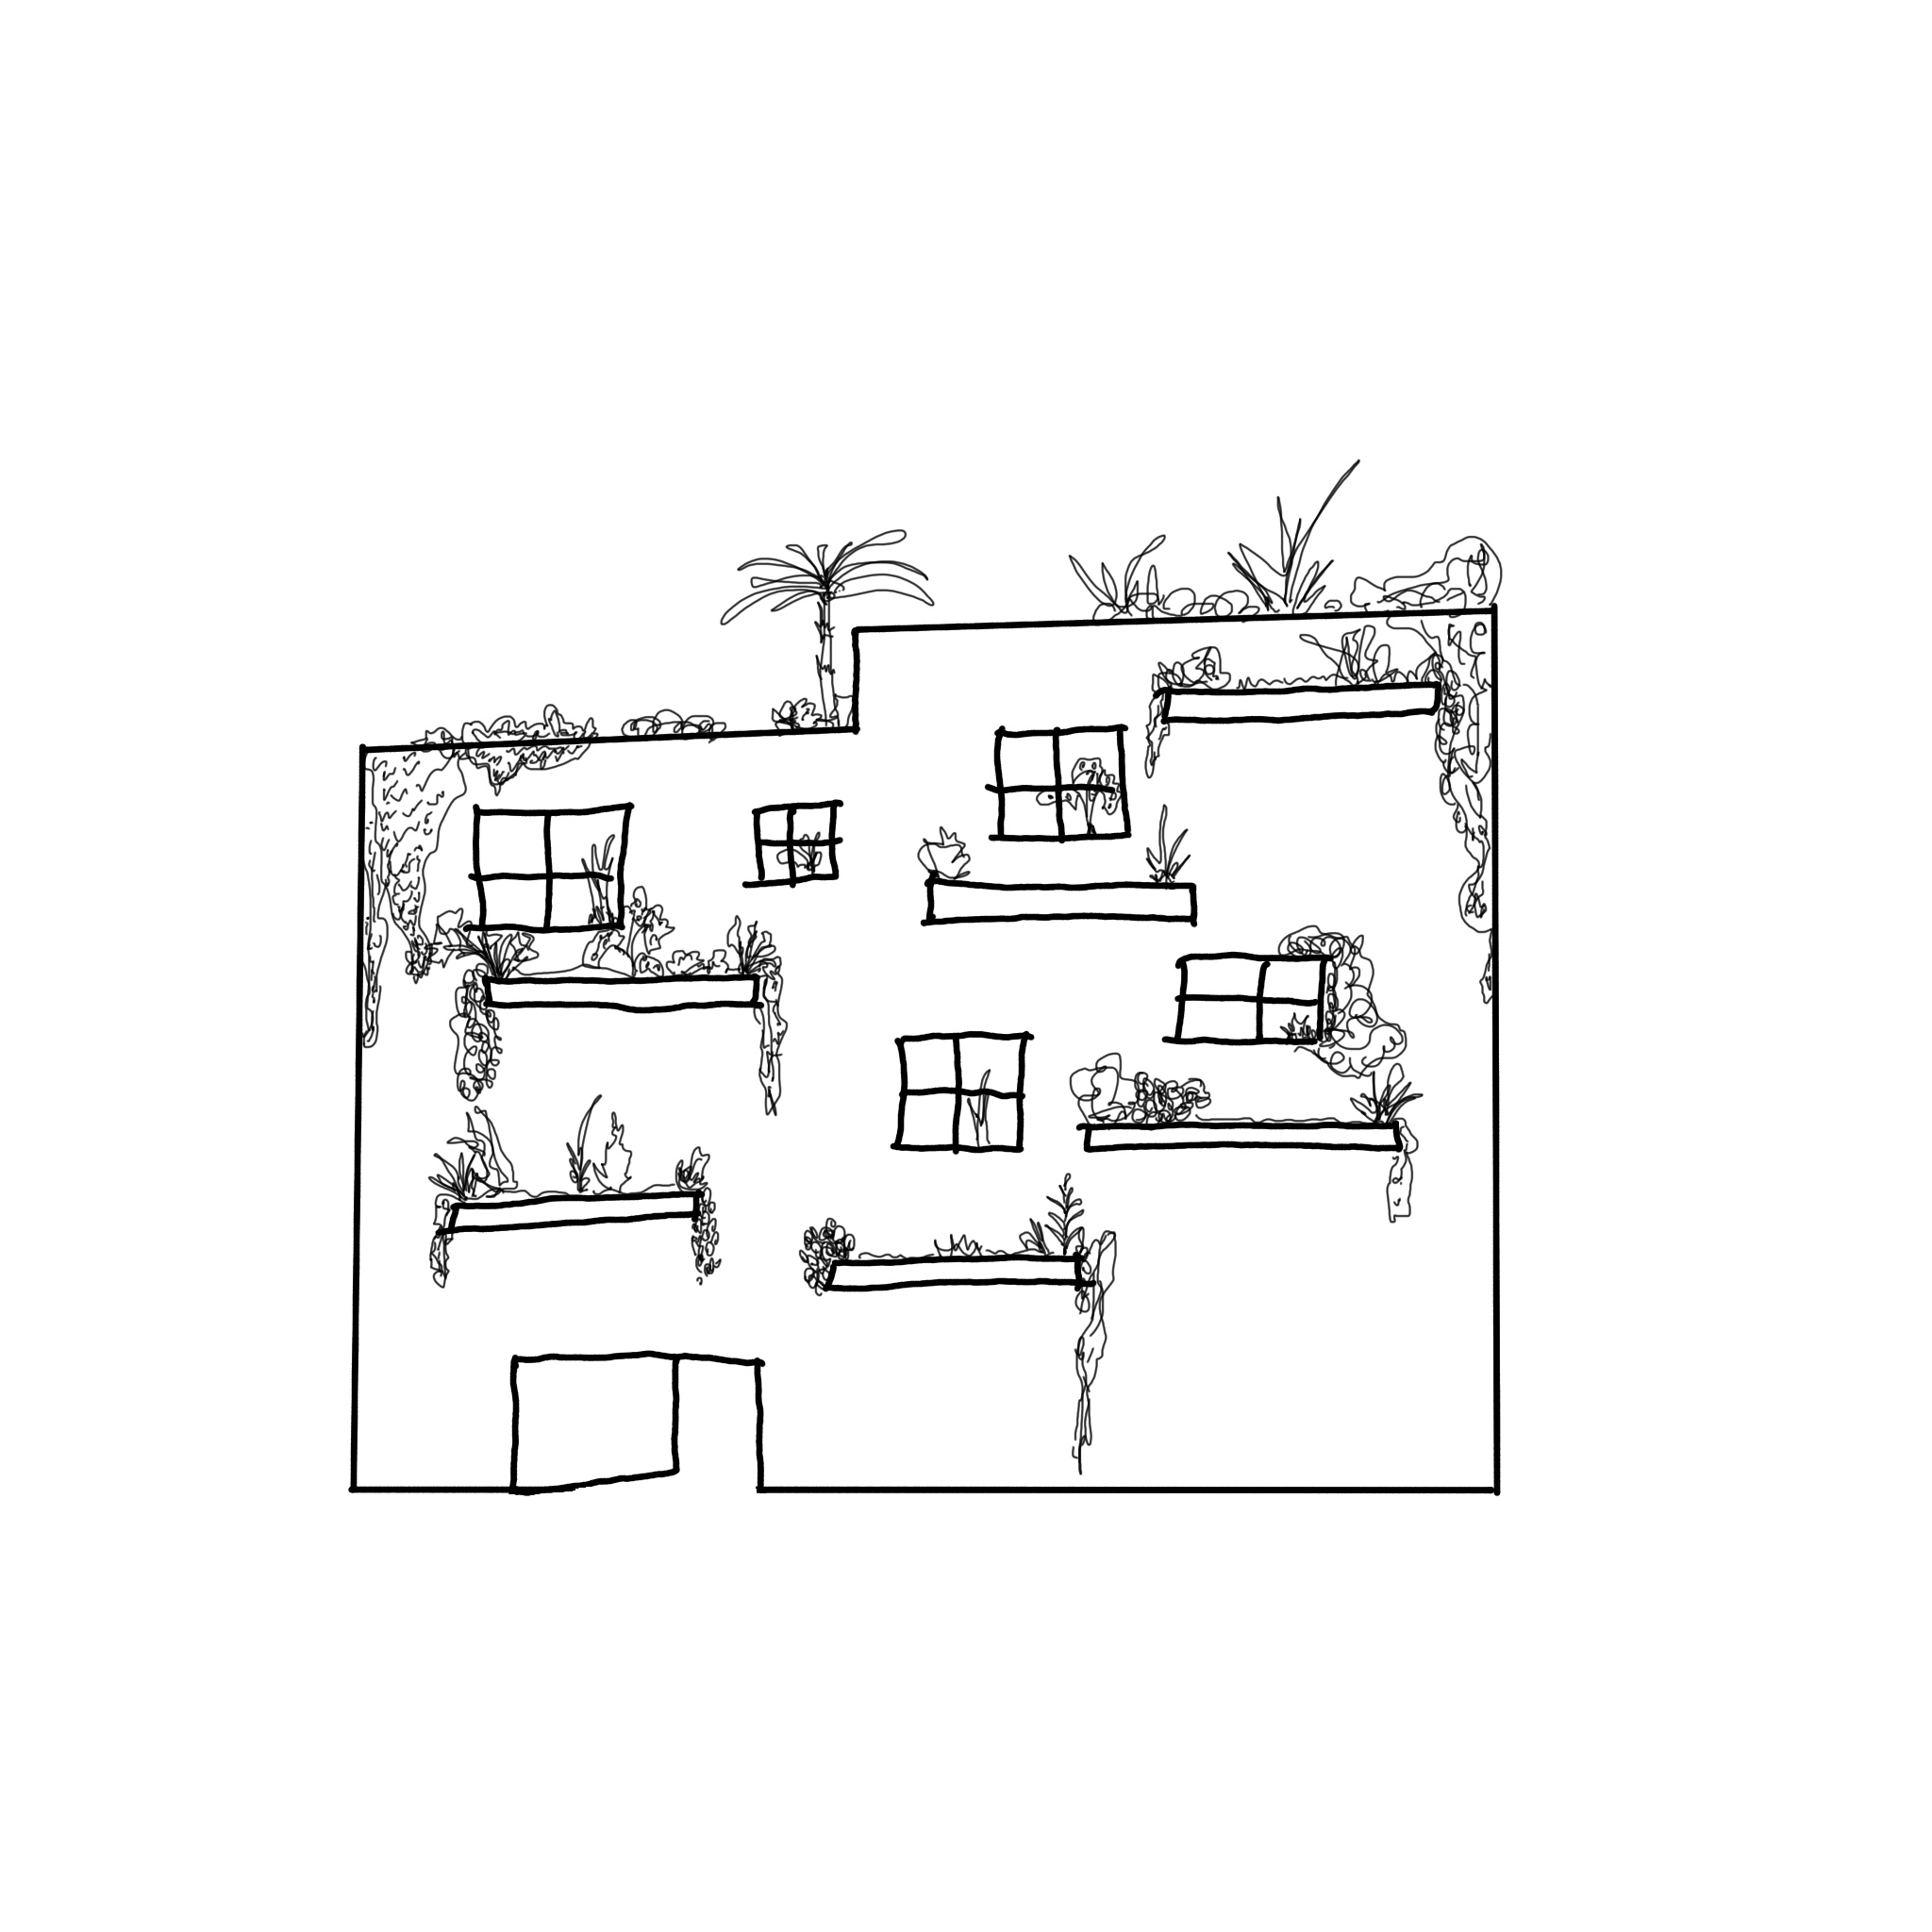
I used a lower weight factor for the sketch so it will more or less use the same volume as my sketch but it can add more on its own.
And again after lots of generations, here are some of the nicer ones.
Interior View
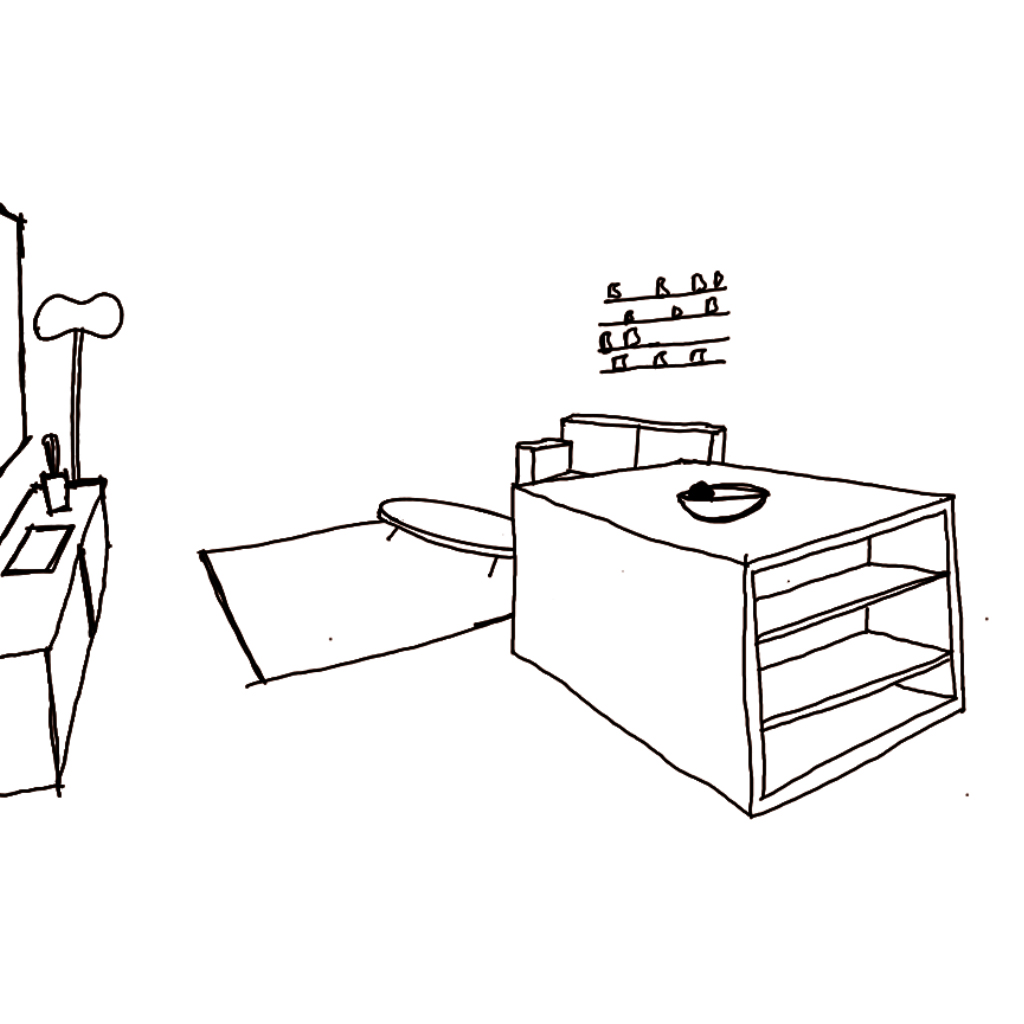
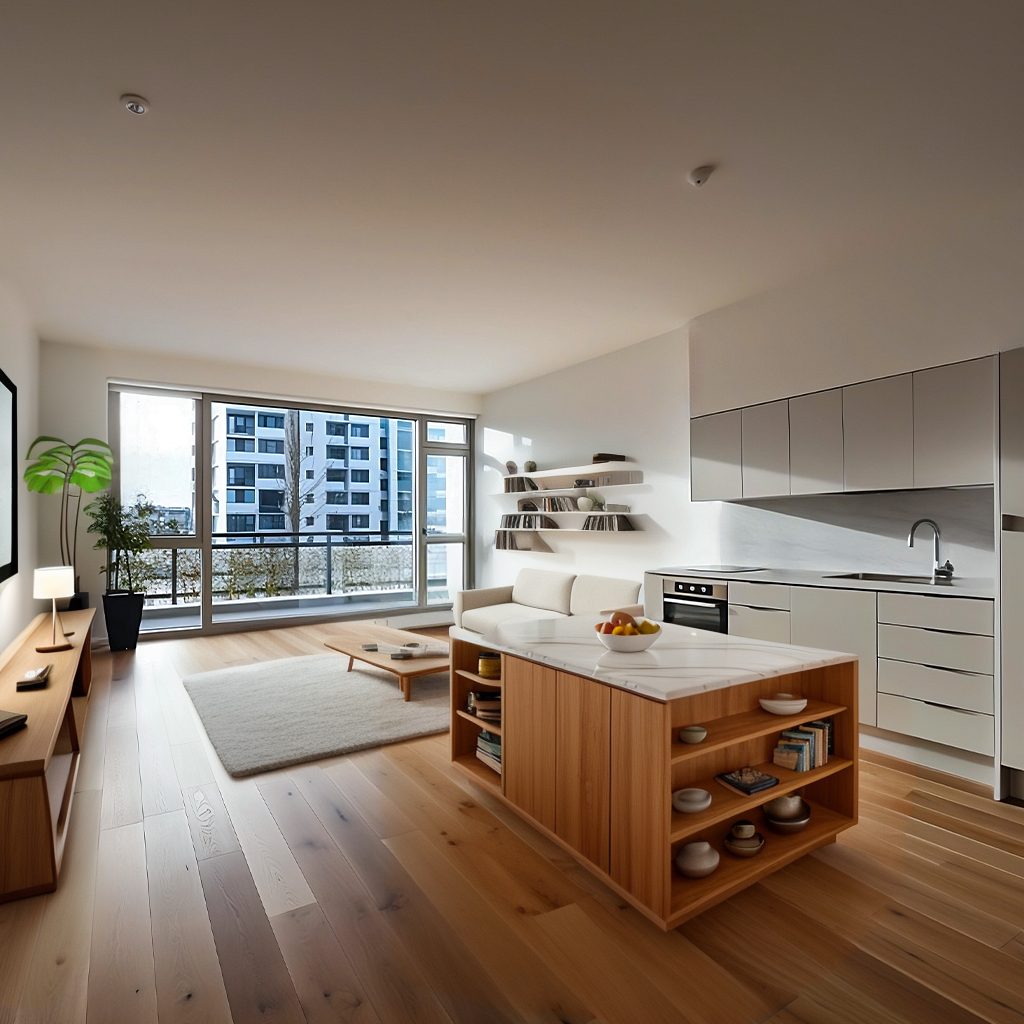
Later, I wanted to test it out for an interior view.
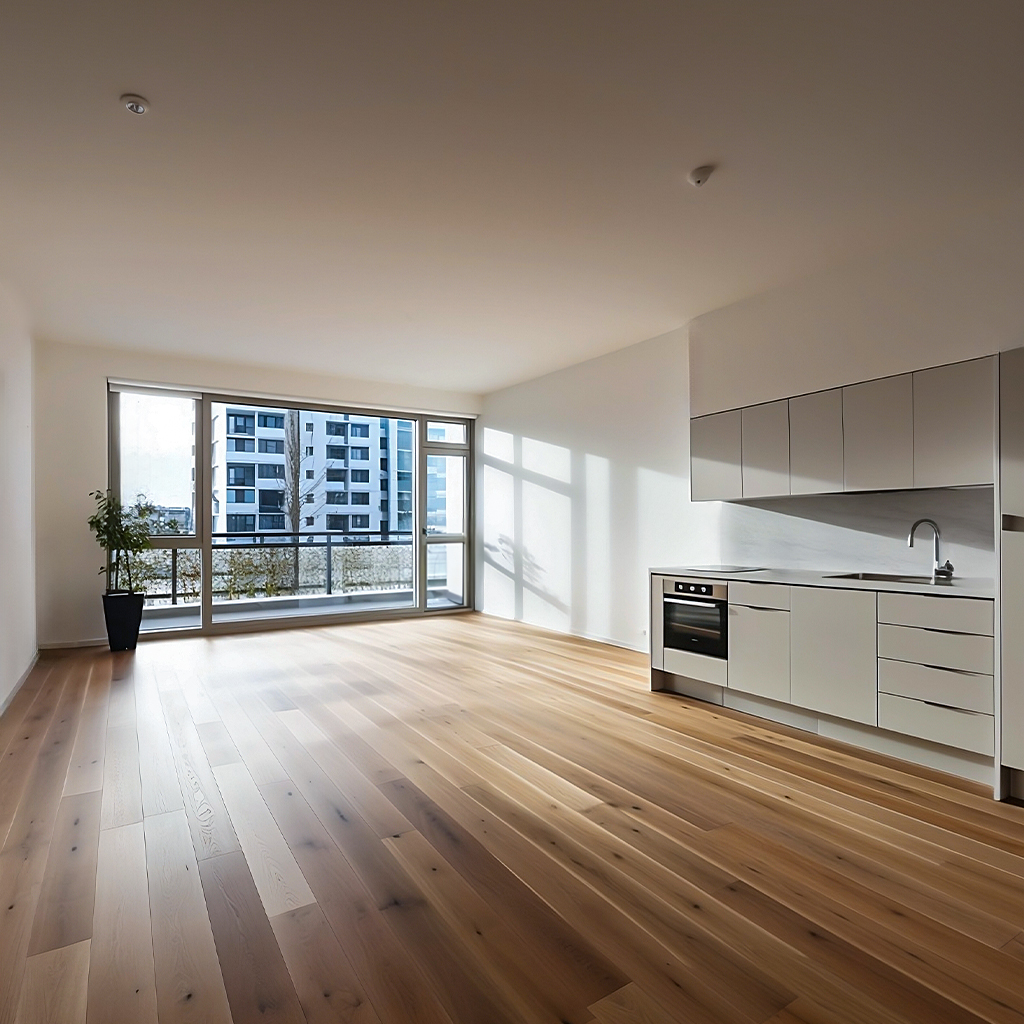
For a scenario as, you have the images of an empty apartment and want to create different furnishing alternatives or want to see how it would look as furnished. You can simply create a basic sketch on top of your image and turn it into a realistic view.
Your sketch can be amazing like mine, it can be detailed or more simplified. All of the options would more or less work.
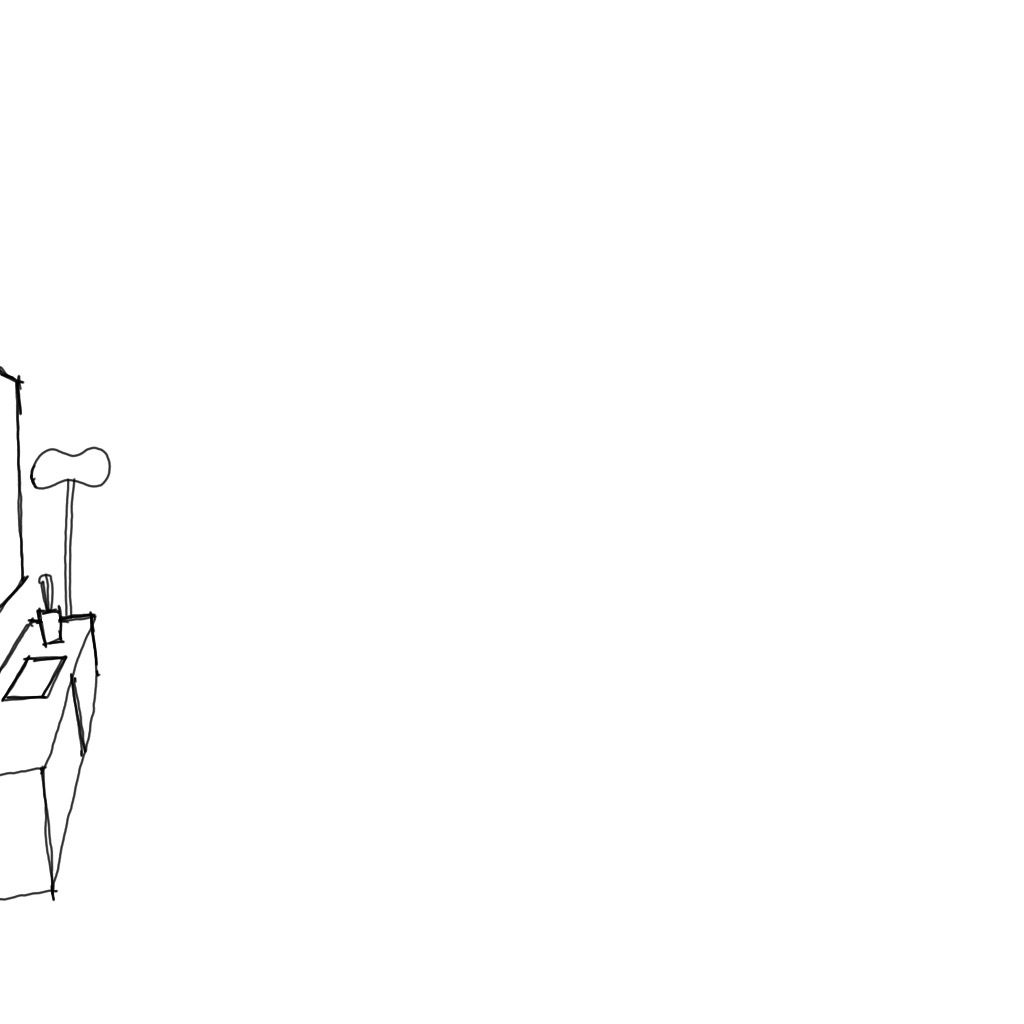
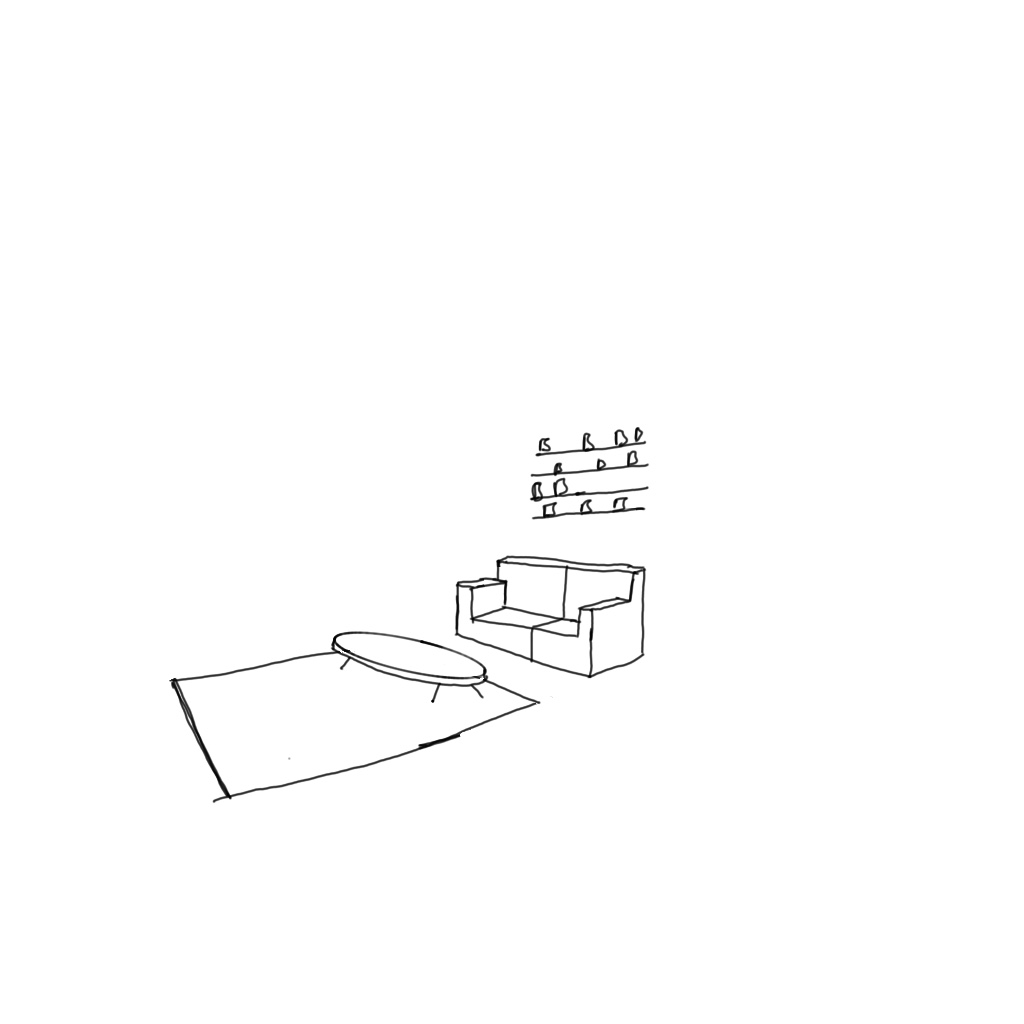
I added a sofa with a middle table and some shelves on the wall, a tv table on the left part, and a kitchen island in the middle.
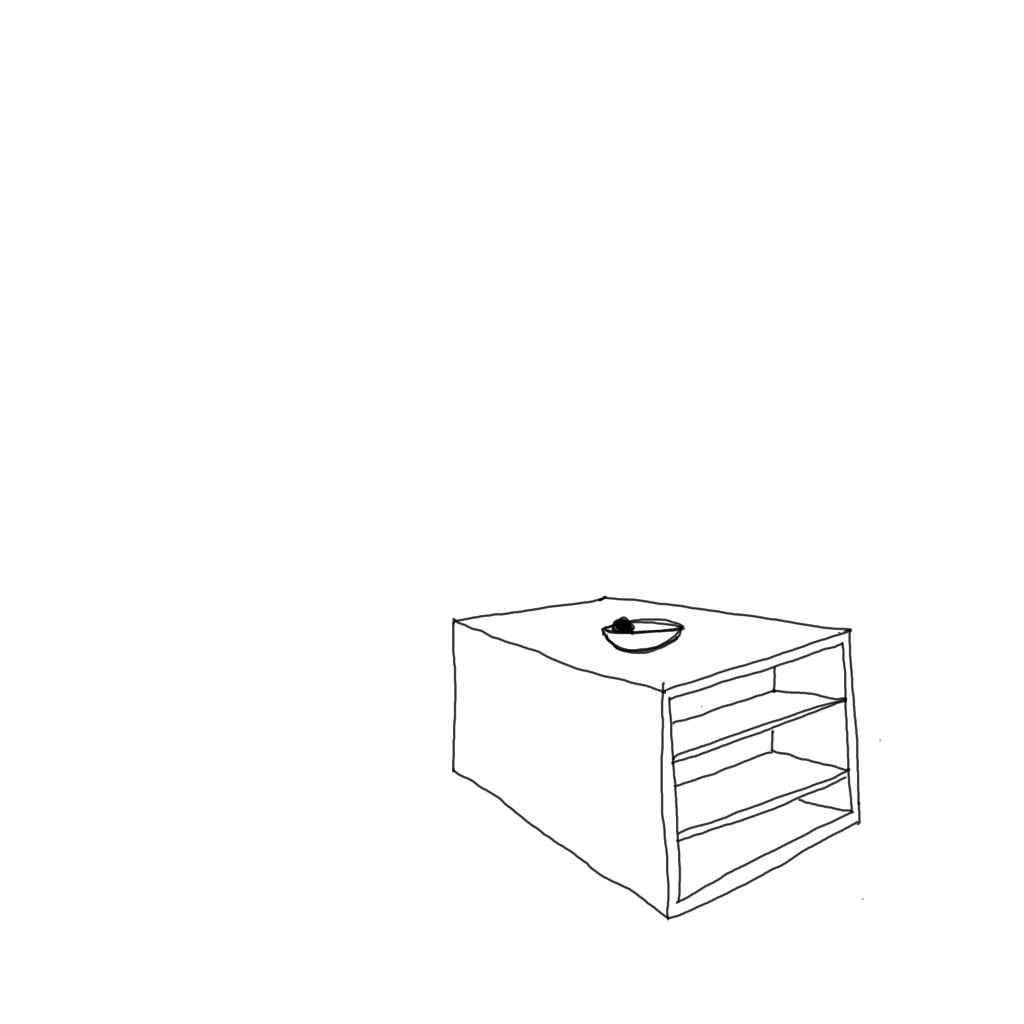
First, I added everything at once and generated some options but it gets mixed up because some elements are overlapping and I want to describe different objects separately in more detail so it will be more accurate. That’s why I divided my sketch into 3 parts.
I generated the sofa part first, the tv table second and lastly I added the island.
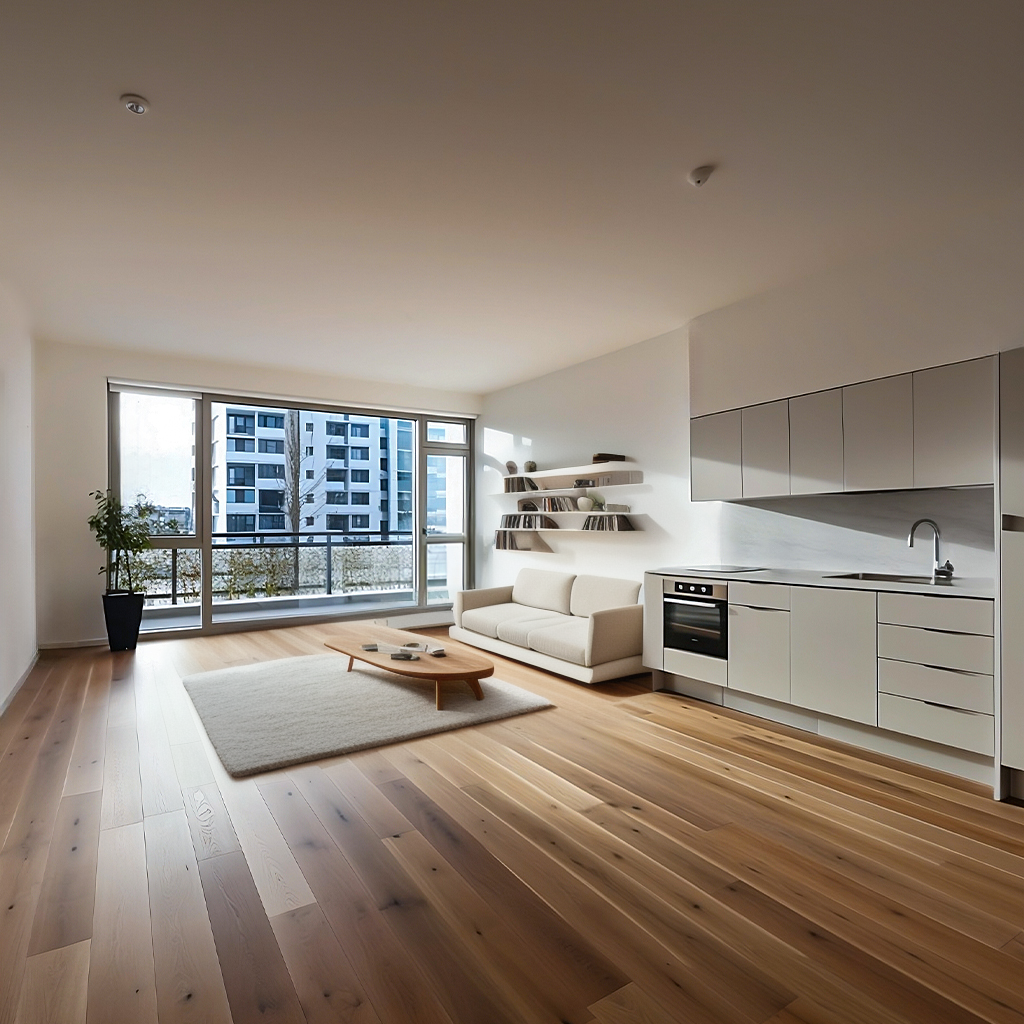
And of course, after each section, I changed my base image with the newly generated version.
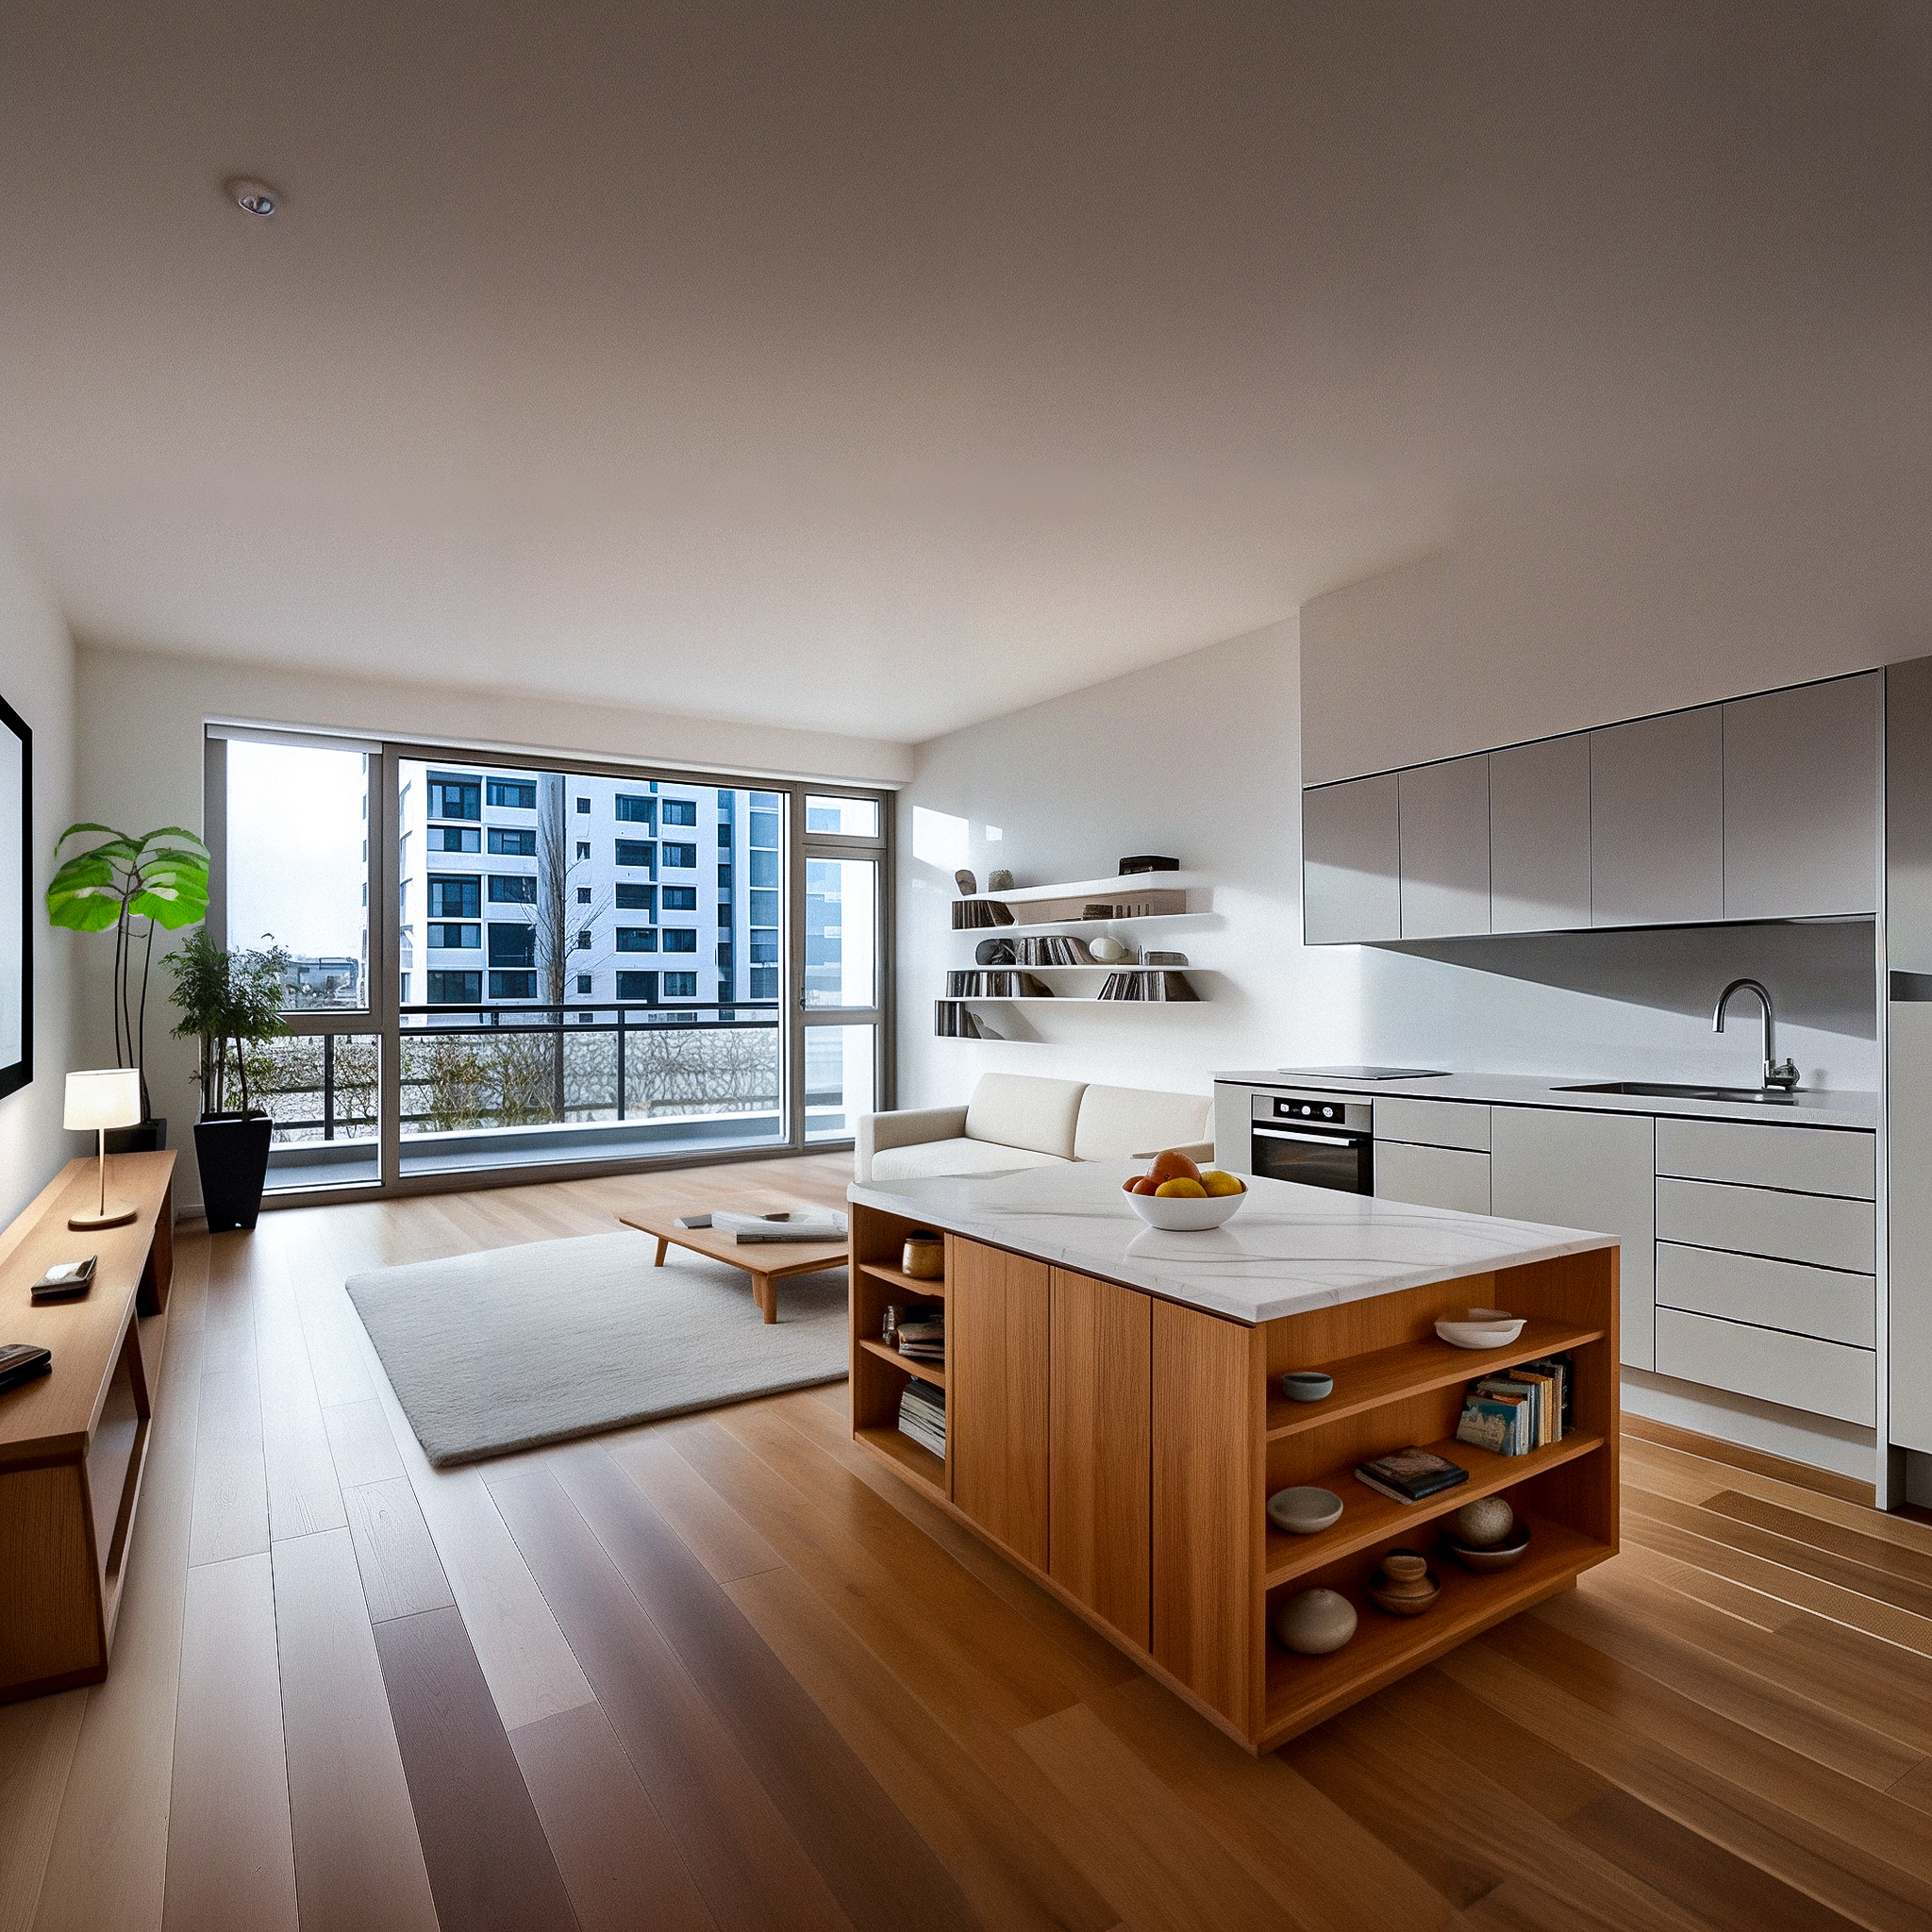
RAW photo of a interior view of a modern living room, wooden kitchen island, white soft sofa, shelf with books and plants, orange carpet, curved lamp, tv table with plant and tv on the wall, 8k uhd, dslr, soft lighting, high quality, film grain, Fujifilm XT3lowres, text, error, cropped, worst quality, low quality, jpeg artifacts, ugly, duplicate, morbid, mutilated, out of frame, extra fingers, mutated hands, poorly drawn hands, poorly drawn face, mutation, deformed, blurry, dehydrated, bad anatomy, bad proportions, extra limbs, cloned face, disfigured, gross proportions, malformed limbs, missing arms, missing legs, extra arms, extra legs, fused fingers, too many fingers, long neck, username, watermark, signatureUltimate SD Upscale
I have upscaled all of the final images by 4 times with this amazing Ultimate SD Upscale extension. You can add it to your Automatic1111 from here using the GitHub URL. You can find the link in the resources.
After you install it upload the image you want to upscale to the image-to-image tab, also to ControlNet, and choose the tile option. You can use a denoising strength of around 0.1-0.15.
Choose the Ultimate SD Upscale from the Script tab and I want to upscale it 4 times so I choose the “scale from image size” option and change it to 4.
Normally I am not able to use the upscale function easily on my computer because of the low VRAM but with this one, you can divide your image into 512 by 512 squares and it will generate each grid individually and then merge them to create upscaled final image. So you actually don’t need much VRAM to upscale, just it will take a bit longer to generate all the pieces.
And here are some of the generations for each part and the final version.
In some parts, if you look closely you can realize the masked areas and the border between them. And I feel like unmasked areas become a bit more blurred out and lost their textures compare to the original version.
I hope you like this workflow, please let me know what you think about it.
Do you think it can be actually useful in your practice or is it just cool but probably you won’t ever use it?
Have a great day and see you in the next one!


 Just occasional emails with great value!)