Resources
- Stable Diffusion (Automatic1111)
- ControlNet
- epicRealism Checkpoint
- Horster Grasshopper Plugin
- PikaLabs
- Runway
- 3D Model
Now we can create realistic images for our projects with AI, but can we create a walkthrough animation, too? I wanted to try and see if it is possible to create a short animation for a project using Stable Diffusion.
Because I feel like the whole visualization industry is moving more toward animations, interactive views, or VR presentations.
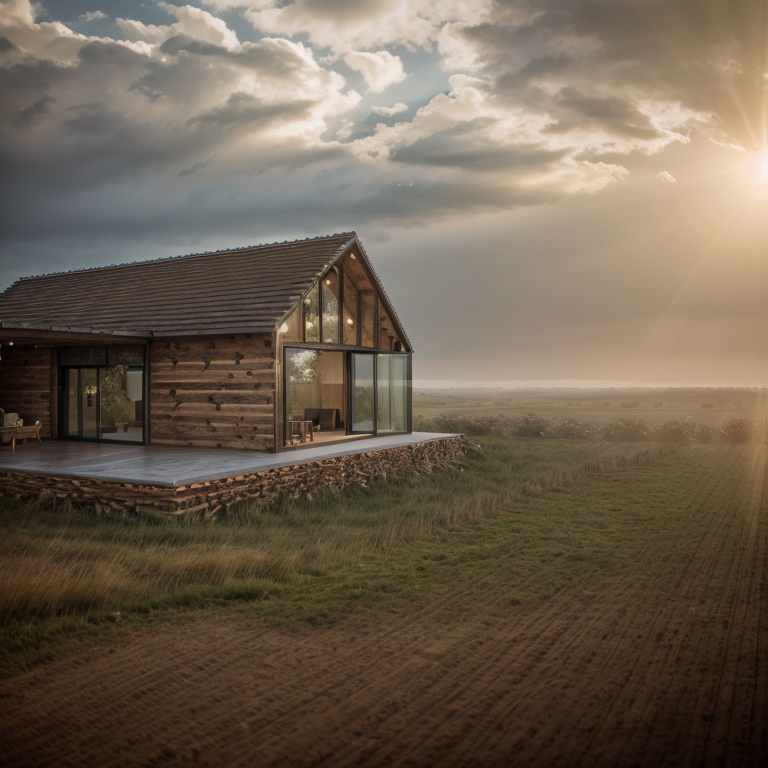
So let’s see if we can create a walktrough view for a simple country house. Generative AI models are more limited to 2D static images at the moment but developments for 3D and videos are moving super fast. There are already a couple of great tools that you can use to transform an image into a short animated version like this.
But it’s not quite yet possible to achieve what I want to create here. So I will follow a more manual method with ControlNet. All of the resources are available in the link in the video description.
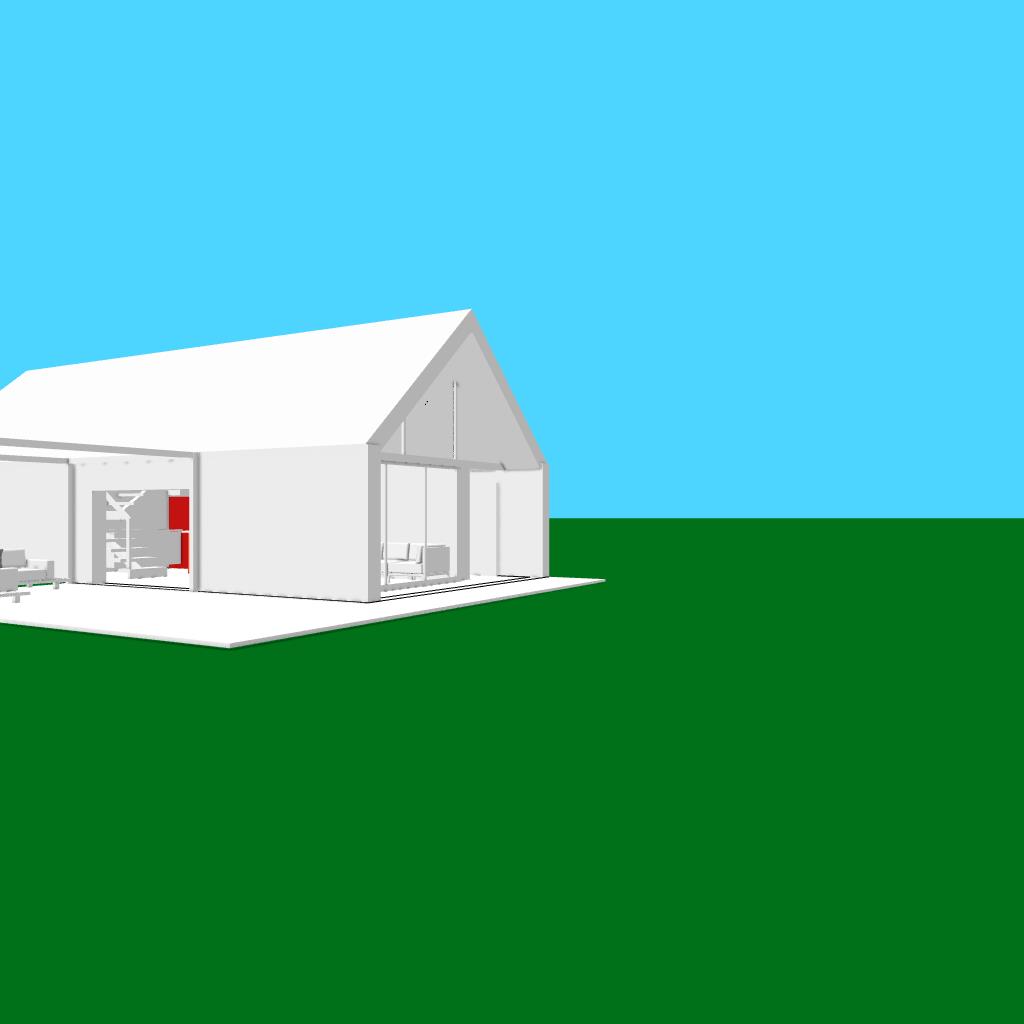
I will use this conceptual 3D model for this project. Firstly, I need to decide the path I want to move on. I imagined a scenario as starting somewhere here with an exterior view and moving slowly to the entrance, turning around the kitchen island, and finishing with the living room and the view outside.
There is an animation command directly inside Rhino too but I will use the Horster Camera Plugin in Grasshopper for better control.
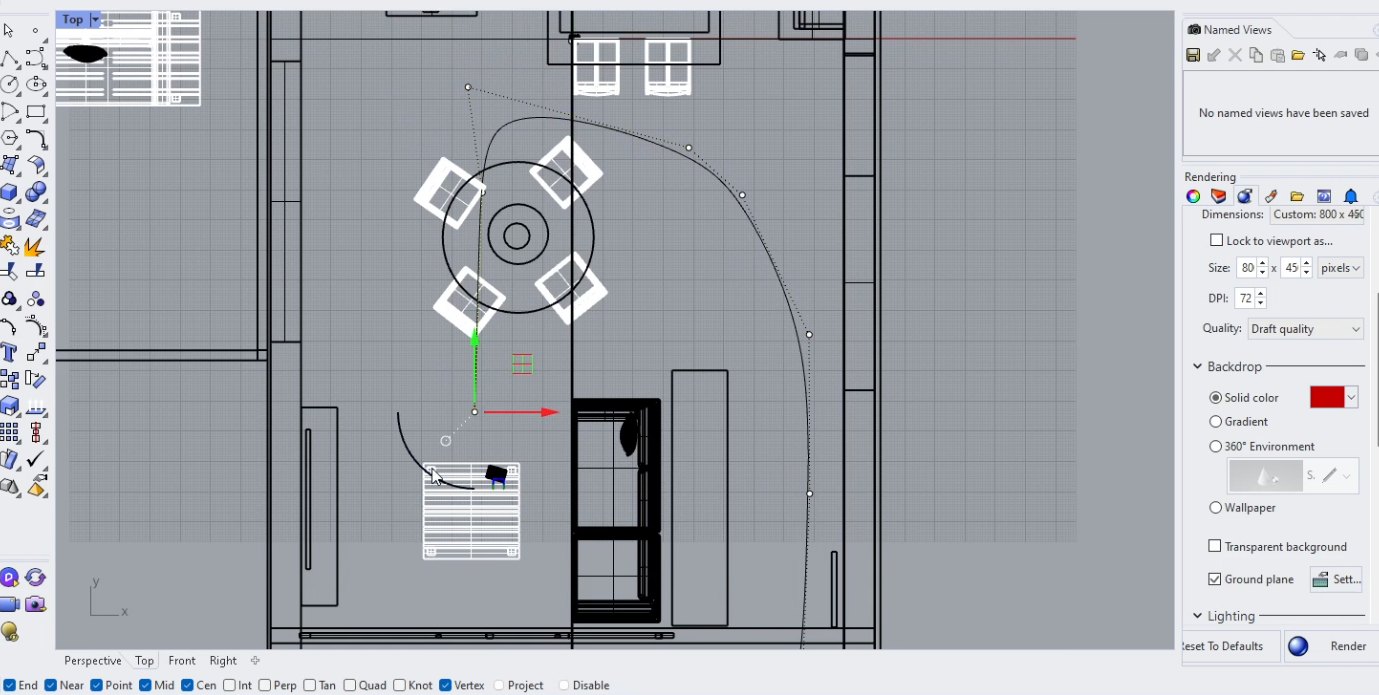
Once I draw the path curve I want to move on, I will divide the curve by the number of frames I want to create. I will use one of the points as a camera location on each frame. For the camera target, I set up the next point on the curve so we will always look to the next point on the curve.
You can change the camera lens length and when you change the value to True it will be activated. Once I liked the settings, I right-click here, animation and here I entered the image size and the number of frames as 60. So I can create at least 4-5 seconds of animation. If you go less than 15 frames per second probably it won’t be so smooth.
By default, it names the frames as Frame_0, Frame_1, and so on but for some reason, I got an error in ControlNet with that format. I tried to use simply 0,1 and 2 and it worked so you can name them like that just not to have any issues like I did.
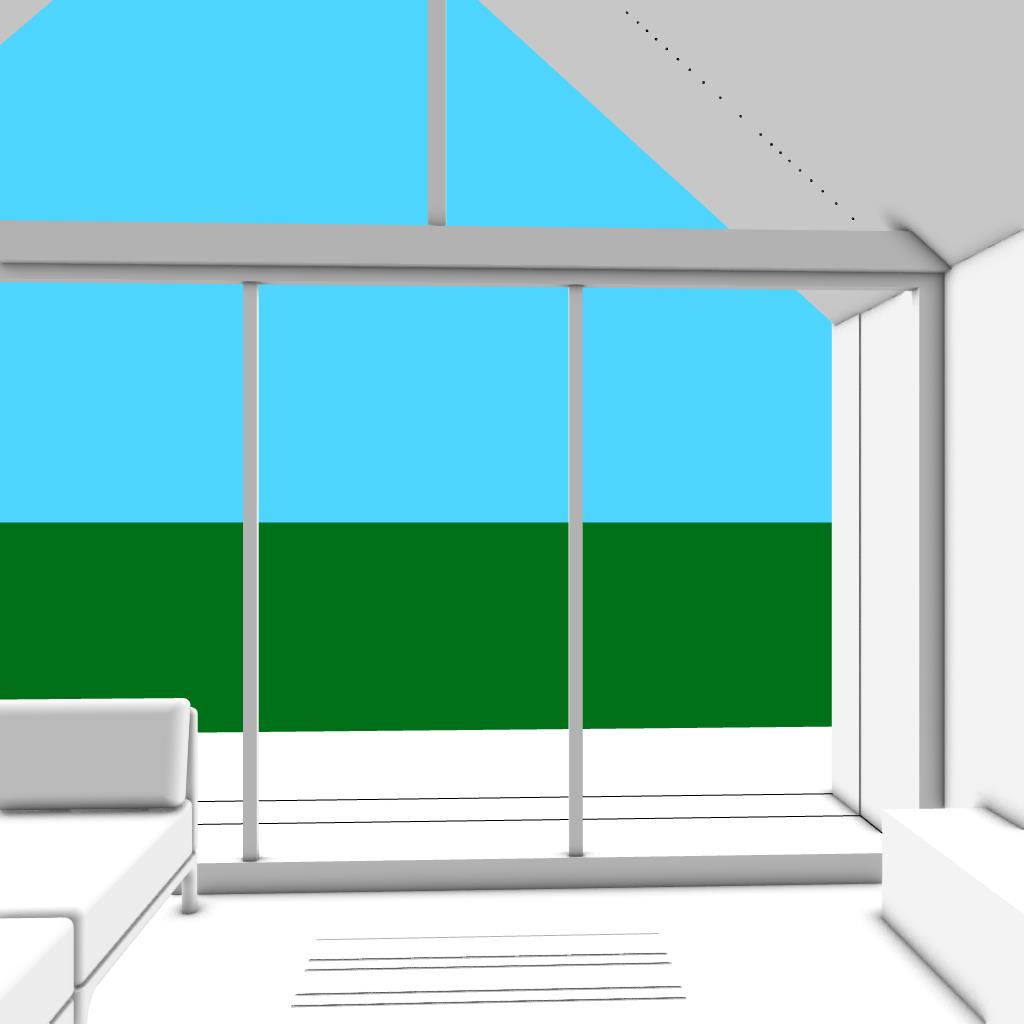
Basically, the workflow I will use is, that I will use each of the frames as the input for ControlNet and generate images using the same prompt and settings overall so the generated images can be similar to each other for a smooth animation.
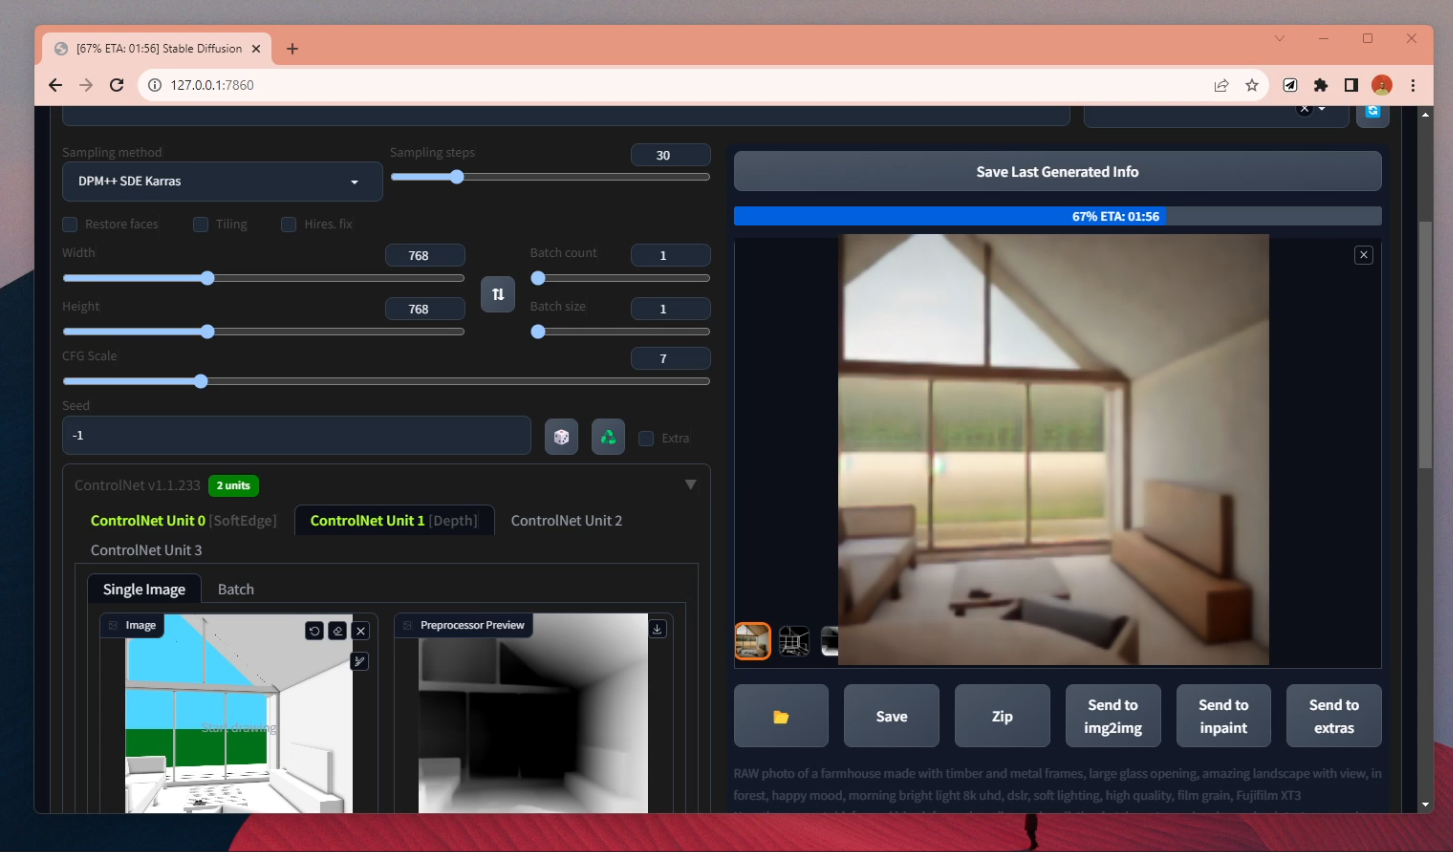
I will use Automatic1111 UI for the Stable Diffusion with epicRealism checkpoint. If you don’t have them installed, I will link the necessary tutorials and the material in the resources.
Before starting the Batch process, I tested out some prompts with the first and the last frames. I just wanted to make sure I like the images with the overall settings and prompt.
This step is essential because you don’t want to realize that some of the settings were wrong after waiting a couple of hours for all generations.
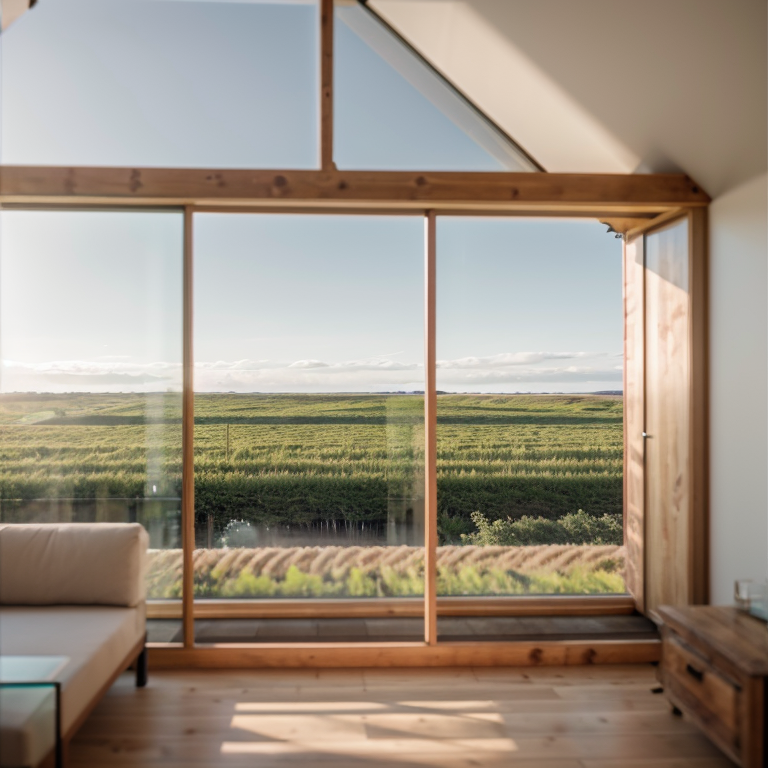
Our scene starts with an exterior view but ends with an interior one so we see many different elements, materials, and parts of the house. I didn’t want to describe specific elements that are visible only in some of the frames in the text input, rather I used a more general description. Once everything looks okay, we need the address of the file where the base images are located. Go to that file and right-click on the top bar, choose “Copy address as text” and paste it into this box.
I have used both depth and softedge modes for controlnet as multi-coltrolnet for more accurate results.
I decided to generate them as 768×768 instead of 1024 to reduce the generation time. And hit generate for the 60 frames. With my RTX 3060 Laptop, it took around 3 hours to finish all of them. Most of them are actually better than what I was expecting in terms of accuracy.
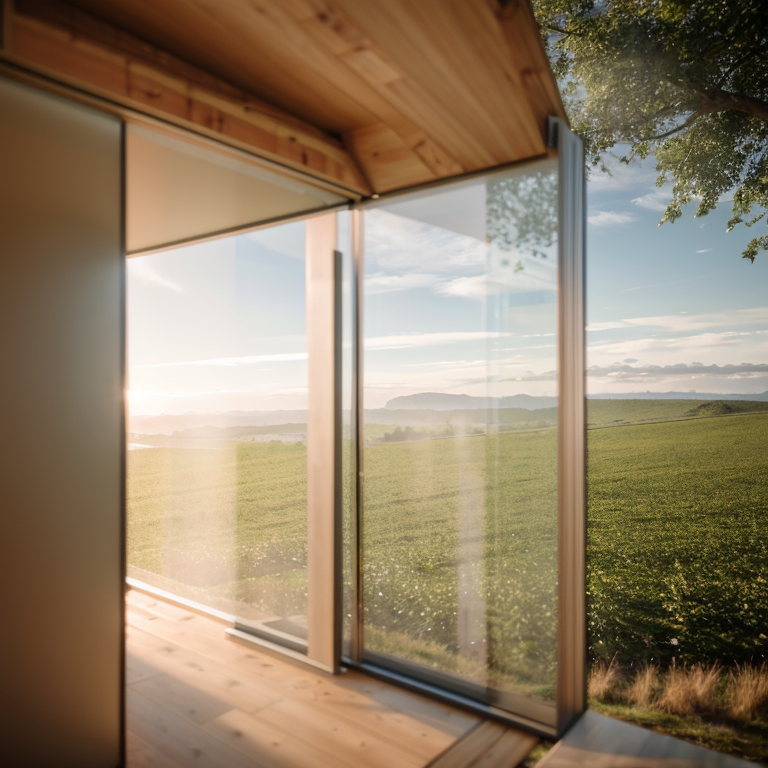
Especially the first ones but when we close to the entrance, there were problematic ones, I don’t know why but it generated everything as glass walls.
When the generation is done, all of our frames are in the outputs folder under the stable diffusion files. I decided to remove some of the frames because they were totally different than others. And I quickly photoshopped a couple of them to fix some problematic parts. And lastly, we need to put all of them together to create a video from them.
You can find online websites to do this step, I will link one of them in the resources. I have used Adobe Premiere Pro to merge them. I chose all of them to reduce their duration to 1 second and simply moved them to the timeline. And as you can see now when you play it looks as moving. It was a bit too fast so I merged them and reduced the speed a bit. And here is the final version.
I think you can easily feel the overall volume and the movement. But of course, it is almost impossible to keep all the materials the same in each frame.
What do you think about the result? Please let me know in the comments below.
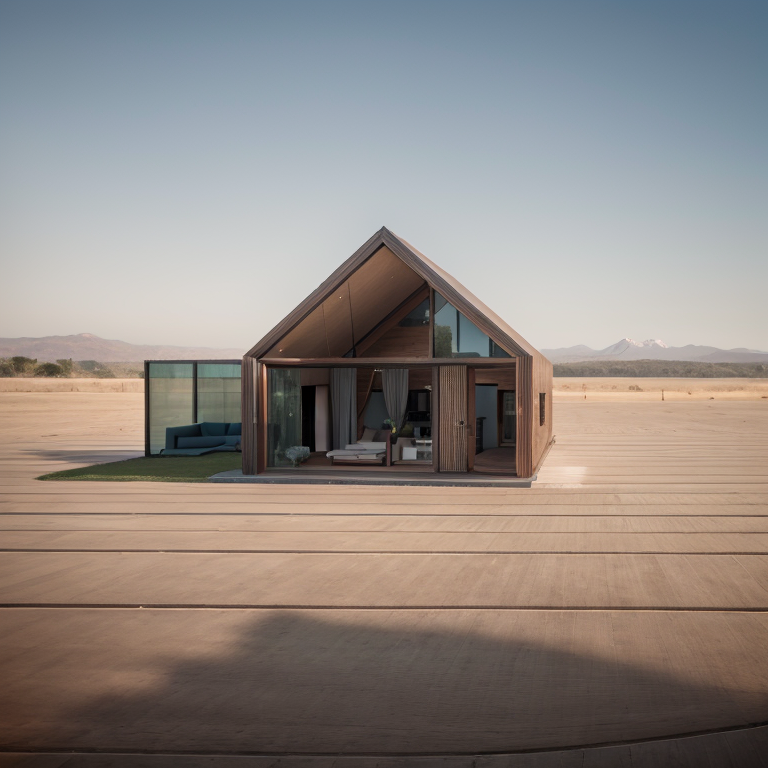
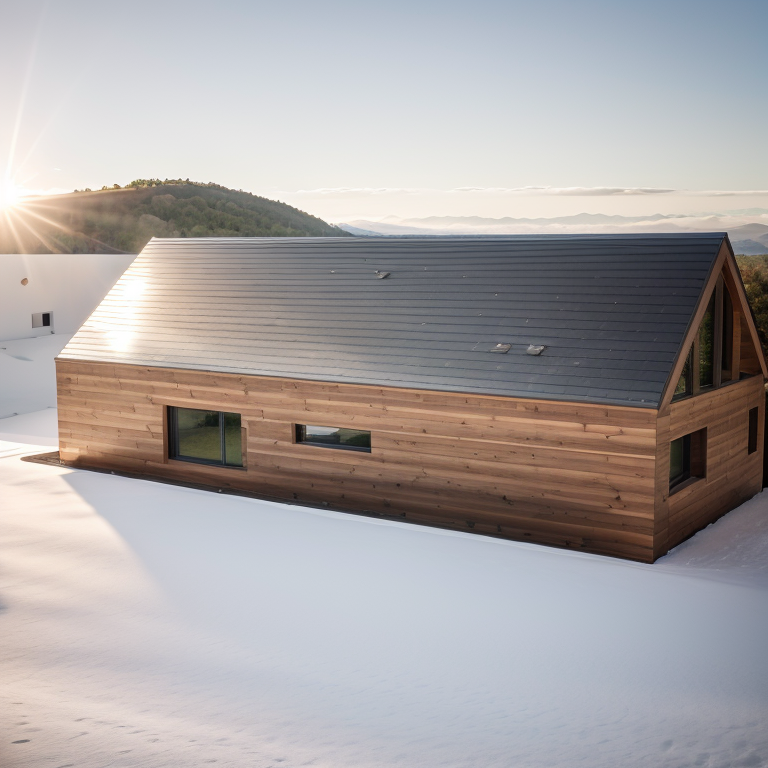
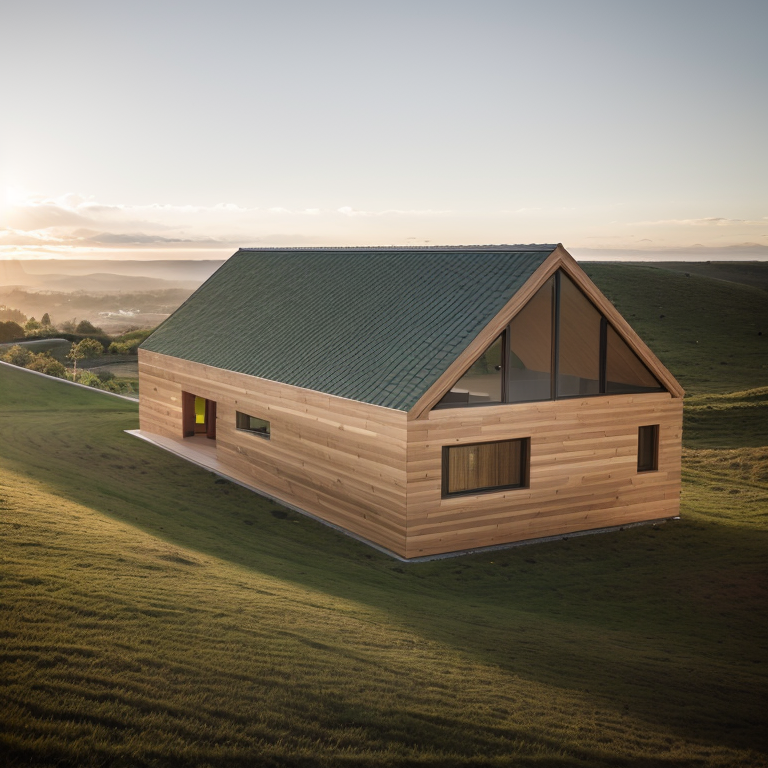
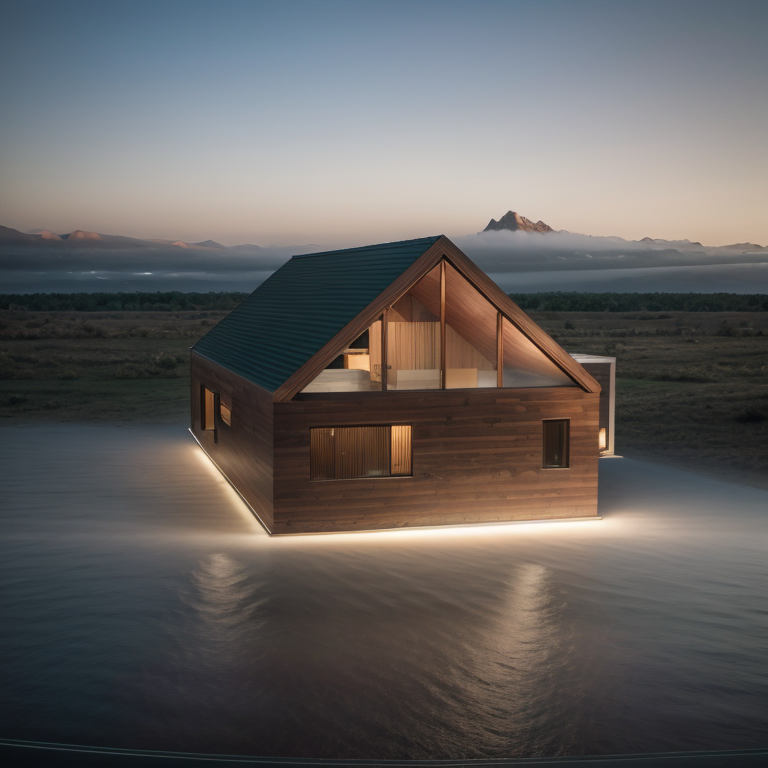
Later I created another one like 360-view, around the same project. I followed the same process to generate the base frames as the first one.
Here is the final version.
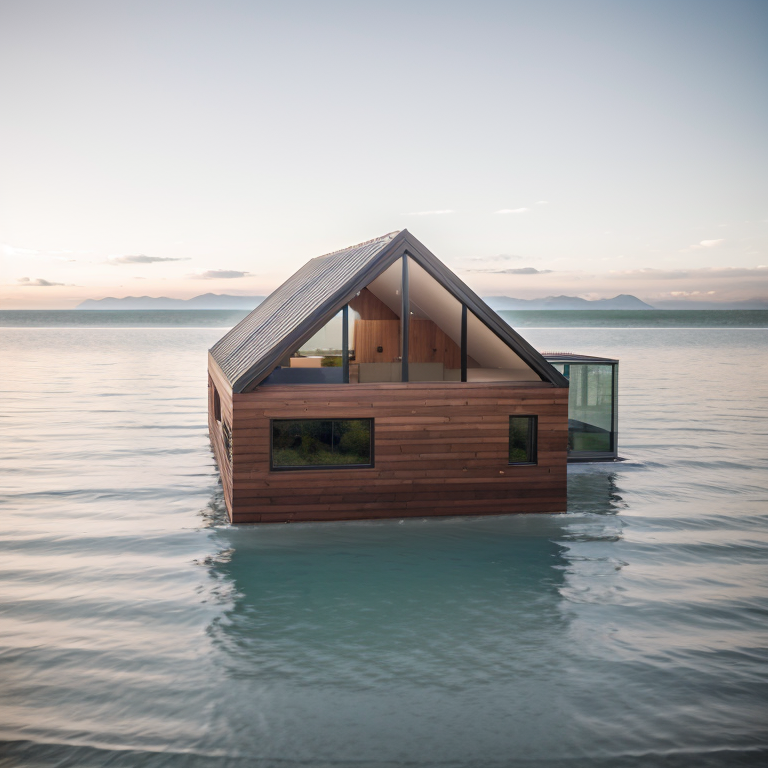
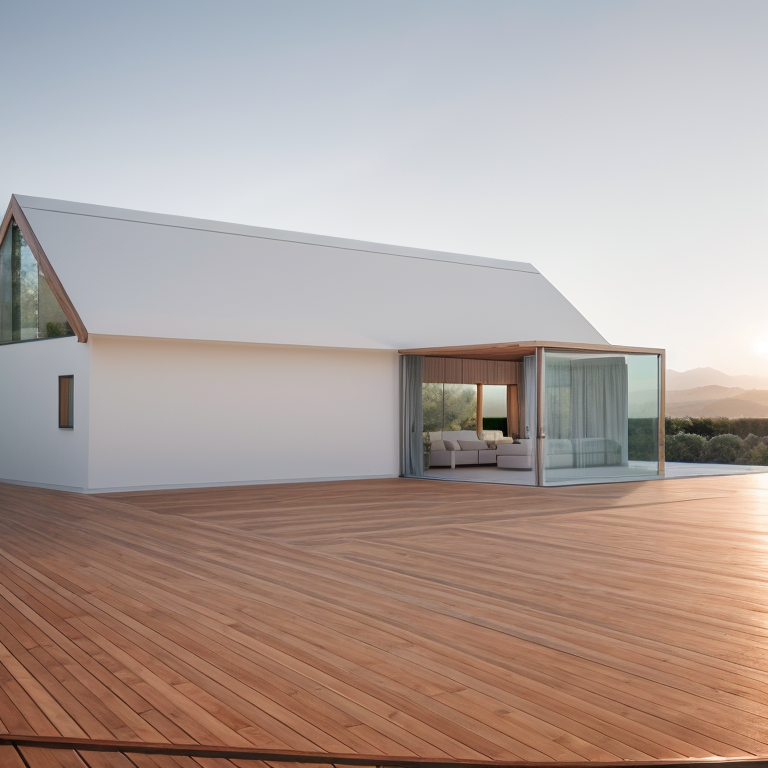
I think this one was less accurate in terms of materials and the overall vibe of the project. But what I liked in the second one is, that it placed the project in many different locations and environments.
Like an empty land or forest as the first one and as waterfront next to a lake, directly in the middle of the water, snowy or in the sand. I think depending on the complexity of the base images and the amount of movement, it could be possible to generate more smooth videos.
I want to try to create animation with the available image-to-video tools. They may create more accurate results with minimal movement. In the next video, I will share which platforms you can use and compare the results from different ones.
I hope you liked this video. Please let me know what you think about this workflow. Thank you for watching till now and see you in the next video!


 Just occasional emails with great value!)