Resources
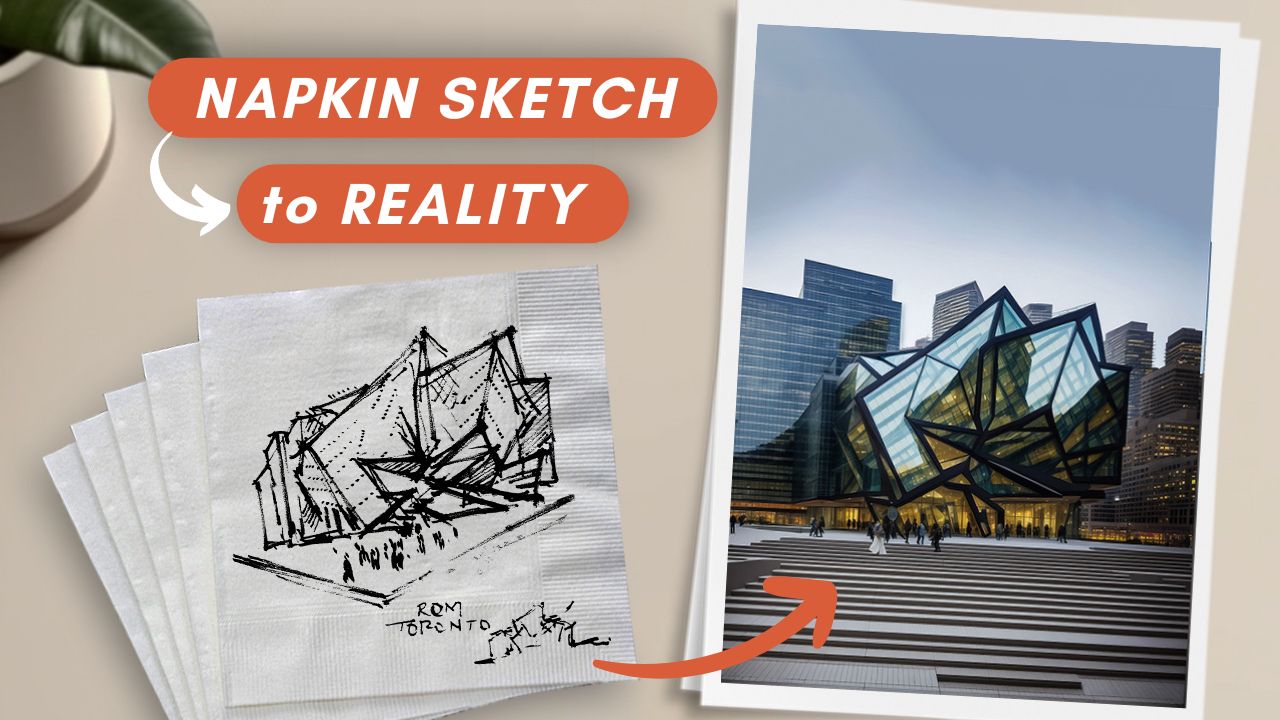
Have you ever imagined what it would be like to bring your concept sketches to life exactly as they appear on paper? Now we can do that with a few clicks using AI.
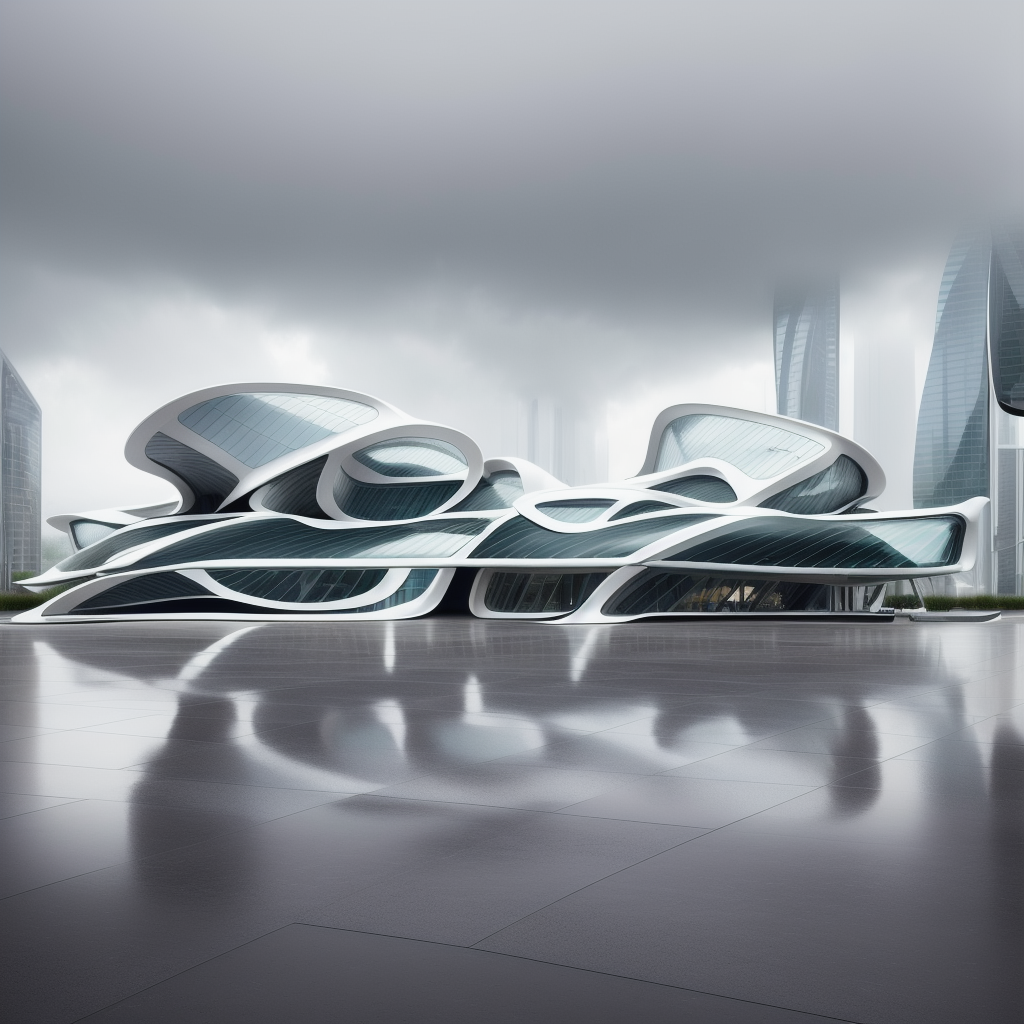
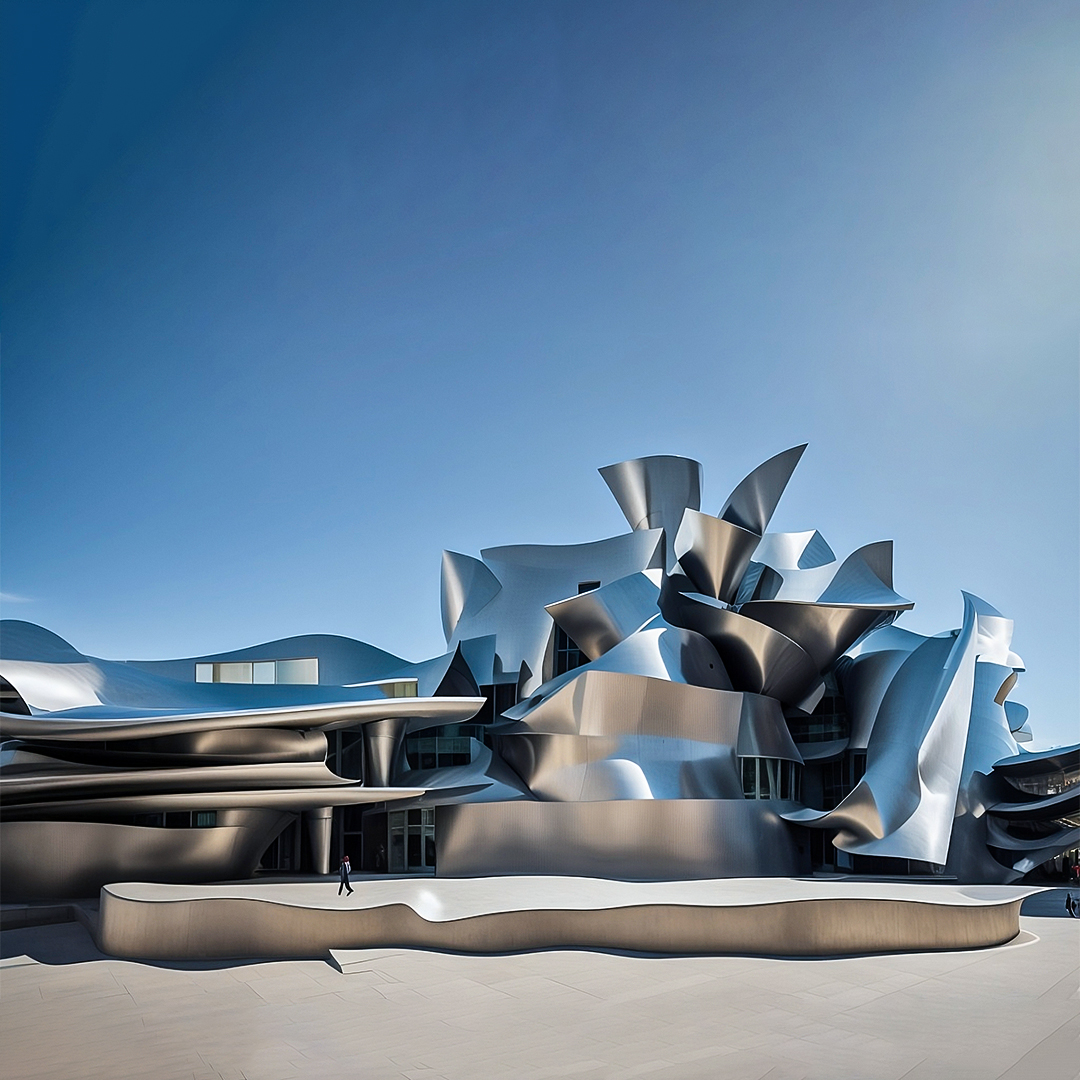
I will share how I reimagined famous buildings of architects like Zaha Hadid and Franky Gehry based on their initial sketches using AI. I wanted to experiment with how the buildings would look if they followed the original napkin sketch exactly.
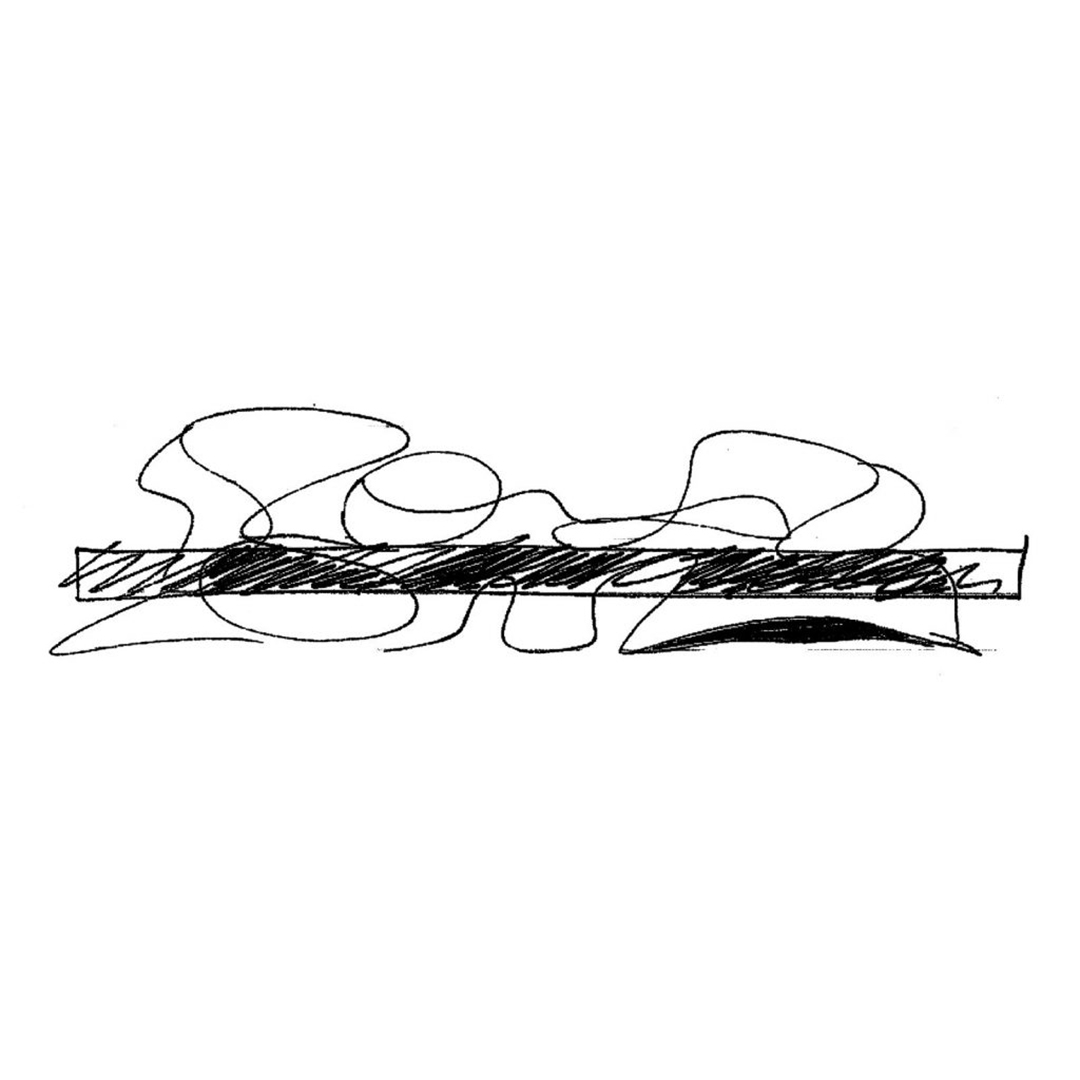
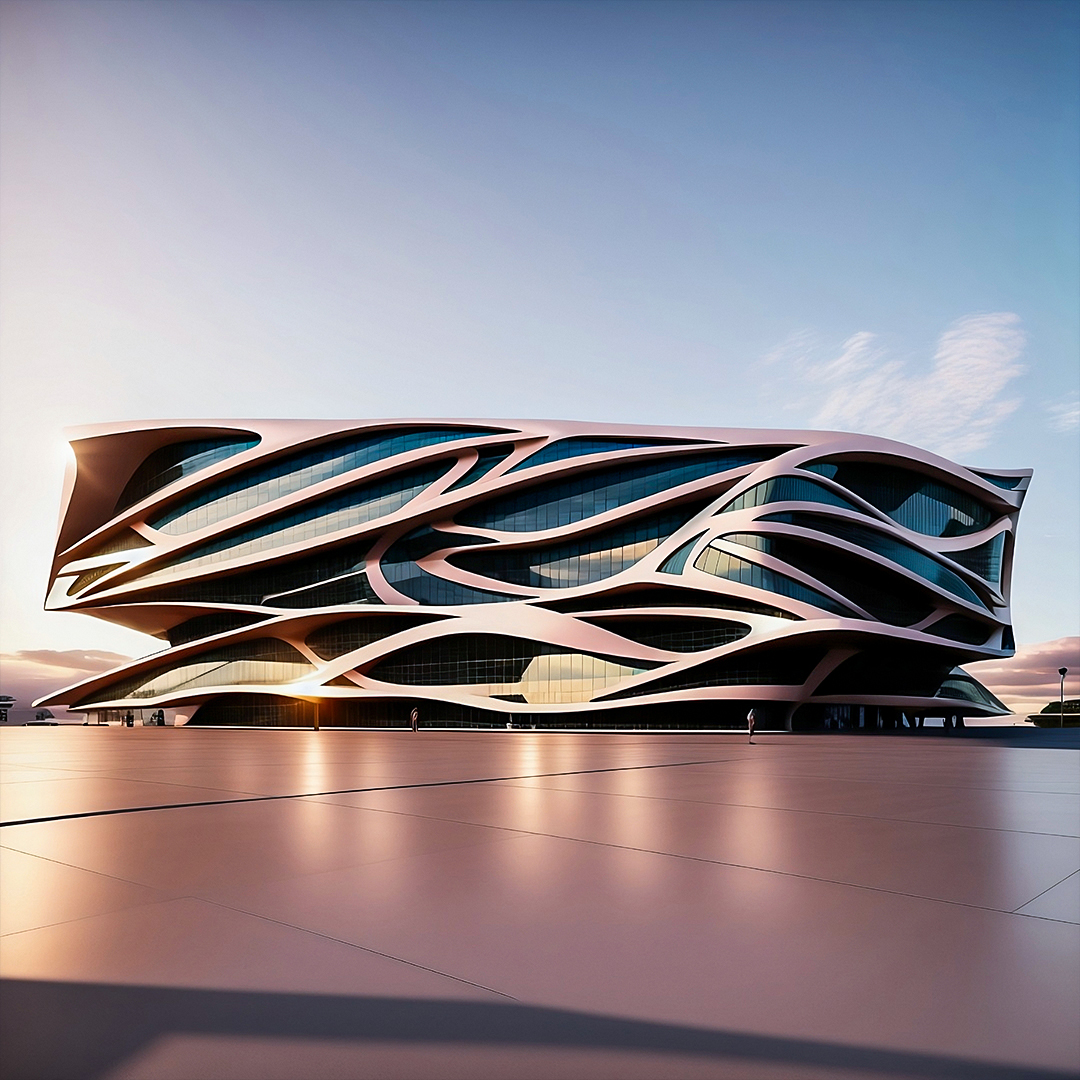
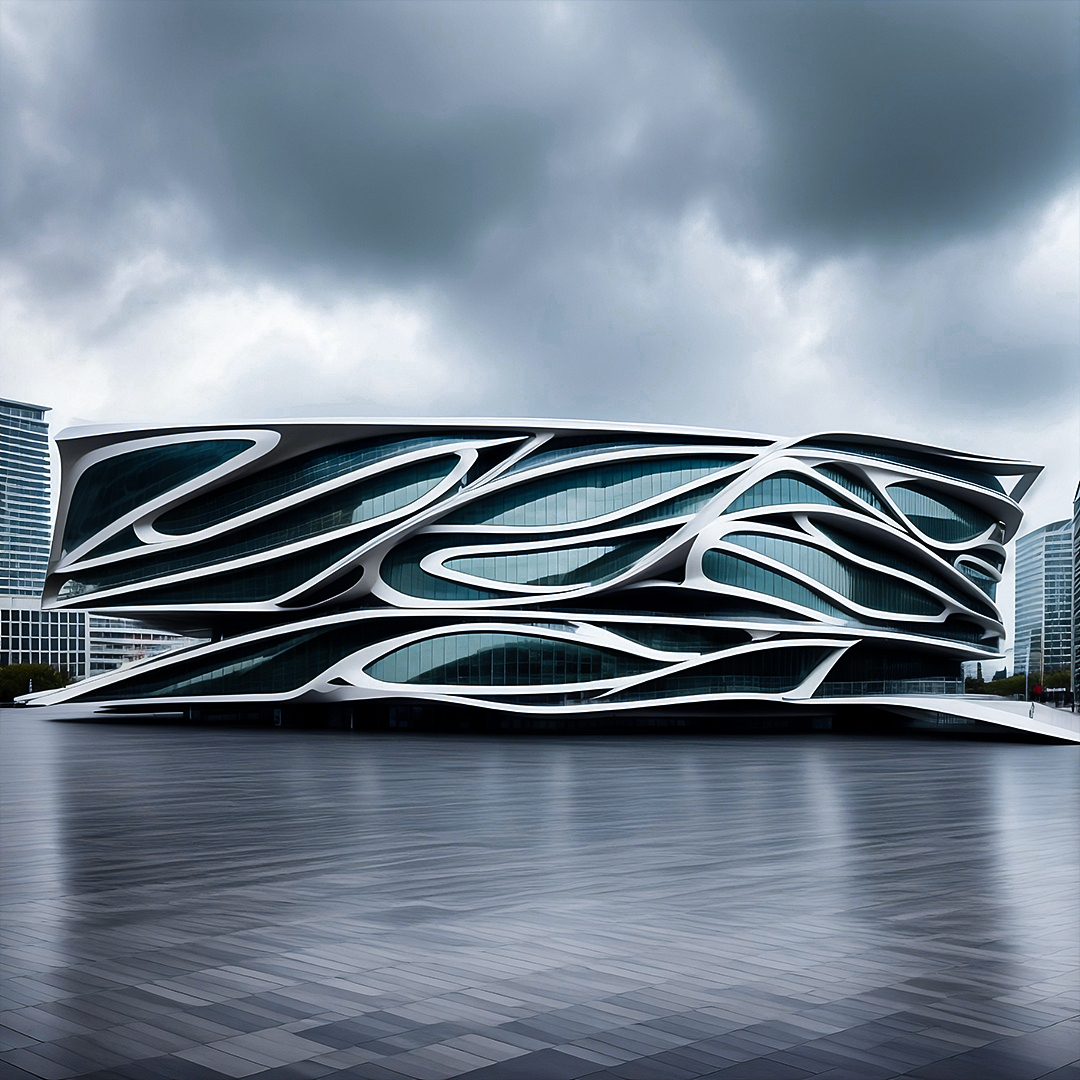
Here is one of them as a sneak peek of Zaha Hadid and her drawing for the science center building in Wolfsburg, Germany.

I have used Stable Diffusion to create these images, and I will share what settings and prompts I used so you can try them yourself too. I am using local Stable Diffusion with automatic1111 UI together with the ControlNet extension. If you don’t have it installed, you can find all the resources and installation tutorials in the video description.
1st Sketch
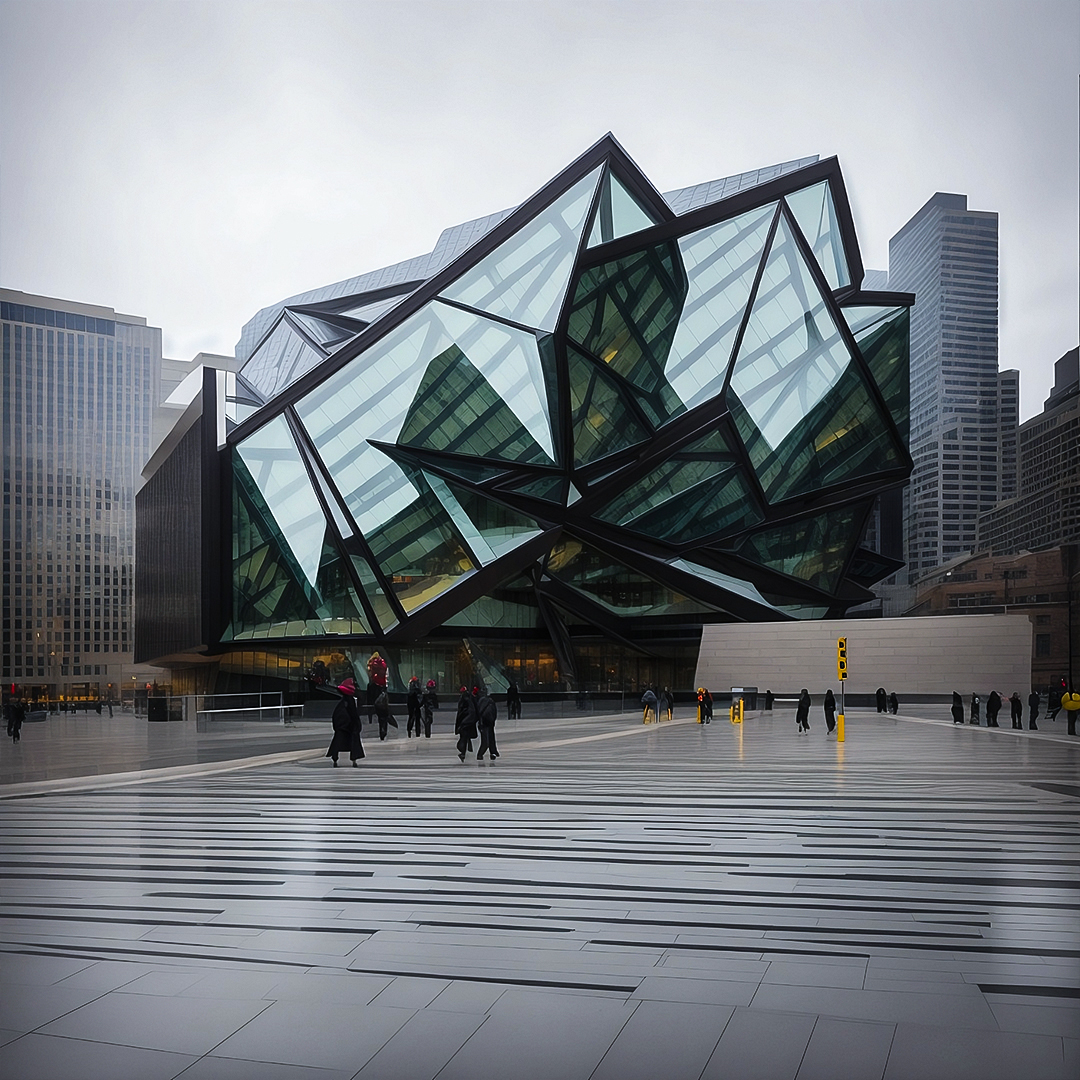
Zaha Hadid – Phaeno Science Center
For the first one, I will regenerate another sketch of Zaha Hadid for the same building.
I will upload it to the ControlNet tab. Since it is already a sketch, I will directly use the ControlNet scribble model without any preprocessor. You may test it out with other preprocessors, too, like Lineart or Invert, to change it to white lines on a black background.
Depending on your sketch, the best settings to use for controlnet can be different. For the first try, I will use the invert option. After that, I will try to describe it in my prompt; I have used a pretty simple prompt for this one, like:
RAW photo of building designed by Zaha Hadid, organic shaped building design, supported by curved columns, glossy white facade with glass panels, (large public square:1.2), (people walking:1.1), sunset, pink sky, reflections on ground, vray render, hyperrealistic, sharp focus, detailed photo, dslr, soft lighting, high quality, film grain, Fujifilm XT3, <lora:epiNoiseoffset_v2:1>lowres, text, error, cropped, worst quality, low quality, jpeg artifacts, ugly, duplicate, morbid, mutilated, out of frame, extra fingers, mutated hands, poorly drawn hands, poorly drawn face, mutation, deformed, blurry, dehydrated, bad anatomy, bad proportions, extra limbs, cloned face, disfigured, gross proportions, malformed limbs, missing arms, missing legs, extra arms, extra legs, fused fingers, too many fingers, long neck, username, watermark, signatureAnd some enhancer keywords for this model, I am using Realistic Vision V2.0. It is my favorite model at the moment; of course, when you are watching this, we may have better alternatives. If so, I will update it in the resources.
And here is the first results. There is a resemblance with the sketch, but it’s not so good. For the 2nd try, I decided to try it without any preprocessor. I think the results are much better than the previous one.
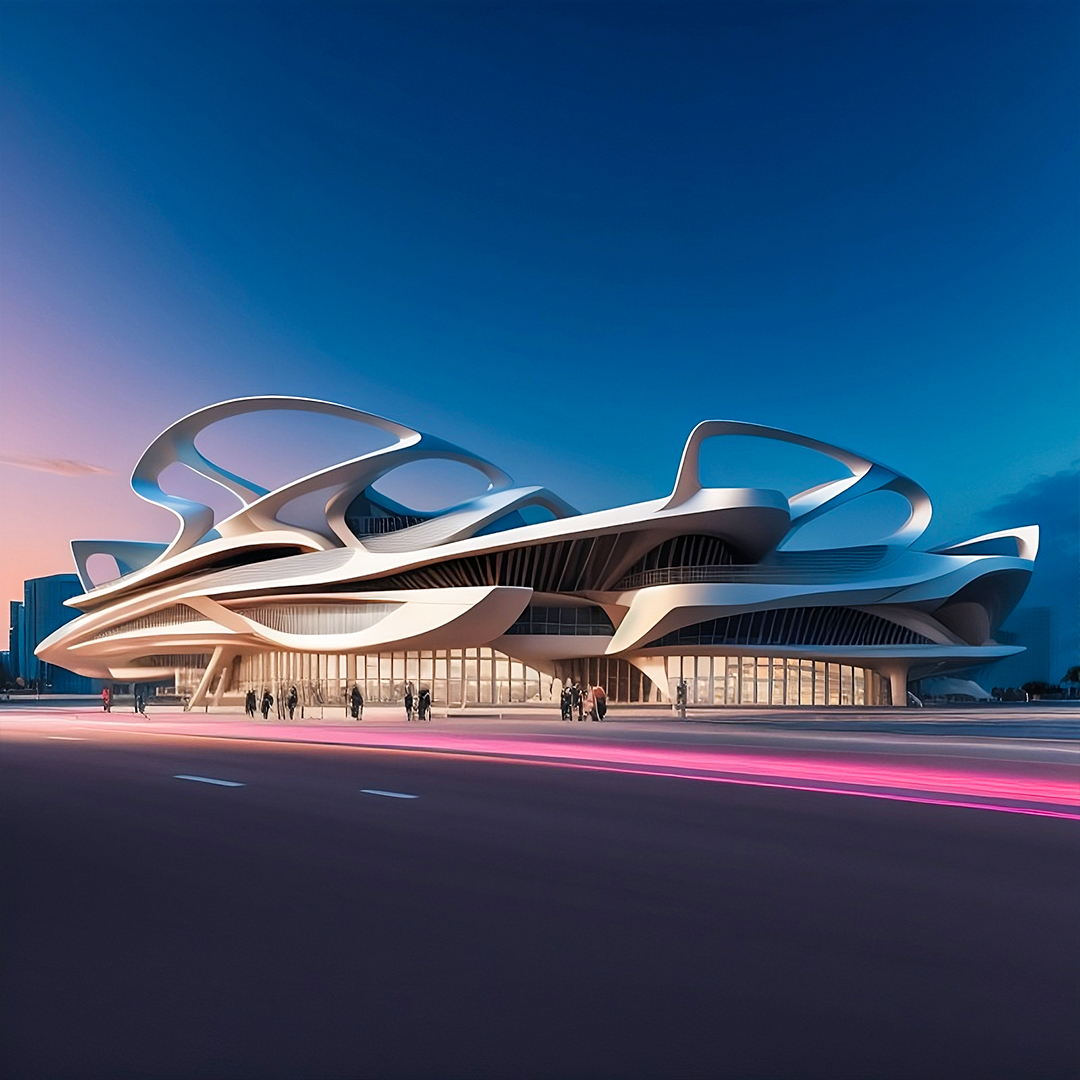
For the first generations, I used image size 512 to 512. And once I started to like the results and the overall settings, I changed it to 1024px to 1024px. And then, I adjusted the prompt slightly and tried to change the time of the day. I wanted to put a large public square in front of the building, but it kept generating it as water and a building on the waterfront. Here are some of the results for this sketch.
Of course, you can use the same workflow for your own sketches to generate different alternatives to speed up the creative process.
2nd Sketch
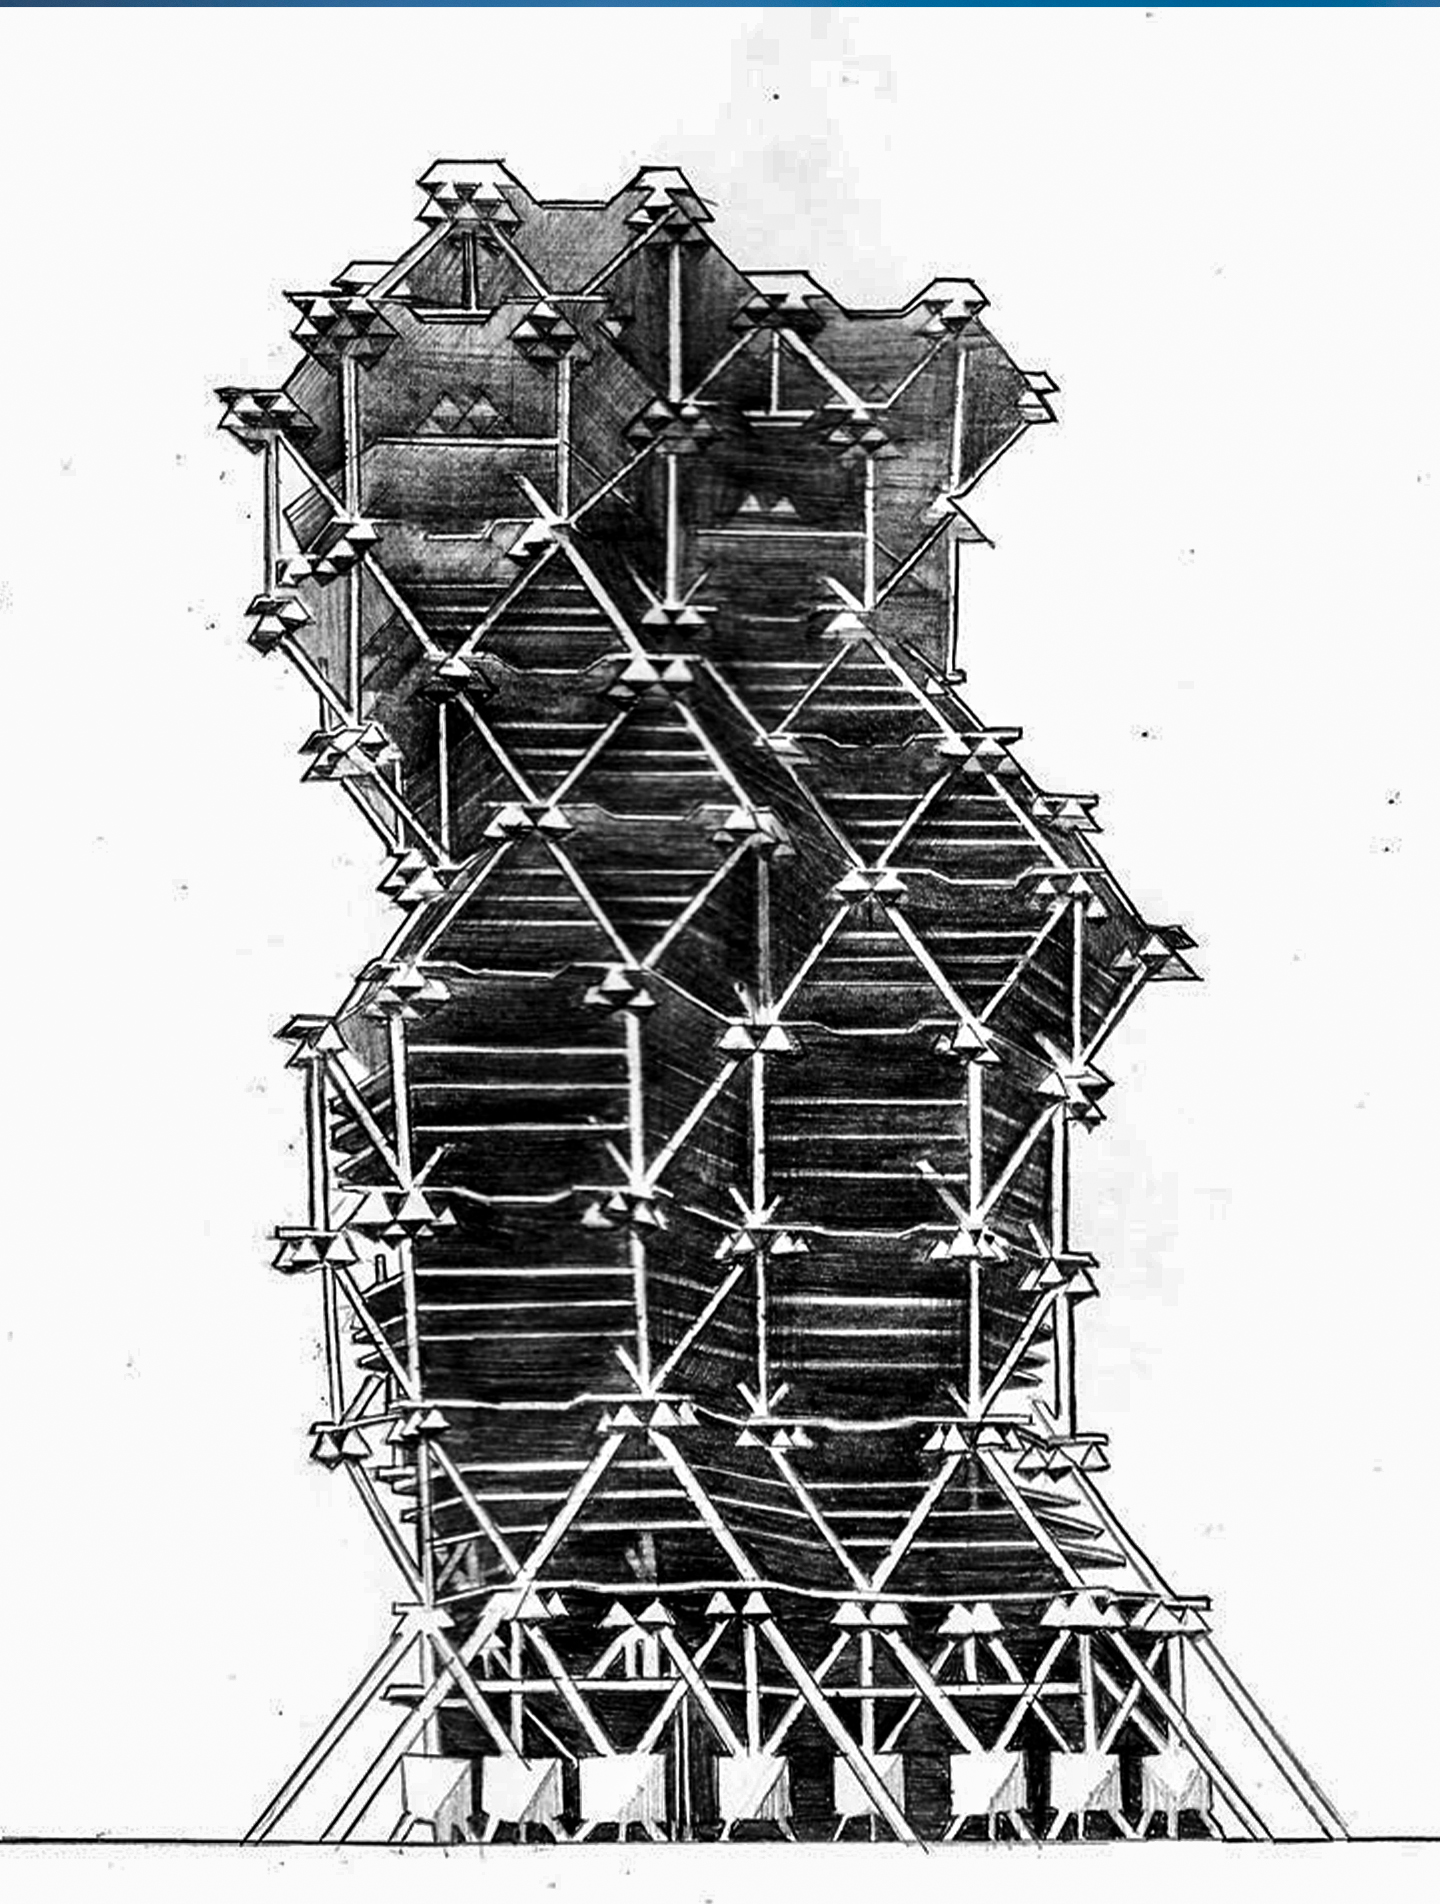
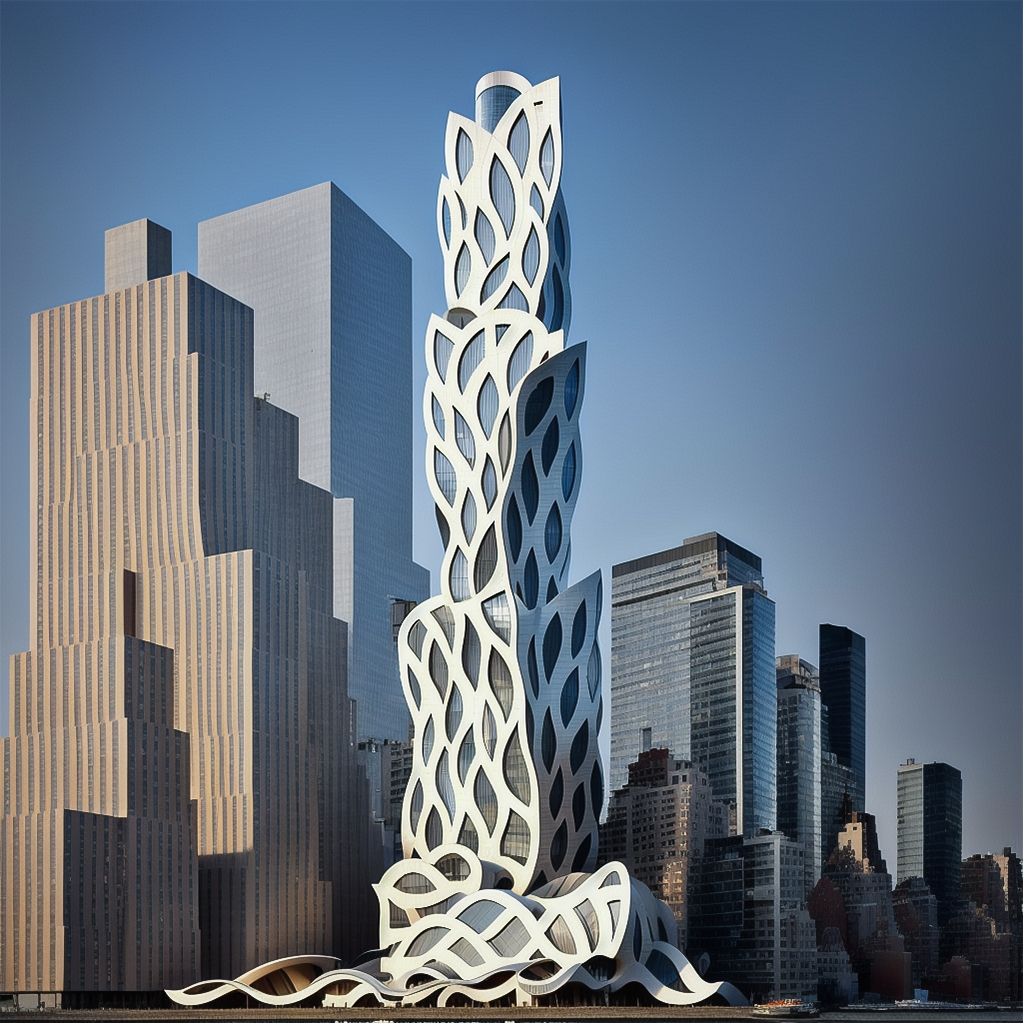
Louis Kahn City Tower
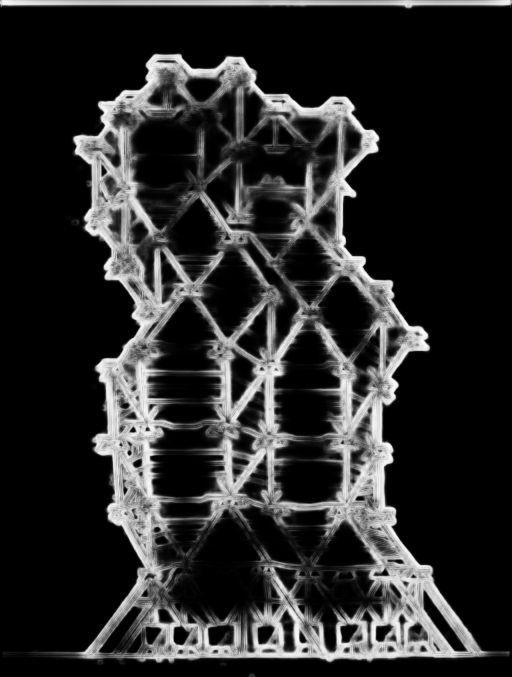
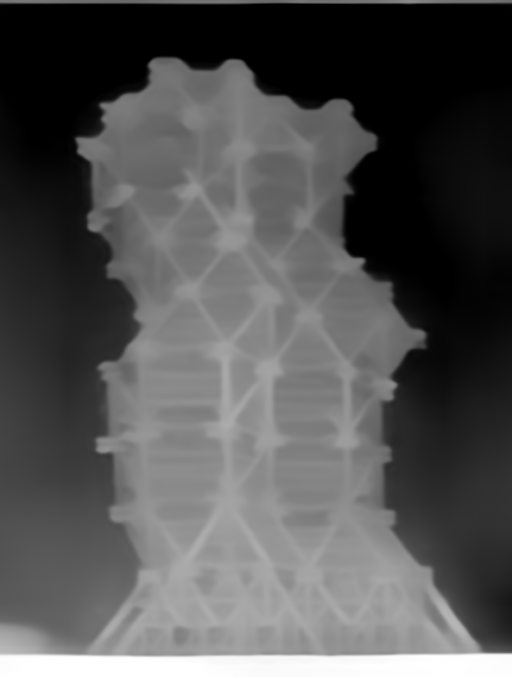
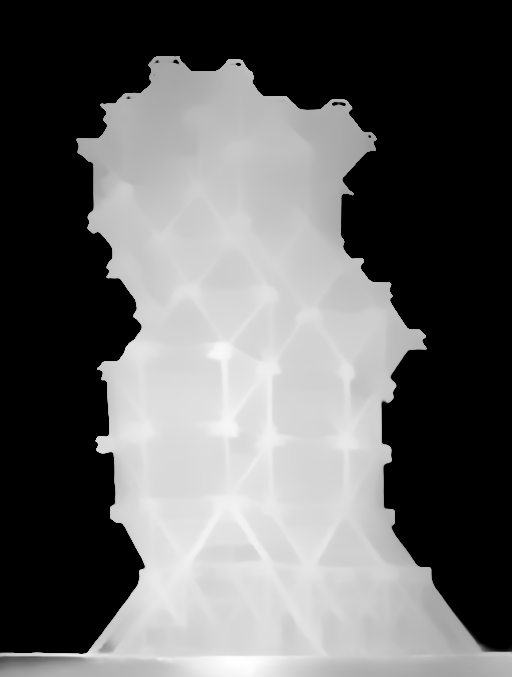
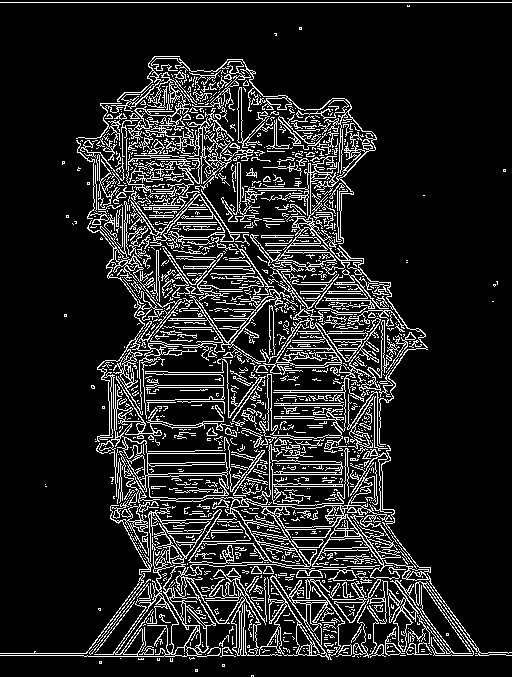
Then I tested it out with Louis Kahn’s sketch for his City Tower project, which was never built. I was curious to see how it would look if it were constructed exactly as he originally sketched it, but on a smaller scale. For the first generation, I didn’t use any preprocessor mode for this one, too, but as you can see, the results are totally different.
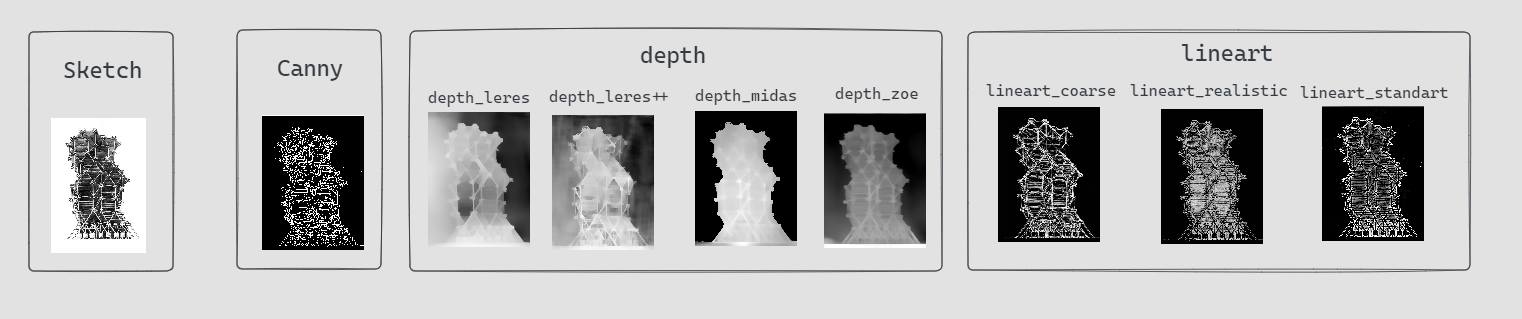
Since it’s a different kind of sketch with many shaded parts, I wanted to try different modes. I have tested all of them, and these are the best possible ones you can try for this kind of drawings.

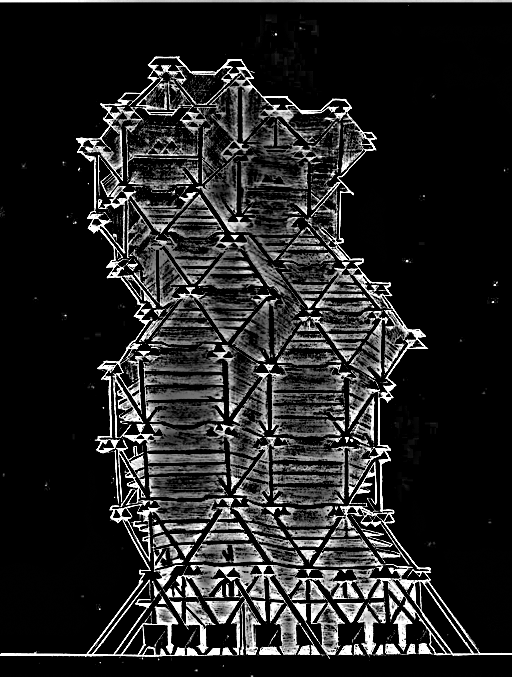
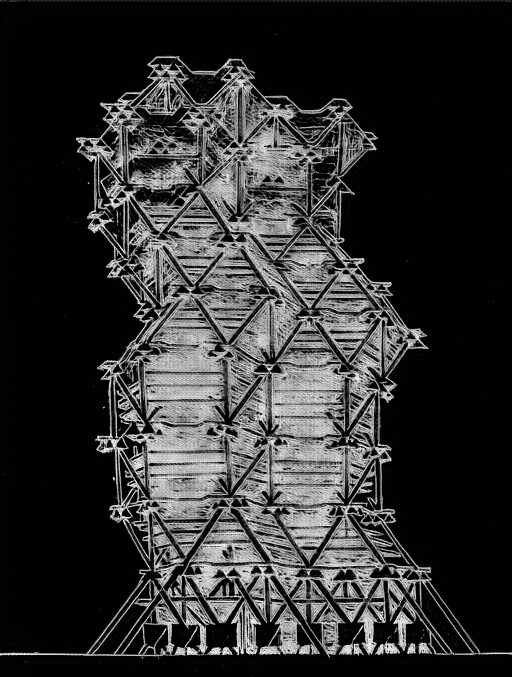
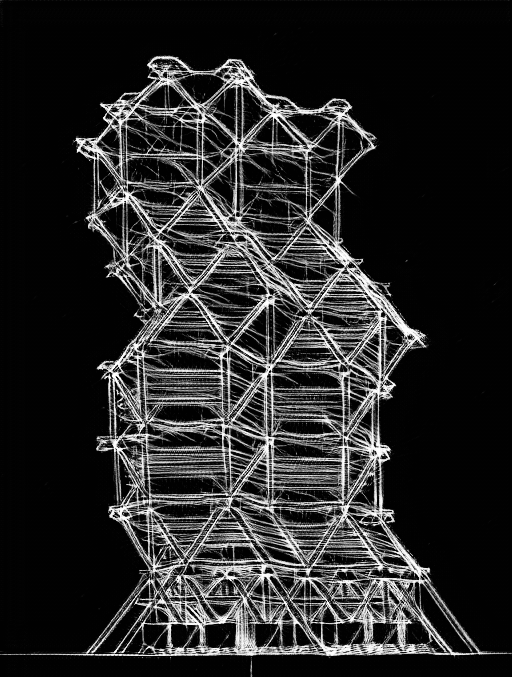
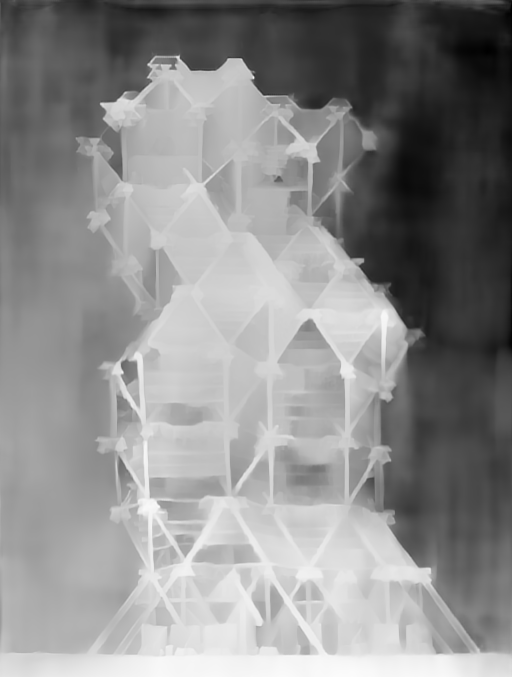
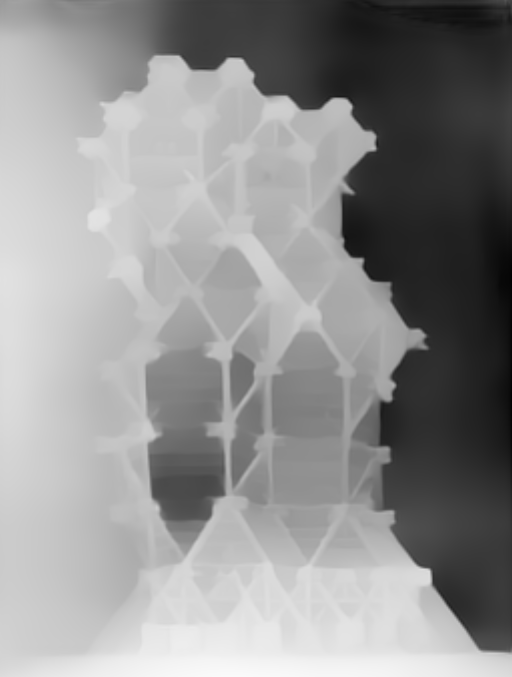
Preprocessor Comparison
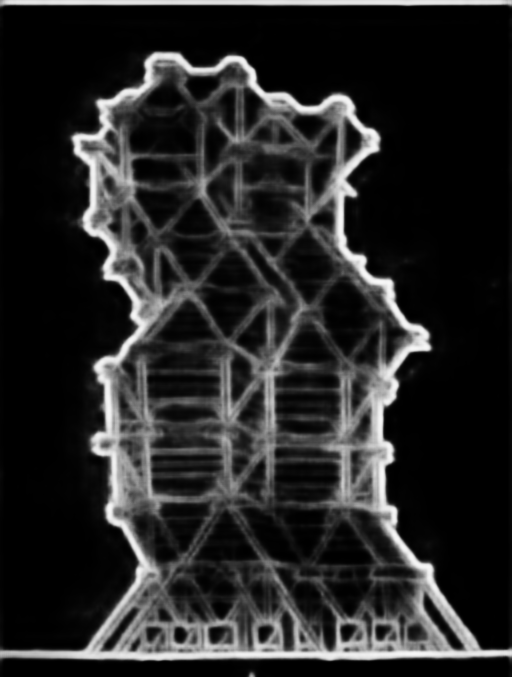
The canny mode determines the outlines in the image, but it does it in a very detailed way, so it’s not the best option for this case. Even though this is not the “correct” use case of a depth map from a sketch, the results were pretty good. Especially the outcome for depth_zoe and depth_midas can lead to good results. Here you can see the results with sed, soft edge detection mode.
It does a pretty good job of outlining the border of the figure with some of the details inside. I feel like the result of this part won’t be so realistic with this option. And lastly, I have tested it out with lineart modes. This model is one of the new ones that came with the last ControlNet v1.1 update. And I think, for regular sketches, it is working much better compared to the scribble option. Then I tested all of the different modes and models.
Final Results
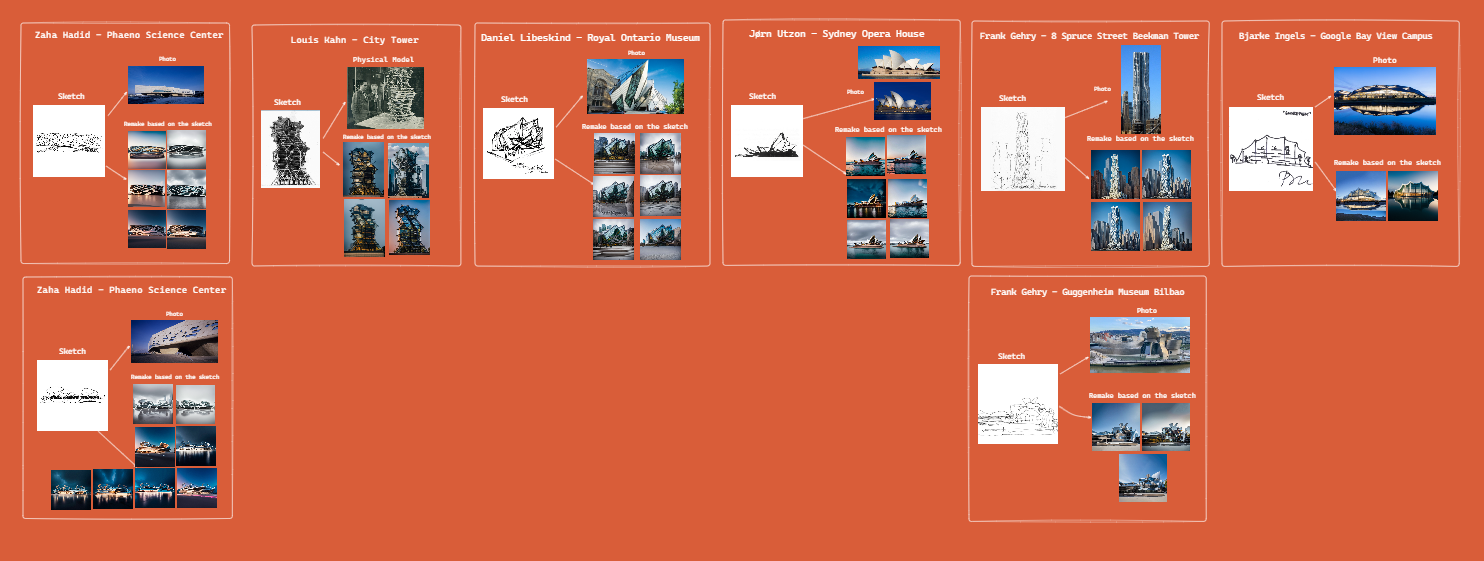
And here are the results for all of them. In total, I tried to generate 8 different projects from 6 architects.
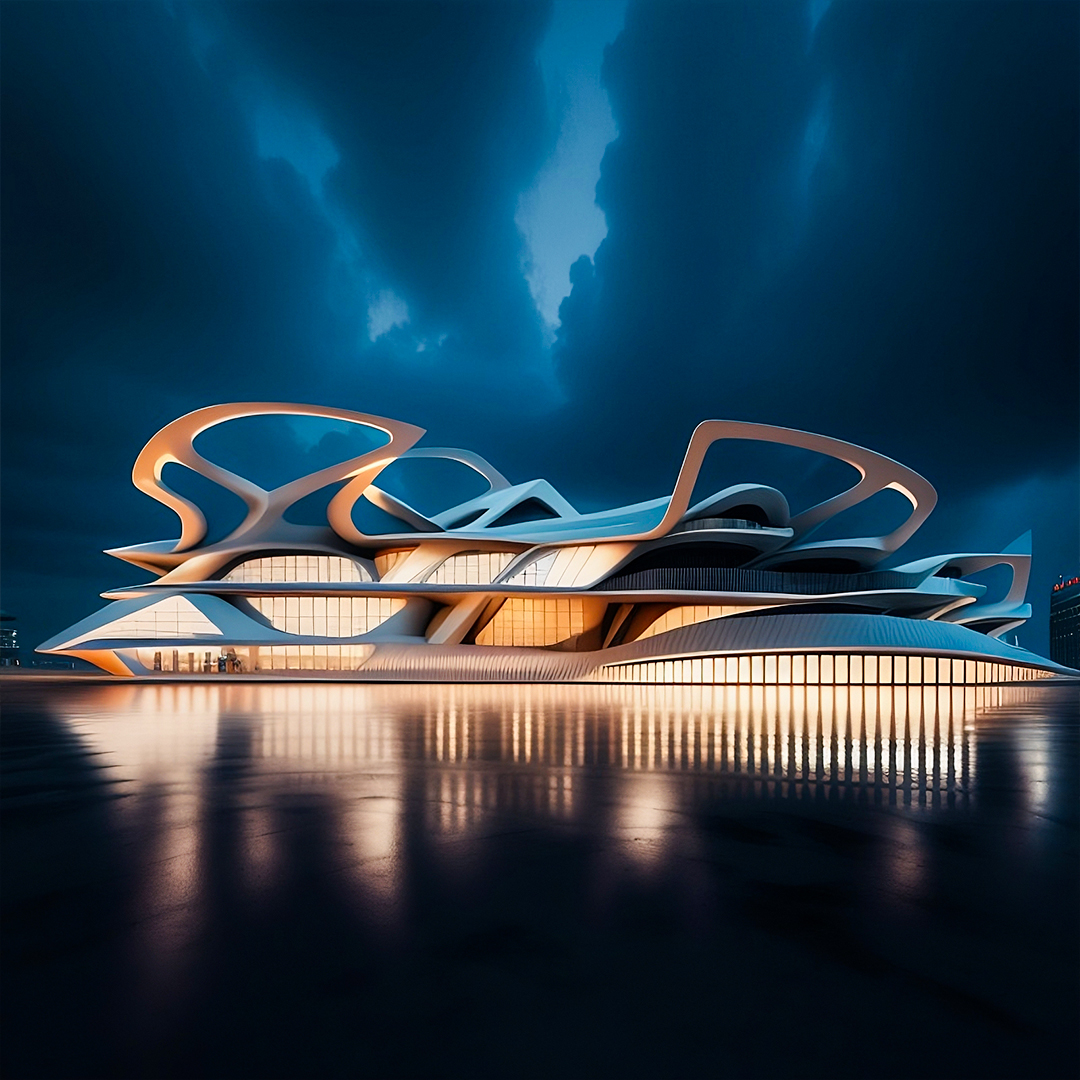
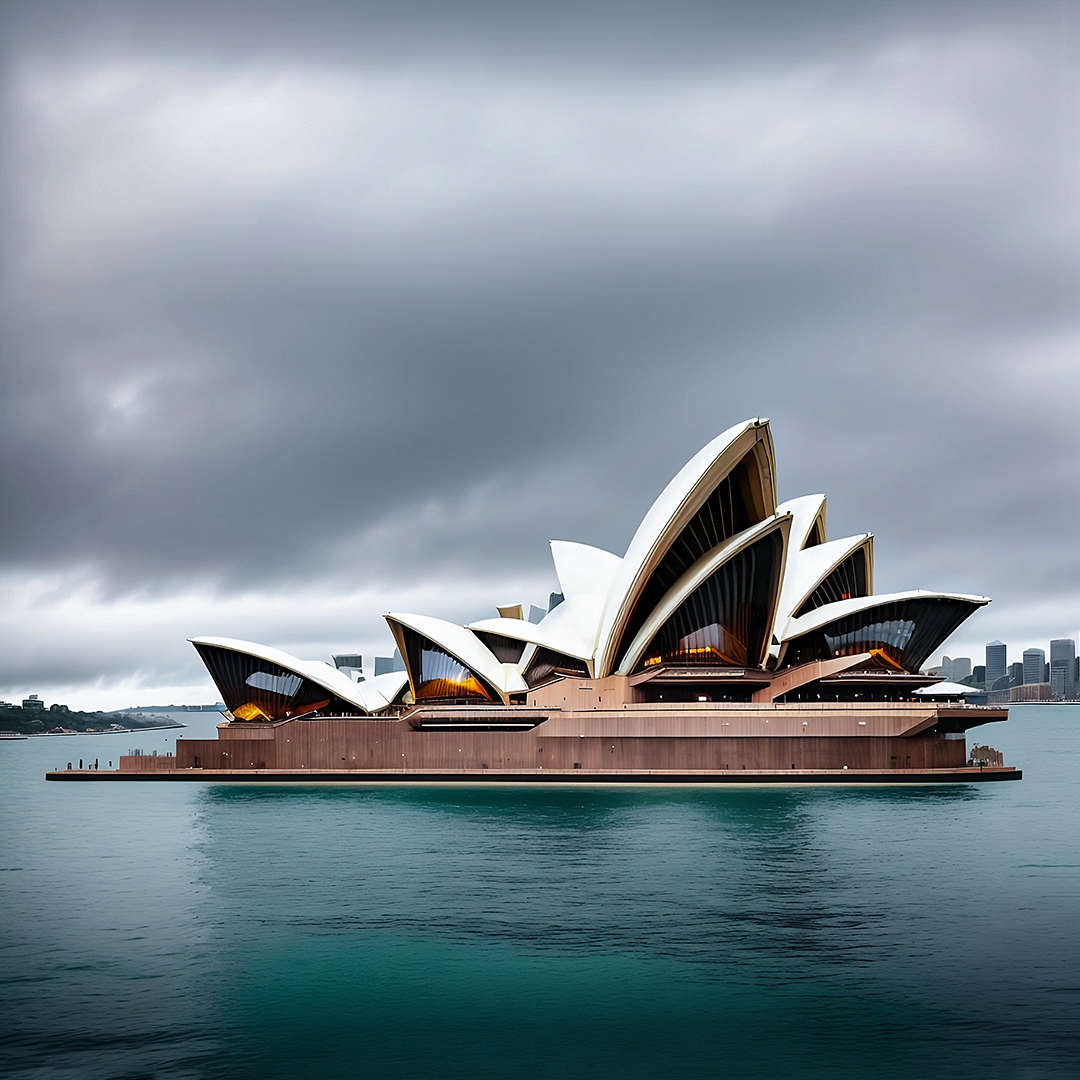
If we check the first one, we have the science center from Germany. You can see the inital sketch, the final built version, and the remakes based on the sketch using AI. I think the final results for this turned out great; in the first generations, it created the building next to a waterfront with this beautiful reflection on the water’s surface, and in the other ones, I changed it to some kind of public square to make it closer to the original design.
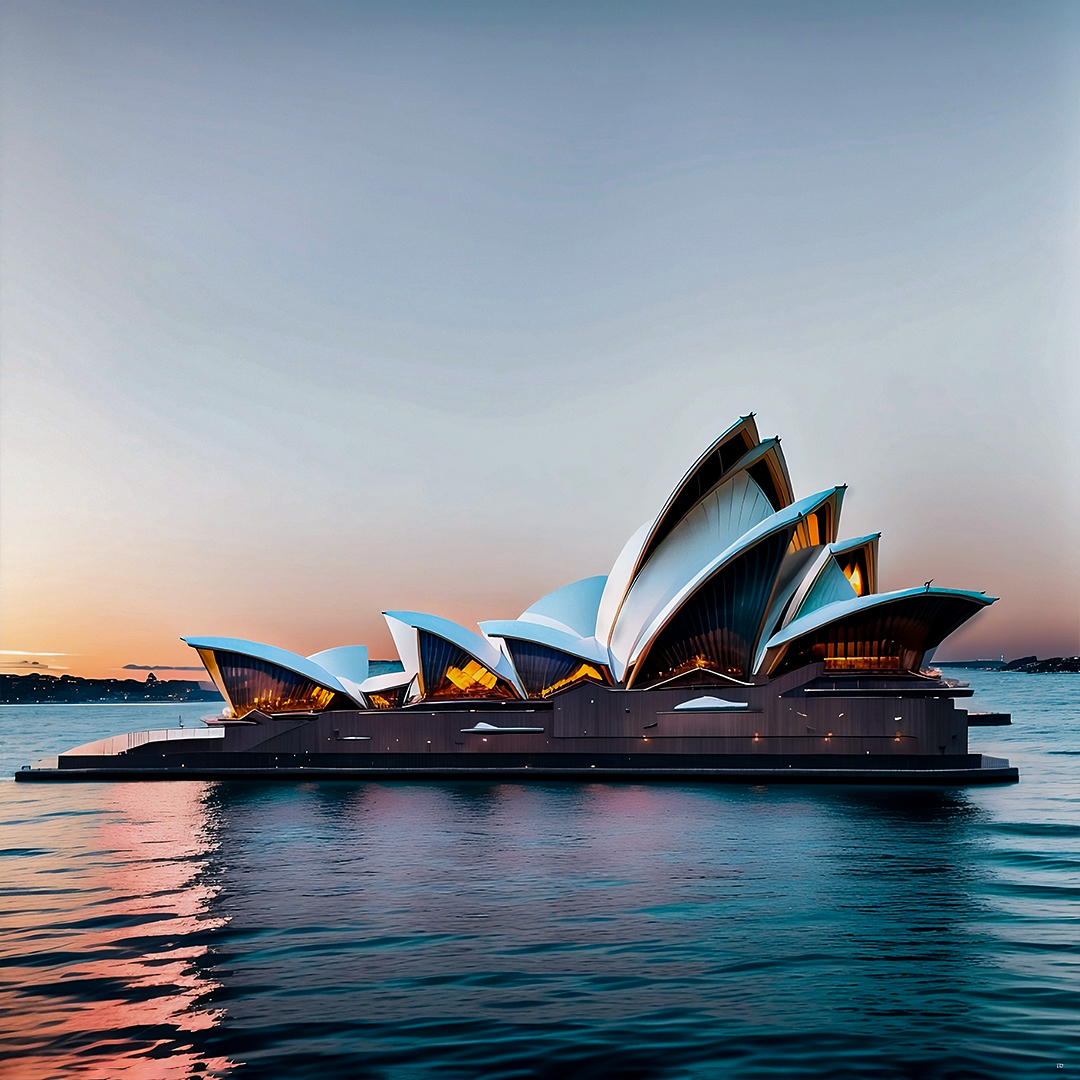
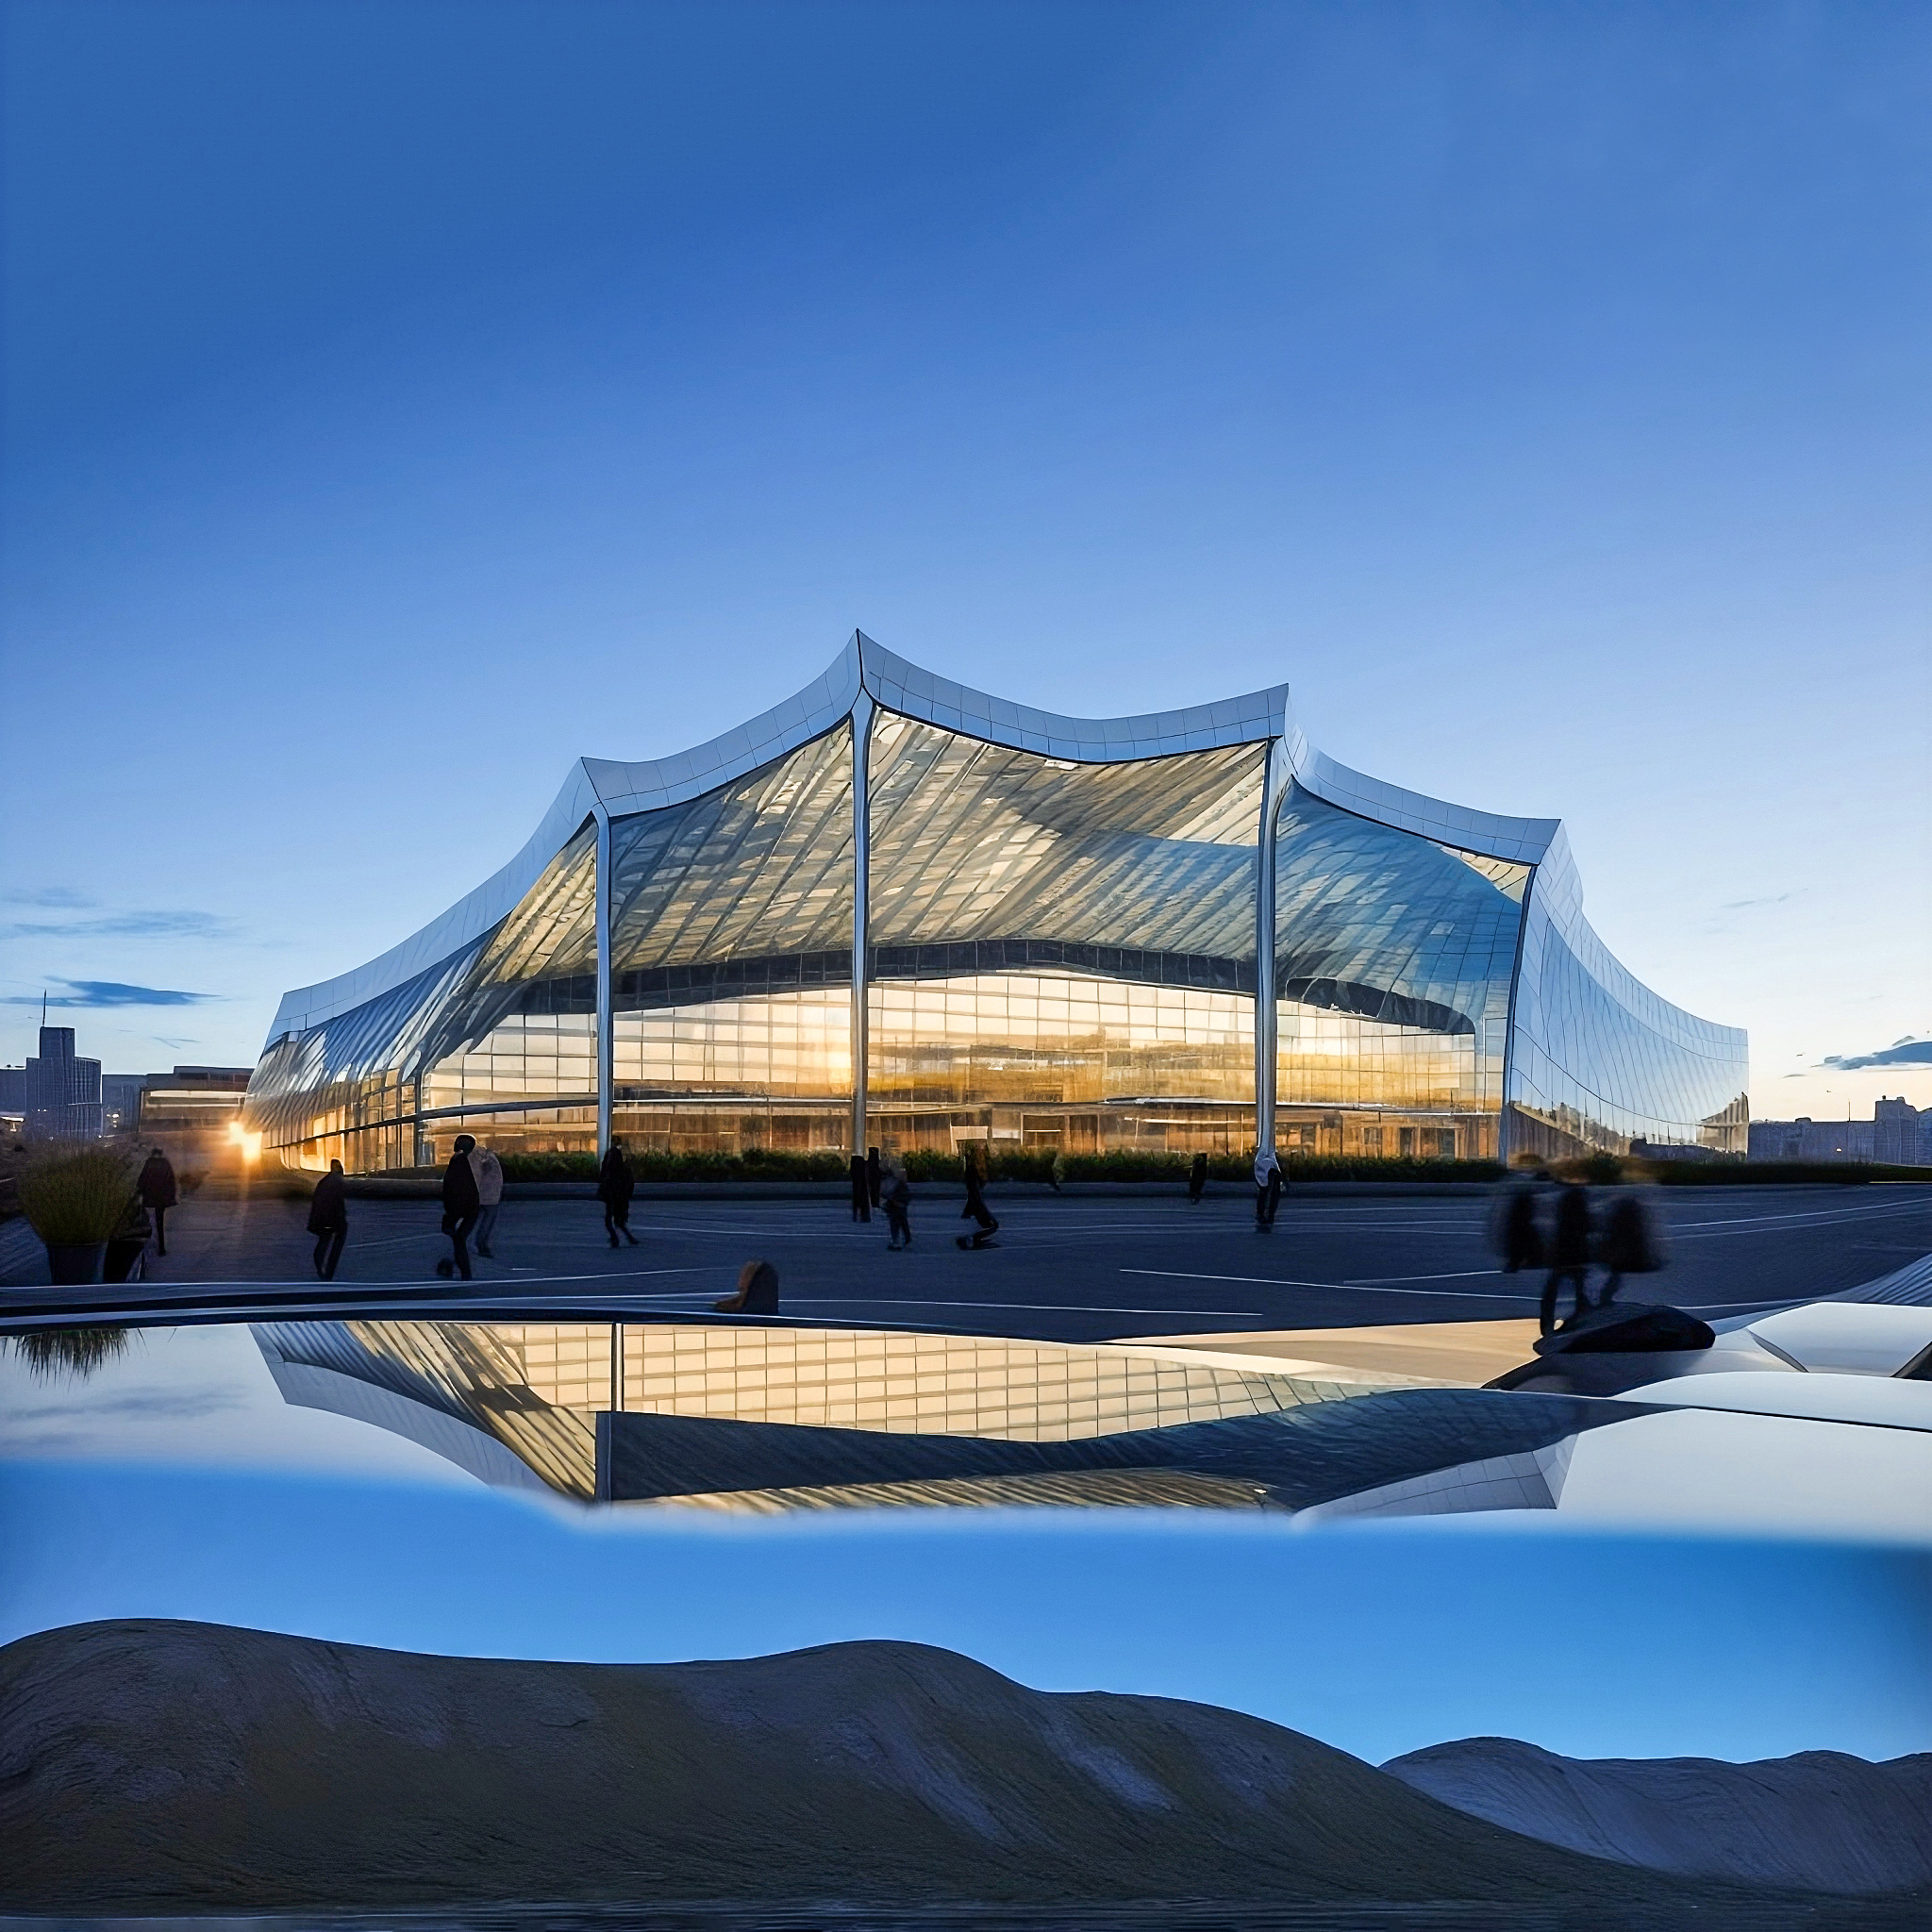
And here is one with the other sketch for the same project. This turned out with a very different form compared to the first one, especially with these parts on top. I really liked this evening’s views with the reflections of the lights on the ground.
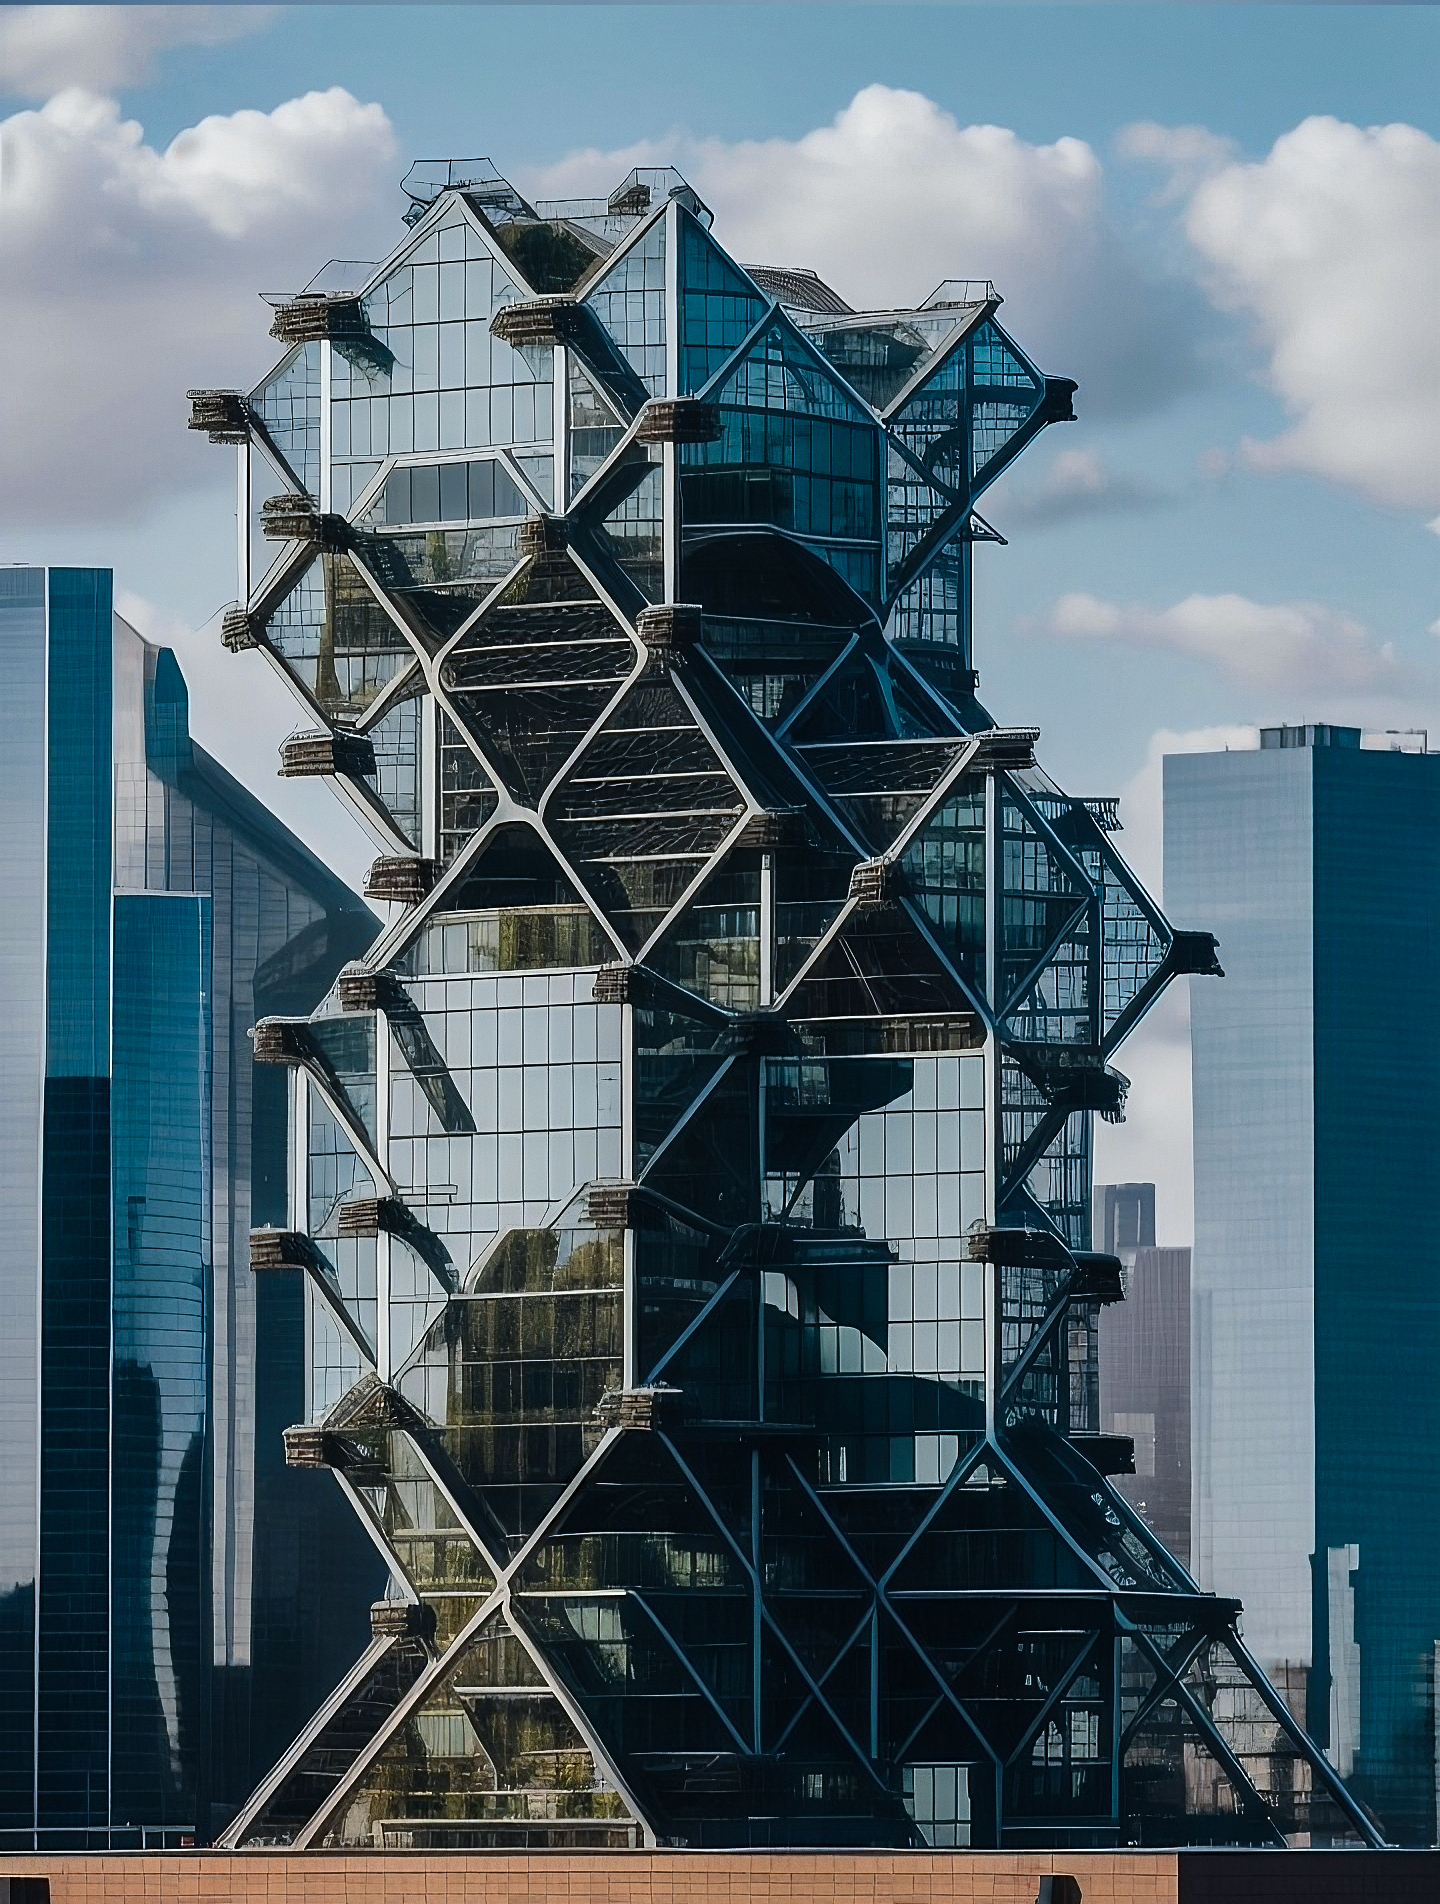
In the next one, we have Luis Kahn’s City Tower, and you can see the physical model of the project. Since it was a way more complex sketch to understand compared to the previous one, there are more problematic parts in the images, but overall mood and quality are better than I expected.
I really liked these parts in this image; I imagine these areas as greenhouses on the upper levels of this vertical city idea. And I really liked the lighting, sky color, and the reflections on these windows here.
I have posted all of them on my Instagram account; you can find all of them there too.
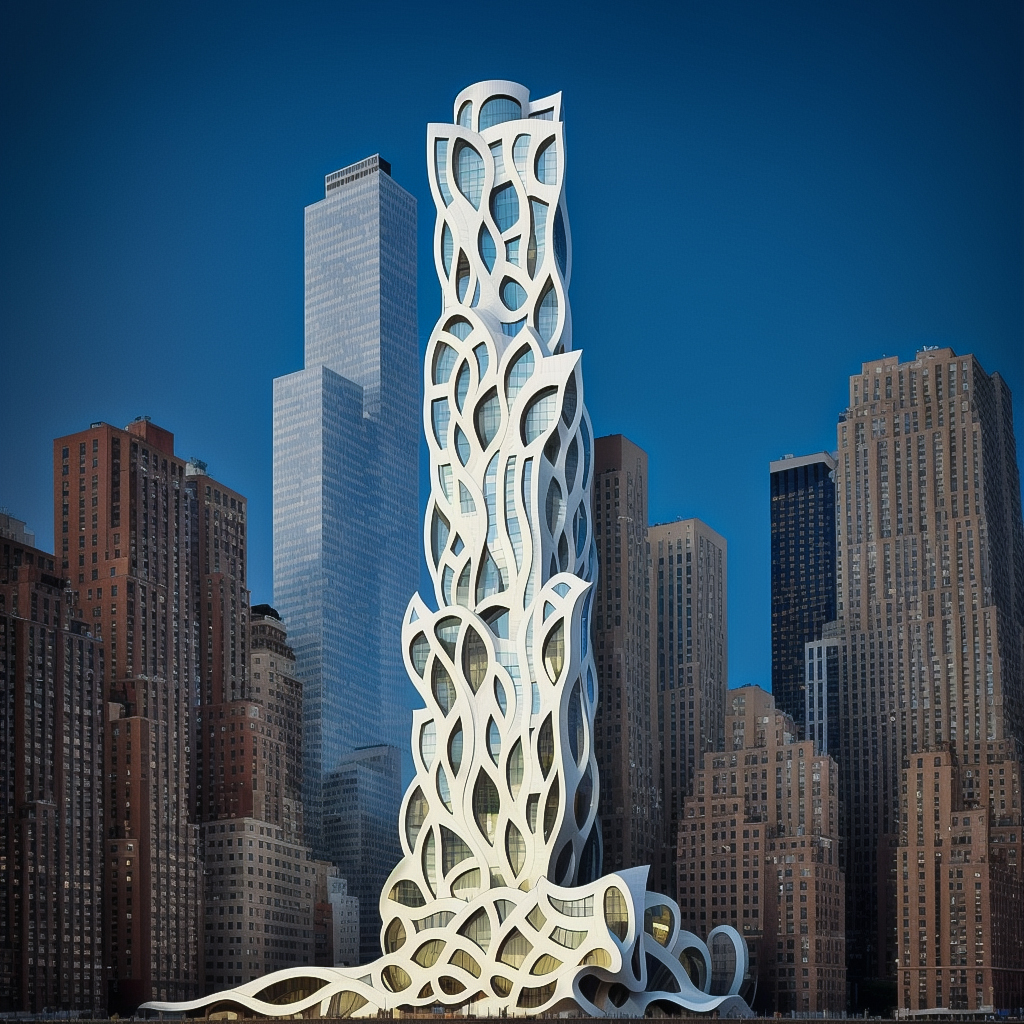
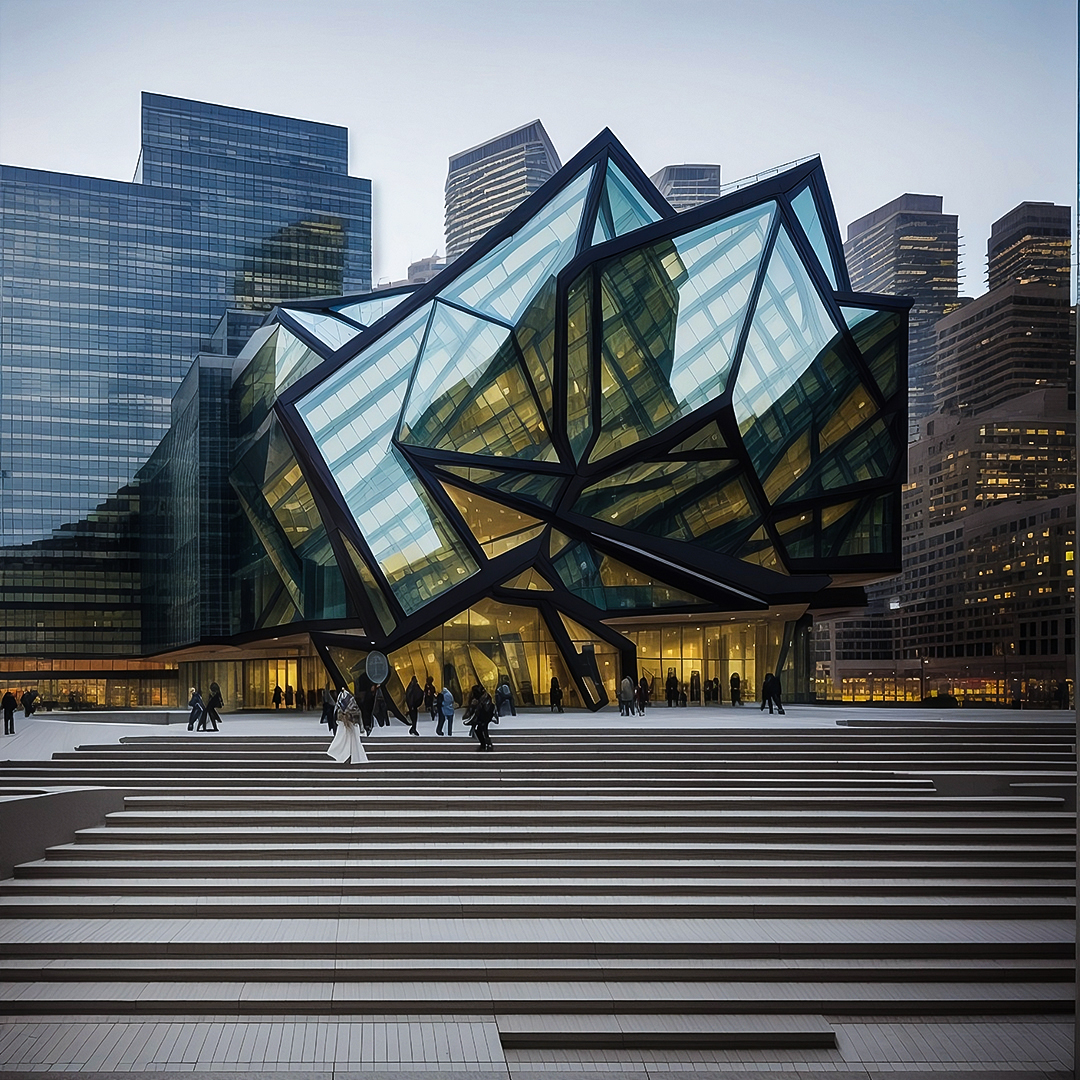
All the links for resources are in the video description. I only want to show my favorite one too, which is Frank Gehry’s Beekman Tower in New York.
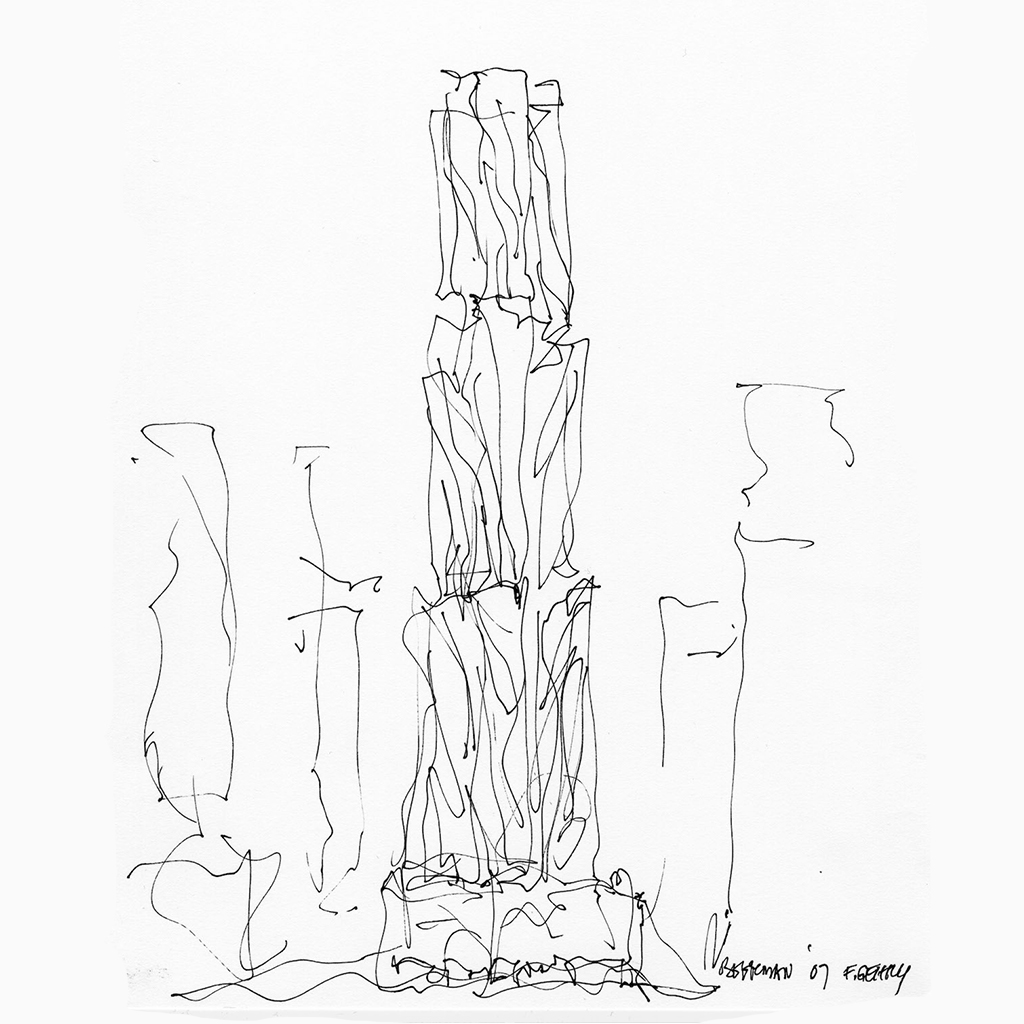
I loved this wavy form, similar to the sketch and the shape of the windows. And also with this larger bottom part. In all of the other ones, it only managed to create the main building without any additional buildings or context around the building or in the background. But in this one, the buildings in the background look super cool, and they create a nice contrast compared to our building with their darker tones and different materials.
Please let me know in the comments which one was your favorite one. And I am also curious to hear what you think about this workflow. Would you use a similar workflow for your own projects?
Starting from a sketch and then creating different versions of it using AI.
Thanks for watching till this moment; I hope you liked it; if you did, maybe you can enjoy this video too. See you in the next one!


 Just occasional emails with great value!)