Resources
- ComfyUI
- HuggingFace illusion Diffusion Space
- QR Monster ControlNet Model
- Realistic Vision v5.1
- ComfyUI Manager
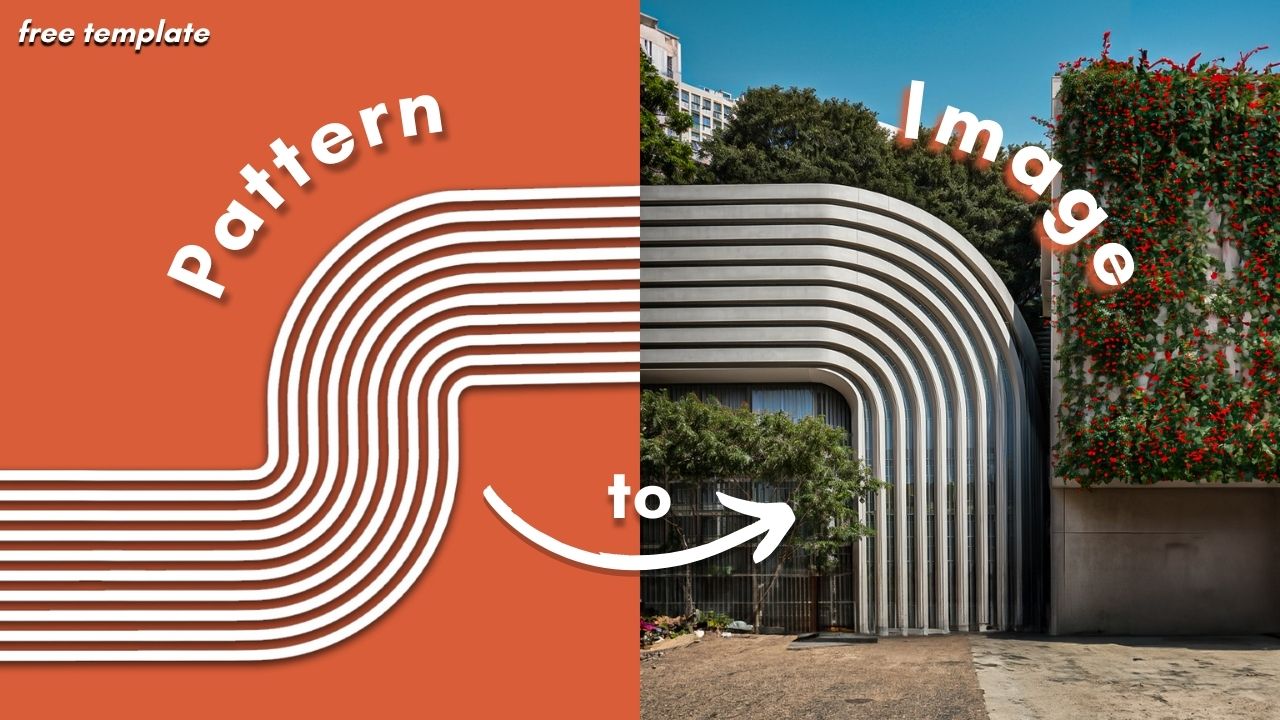
Did you see these images with some hidden message or patterns in them? Like these ones? Let me show you how to create one and I will share a ready-to-use template workflow, so you can generate one easily.
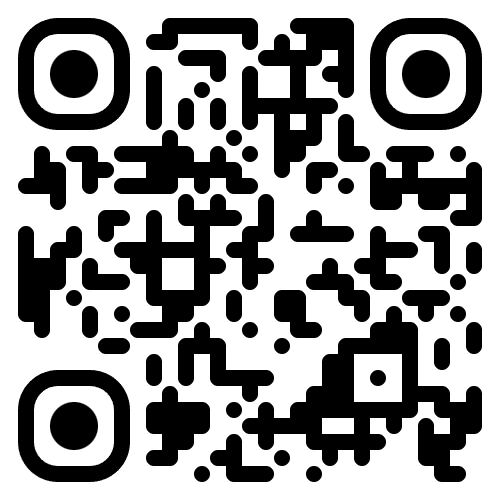
This workflow became popular first with QR codes. If you have seen these types of custom QR code images, it’s a similar workflow to that.
There is a ready-to-use Hugging Face space for this workflow, but I wasn’t able to use it because of the high demand. But you can try it from the link down below to see, maybe it will work for you, or you can clone the space to run it on your own.
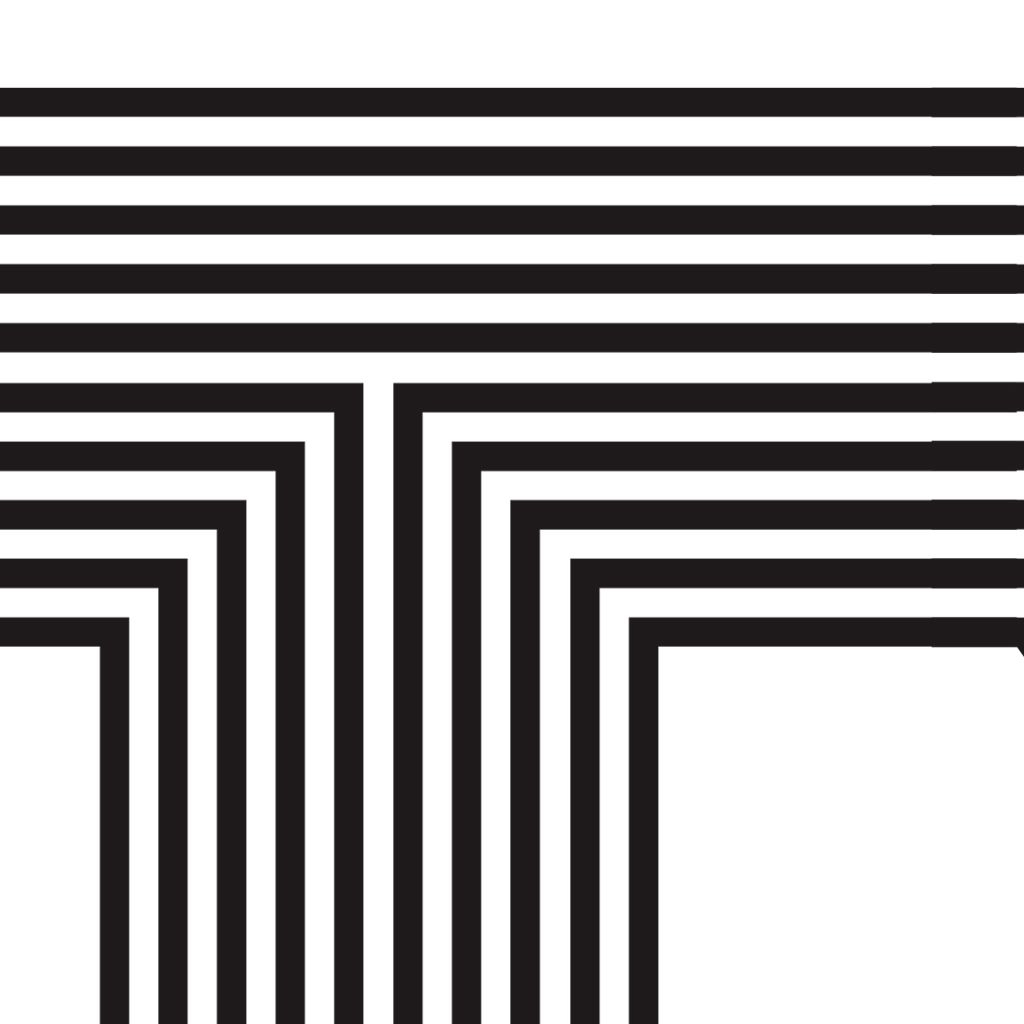
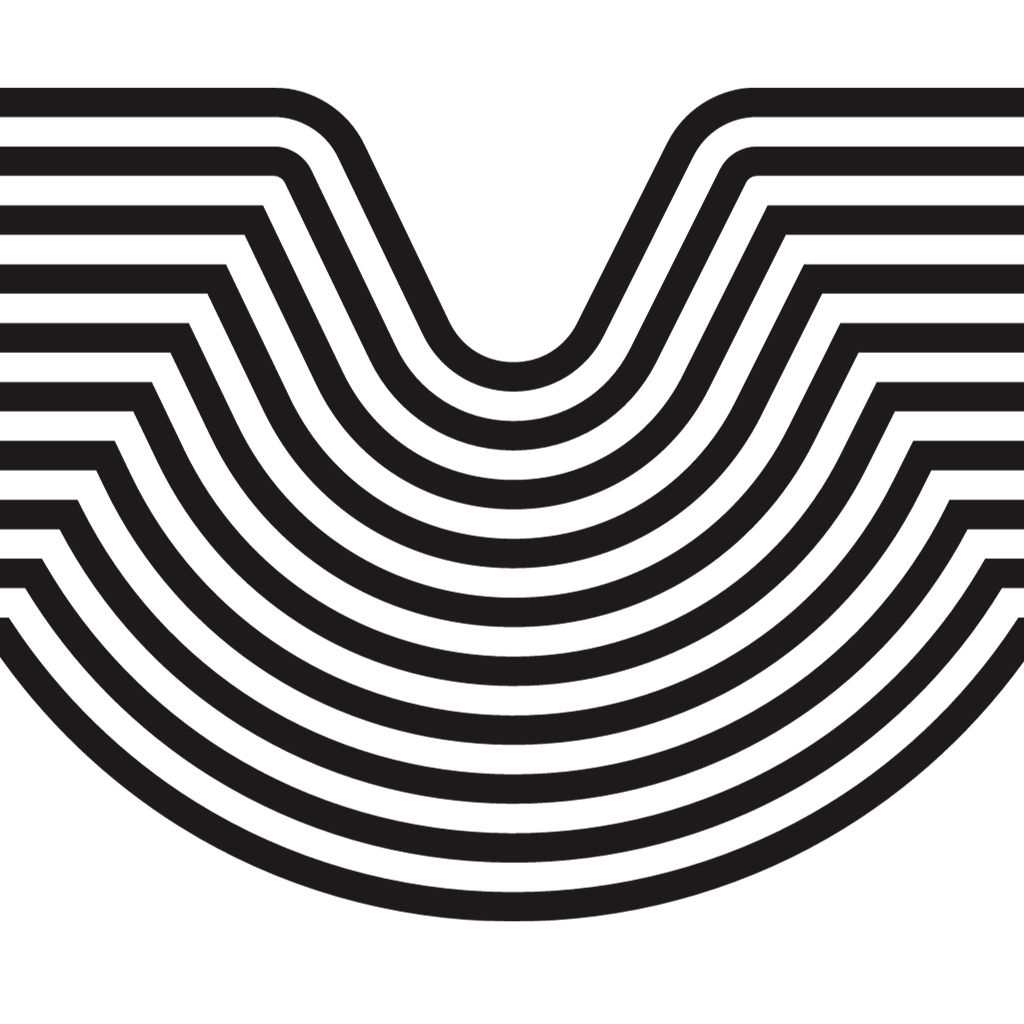
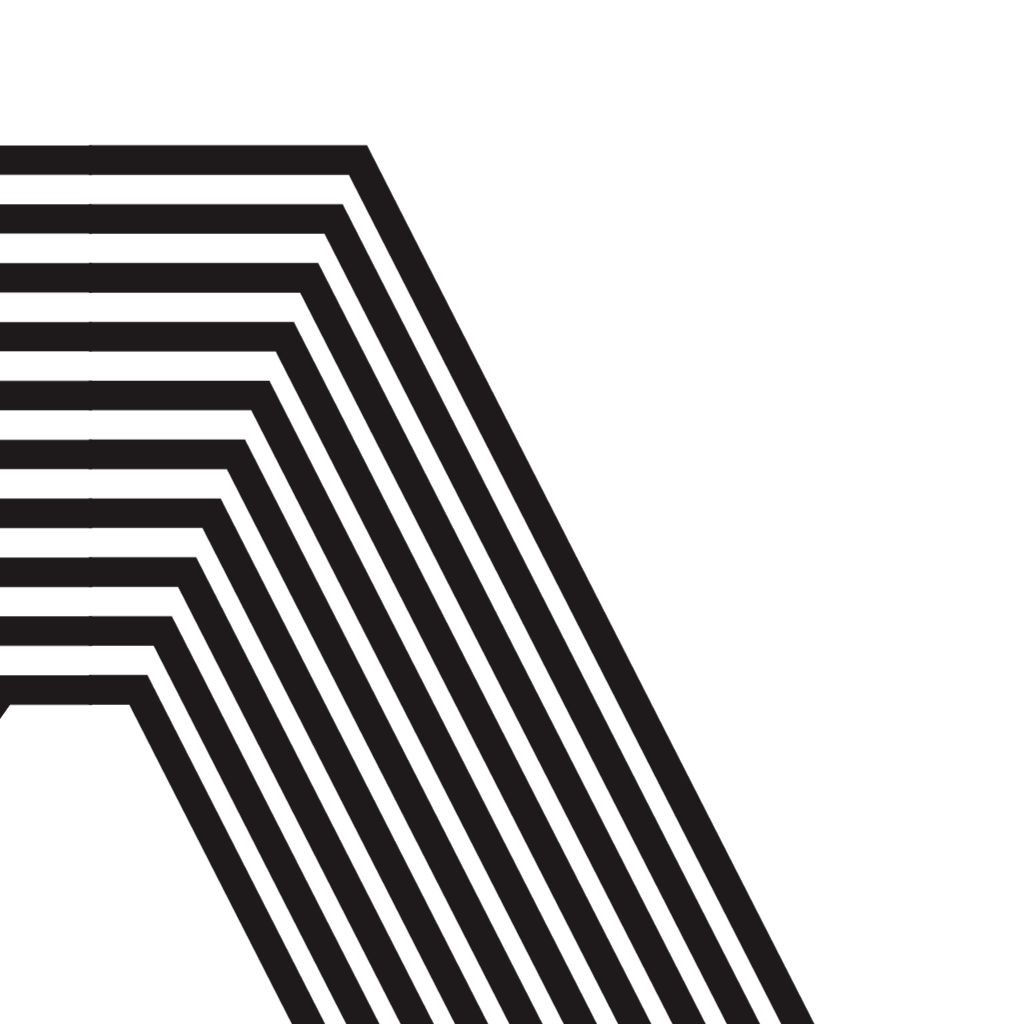
First, we need our base patterns. If you want you can also use a QR code, but I will just quickly create a pattern from Canva. I want to have three images next to each other like this, so I will create a canvas in these sizes. Then play with the patterns, hatches, and whatever you want actually. You can use patterns, hatches, text, and even portrait images.
Once it’s ready, let’s start to create our workflow. I will use Stable Diffusion with ComfyUI. If you are familiar with Grasshopper or any other similar visual programming environments, it’s really similar to that.
I really prefer ComfyUI compared to Automatic1111. Because you can create super flexible custom workflows, combine different methods and actually learn better how things are working. Automatic1111 is great but you don’t understand what is going on, what are the steps during an image generation with Stable Diffusion.
I will create a series of videos about ComfyUI soon, let me know if you are interested please.
ComfyUI has just one one-step installation process, you need to click this link to download and install all the necessary files. Once it’s done, just click to this “run_nvidia_GPU” to run it.
When you open it for the first time you will find an empty canvas like this.
Let’s start to place the necessary nodes one by one. First, we need to load the checkpoint we want to use. So double click to canvas and type “Checkpoint Loader” and click this option. From this menu, we can choose which checkpoint model we want to use. Now we need a place to put our prompts. I will type “CLIP Text Encode” and choose that option, and will connect the clip here. This will be the positive prompt, and I do the same thing for the negative one as well.
Now we need the main node for the generation, which is the “KSampler”. And I will simply connect the model, positive and negative prompts here. Lastly, we need the “Empty Latent Image” to generate an image. To be able to view the image, we need to connect this latent to a “VAE Decoder” and lastly attach it to a “Save Image” node.
This is the basic workflow for the “text-to-image” generation. The beauty of ComfyUI comes after this. Because you can add lots of different nodes, upscalers, and custom nodes to create your own unique workflow for the project you are doing.
I don’t want to go more in-depth on ComfyUI because I will do that in a future series. For now, you can use the image I attached in the resources to copy all of these settings, nodes, prompts to your canvas and use it.
To do that, we need one extension called ComfyUI Manager to be able to download custom nodes easily inside the ComfyUI window and the QR Monster ControlNet model.
You can download this model here and place it under models and ControlNet folder. If you already use Automatic1111 and want to use the same models, controlnets inside ComfyUI, find this “extra_model_files.yaml” file open it with notepad and add your automatic1111 file path to here.
After you save it, you will be able to use all of your models from Automatic1111 in ComfyUI as well.
For the ComfyUI Manager, open the link in the description and copy this link. Now open your ComfyUI folder, go to the custom_nodes folder, click to this path area, type “cmd” and hit enter. Then in this terminal window type “git clone https://github.com/ltdrdata/ComfyUI-Manager.git” and enter. It will install automatically and when it’s done you can close the terminal and restart ComfyUI.
git clone https://github.com/ltdrdata/ComfyUI-Manager.gitAfter you open it again, just hold the image I shared and drop it to your canvas. And you will get the exact workflow with the settings. You may see some red nodes because of missing nodes. Click to this manager tab and say install missing custom nodes.
It will automatically download all the missing nodes and now you can use it to generate images.
I can hear you saying “finally” but you only need to do this once. Later you can copy any workflow to your canvas. The other benefit of this user interface is, for me it’s almost 2 times faster than Automatic1111 and uses less VRAM. I can’t generate images with the new SDXL model on Automatic1111 easily, but with ComfyUI it’s totally good.
Now, you can upload your base image here. Let’s add this first and we can type our prompt here. With these controlnet settings you can adjust the effect of the base pattern to the final image. I find that I like the results between 0.5 and 0.9, let’s say. And start from 0.15 till 0.9. This means the base image will start affecting the generation from 15% of the generation and will end at 90%.
Of course, you can play with these settings and see how you like it better.
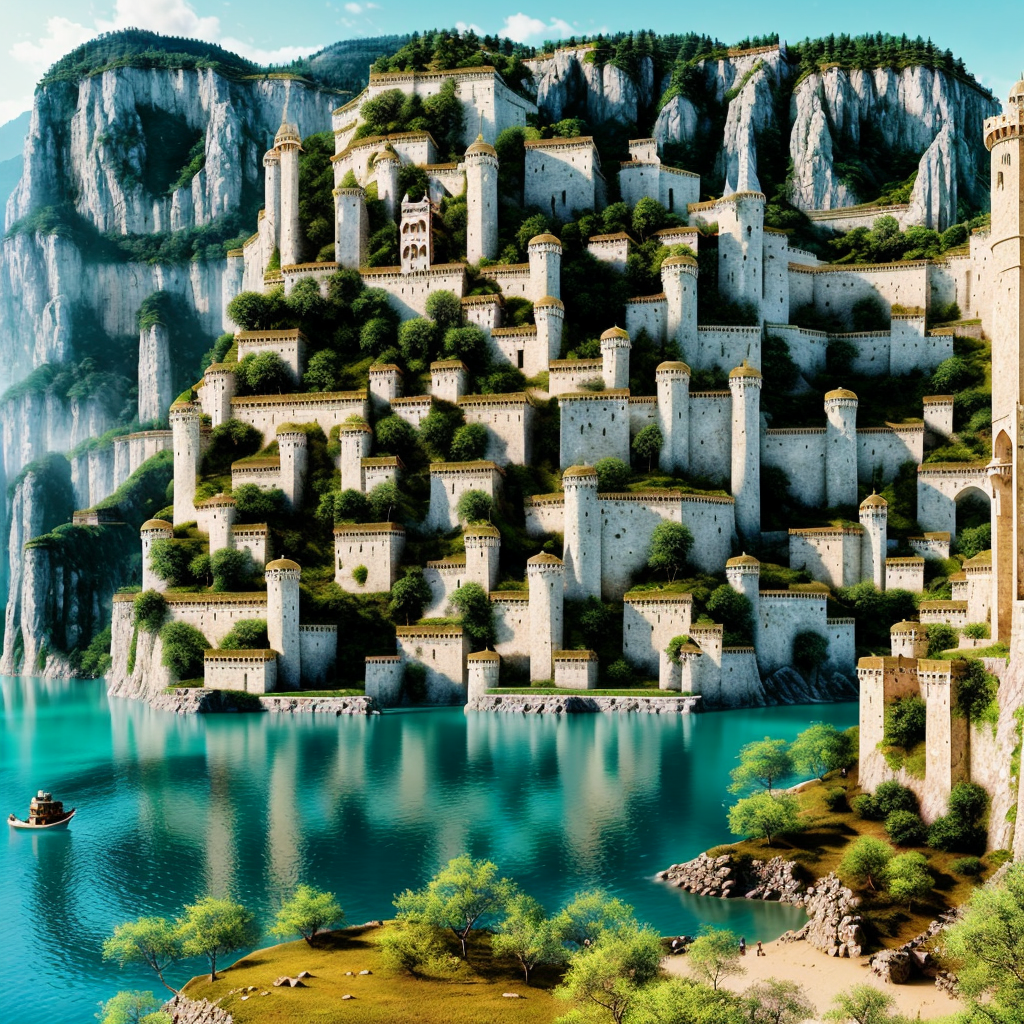
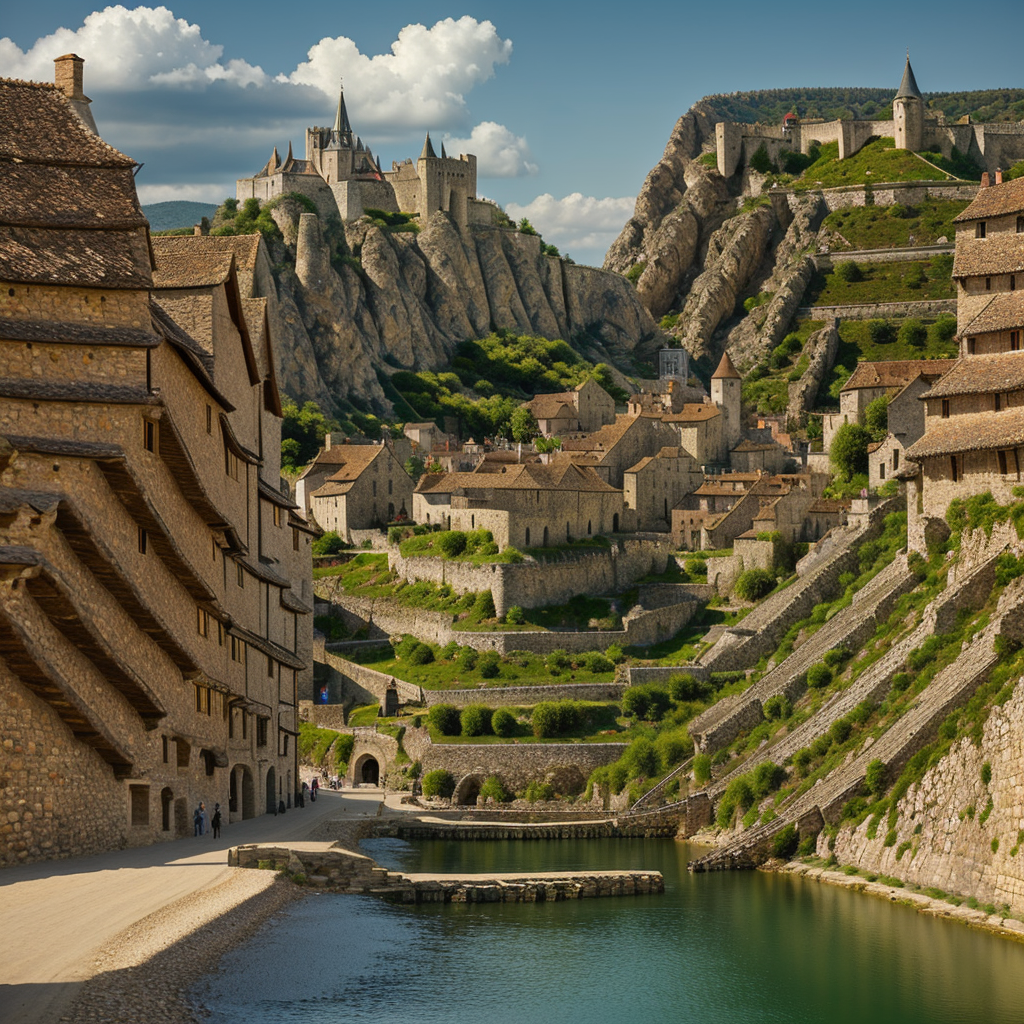
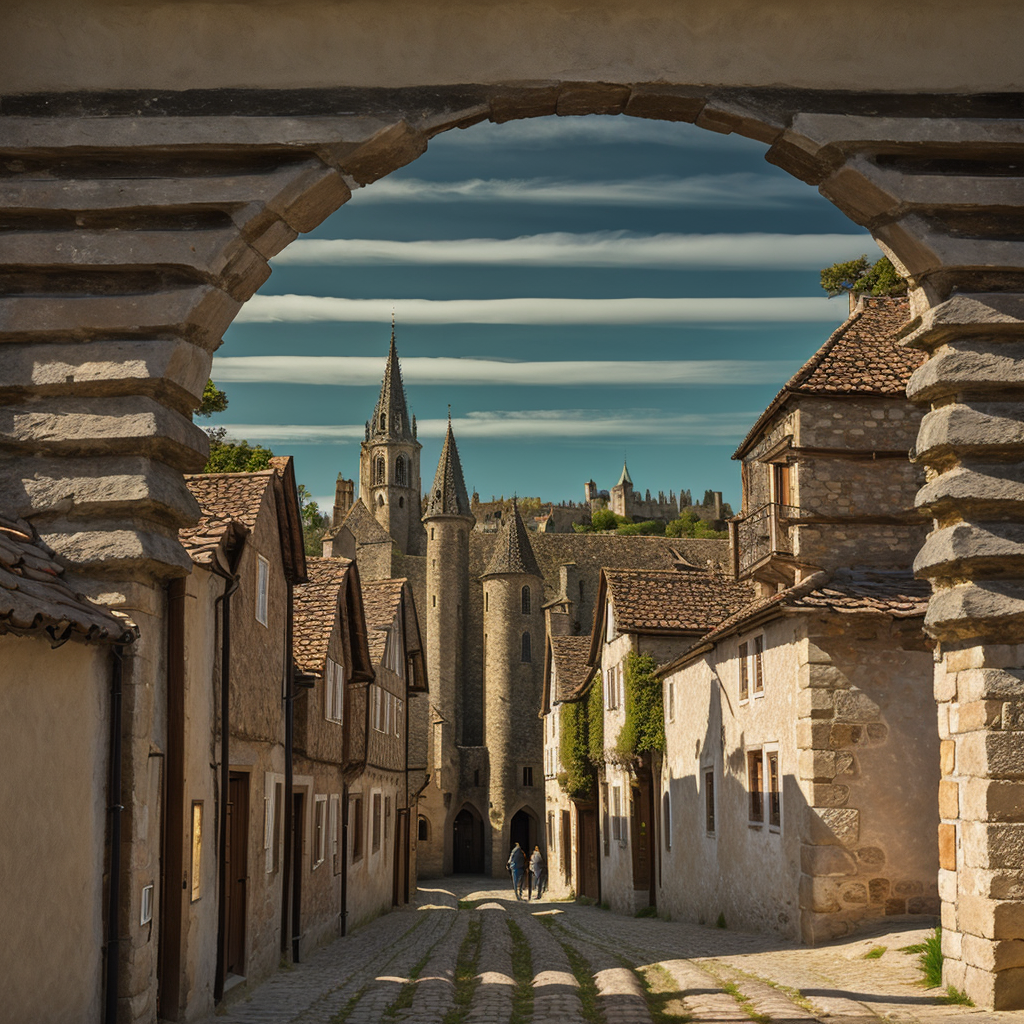
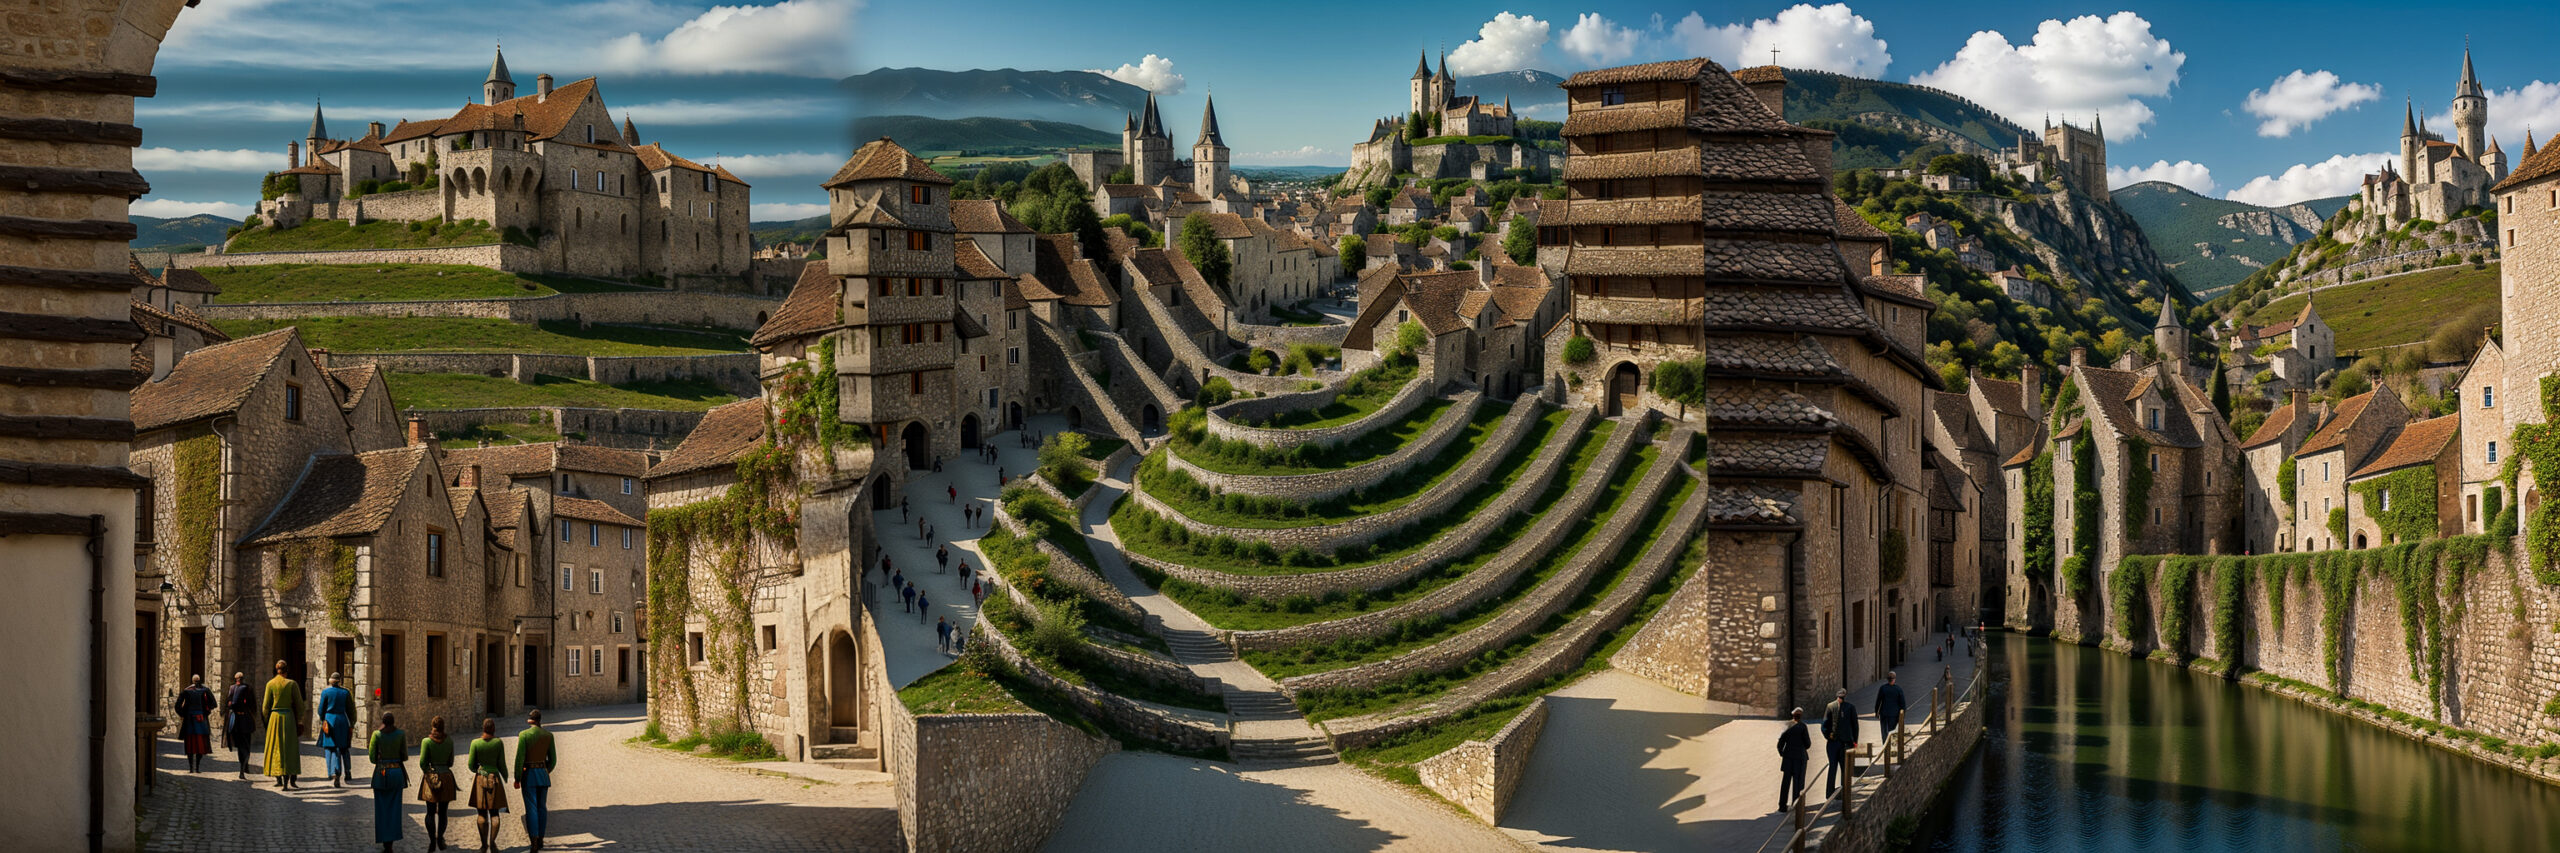
I first tried it with this prompt from Ugleh for the medieval town with the Realistic Vision 5.1 model. Here are some of the results and all of them together. It turned out really cool.
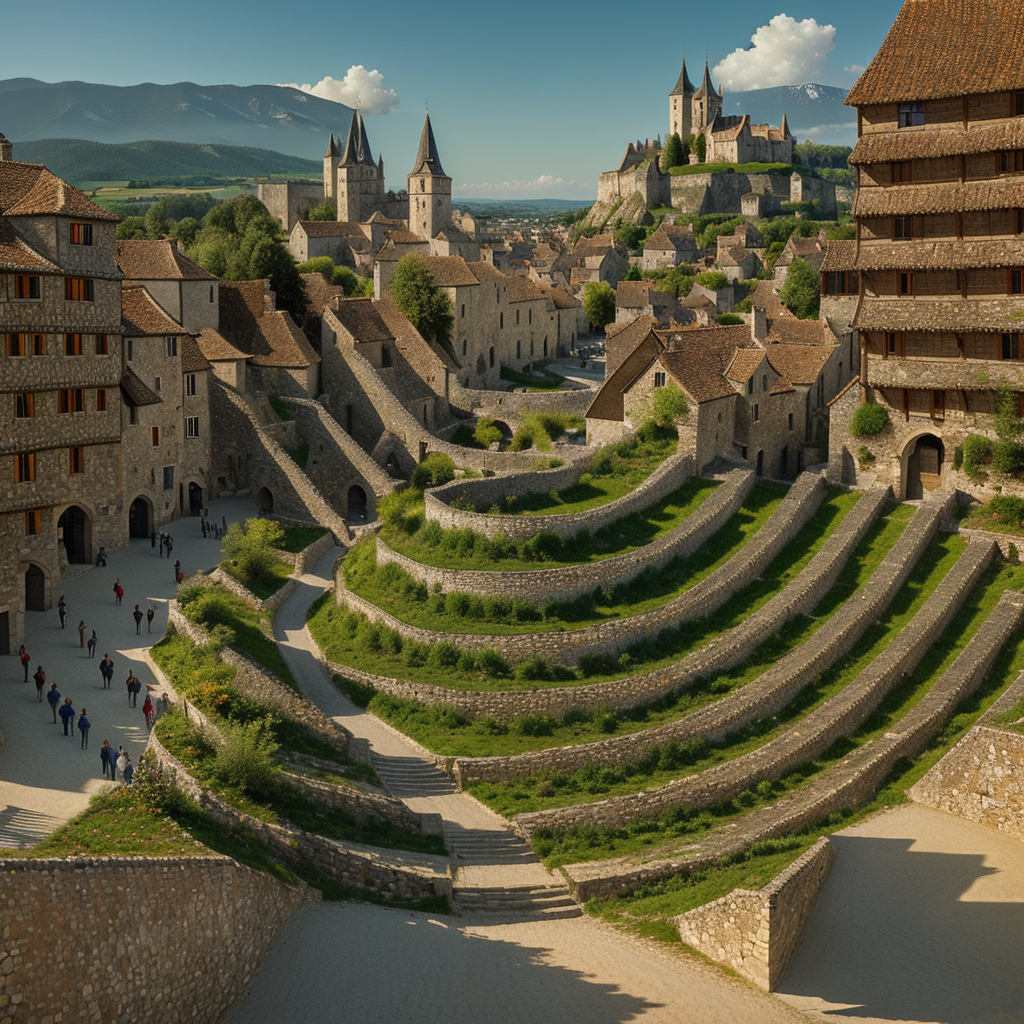
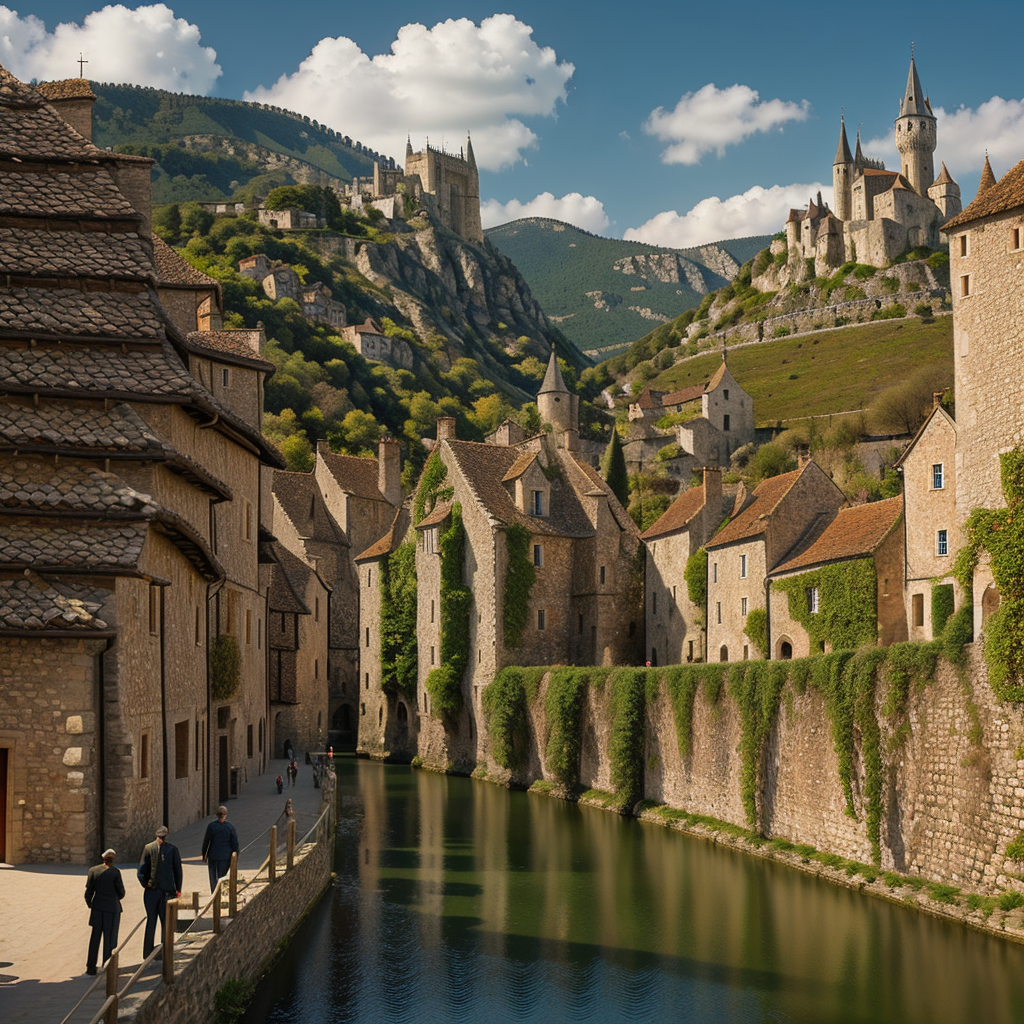
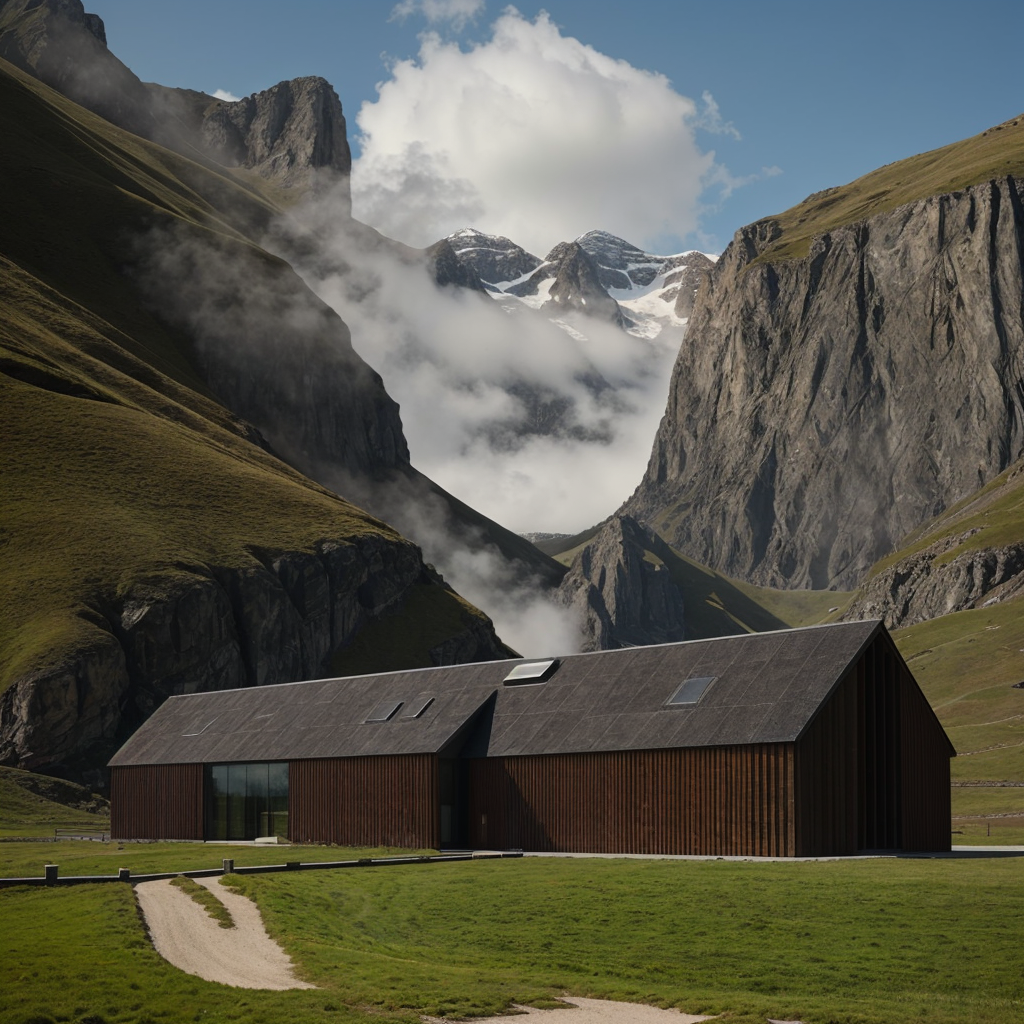
I think one trick is, you need some elements in your prompt to be able to fill the pattern properly throughout the whole image.
For example, it would be really challenging to add something here other than clouds or maybe some tree branches. So keep that in mind when you are adding your prompt.
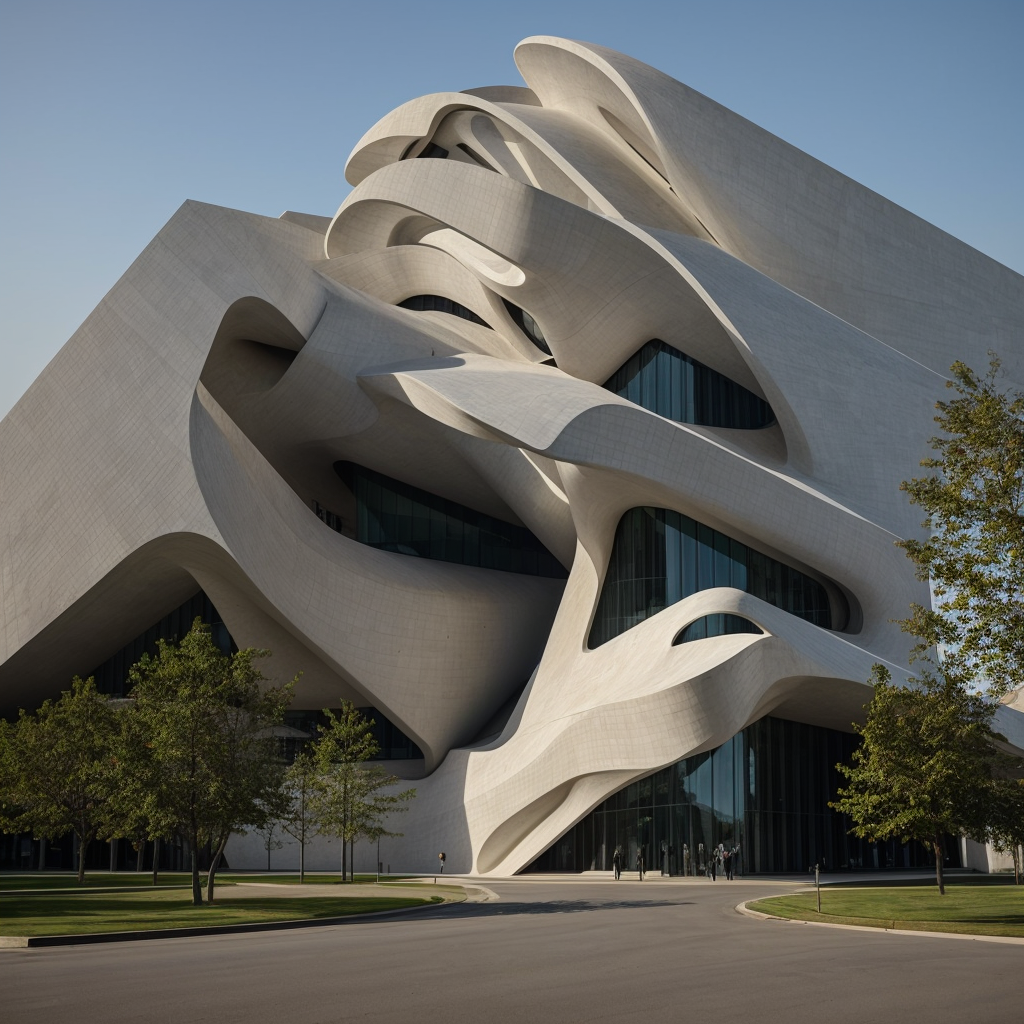
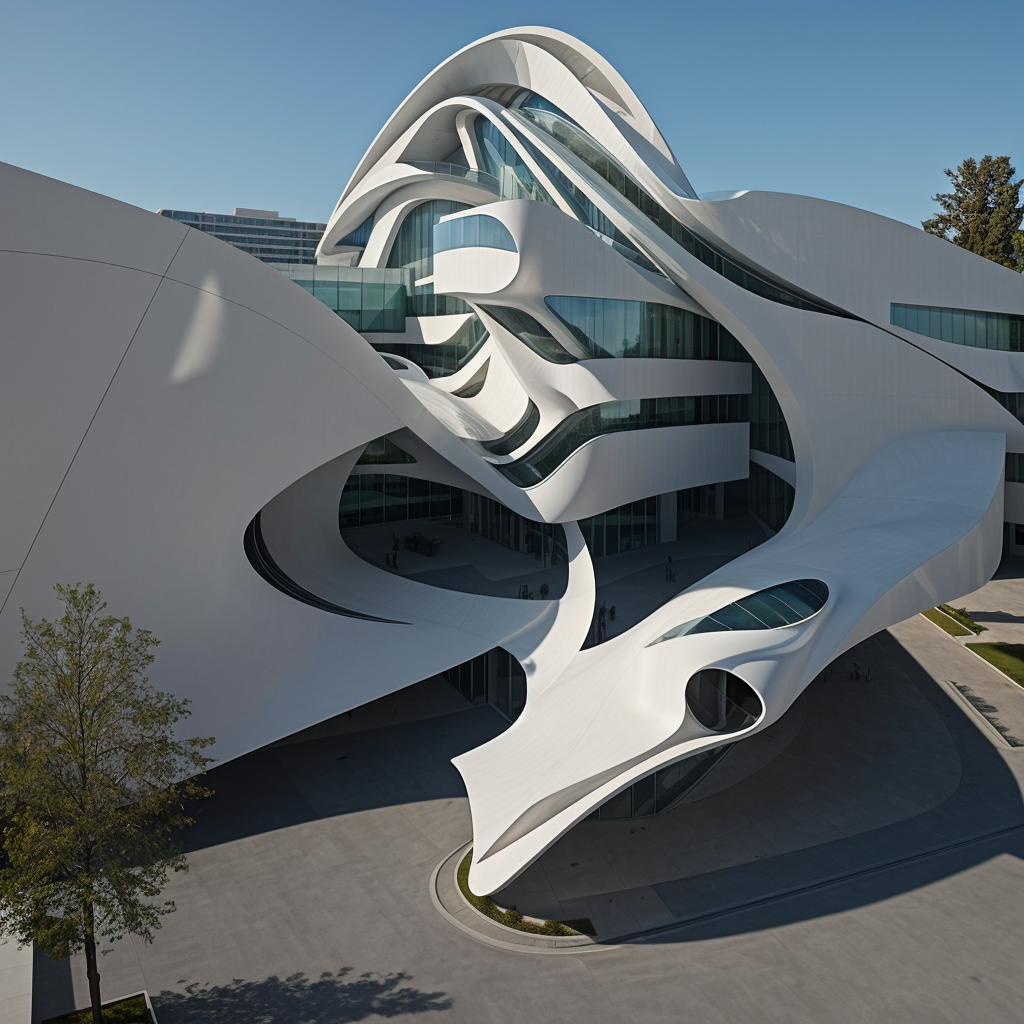
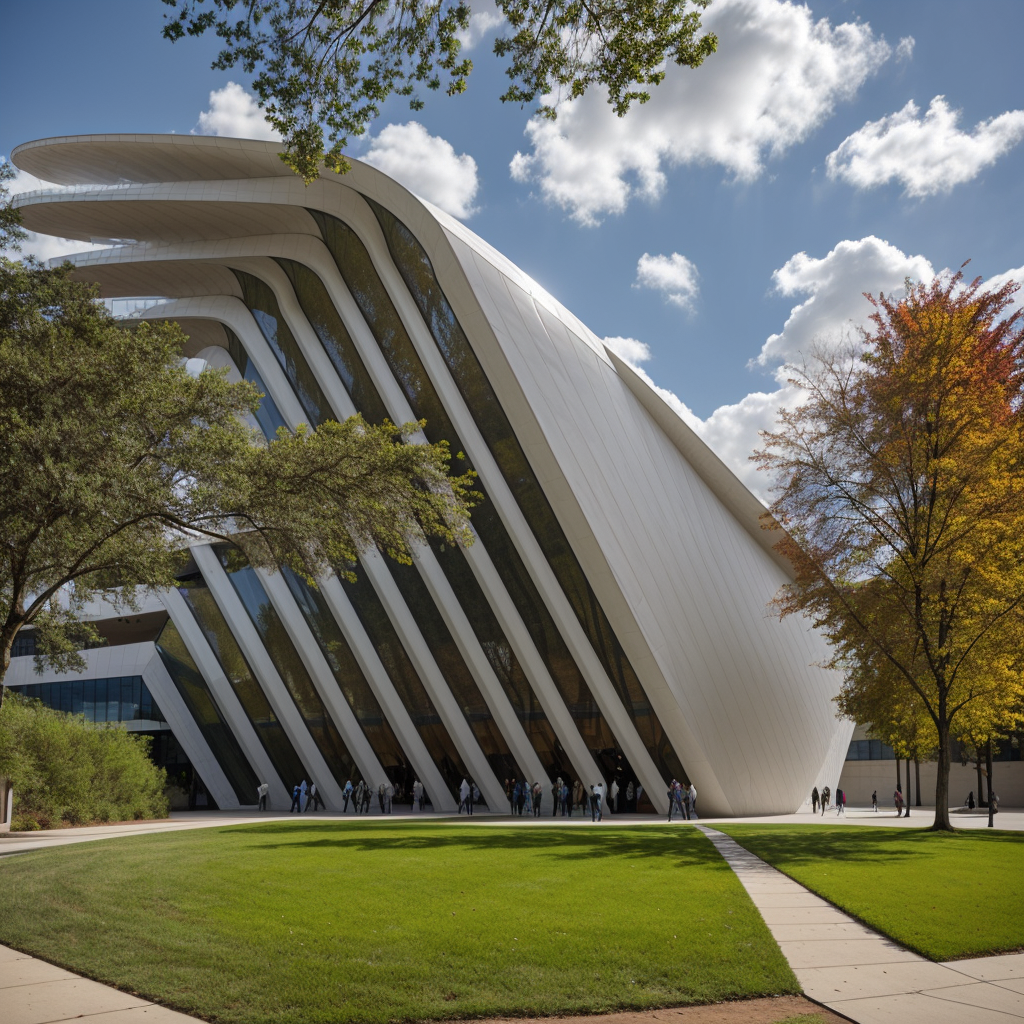
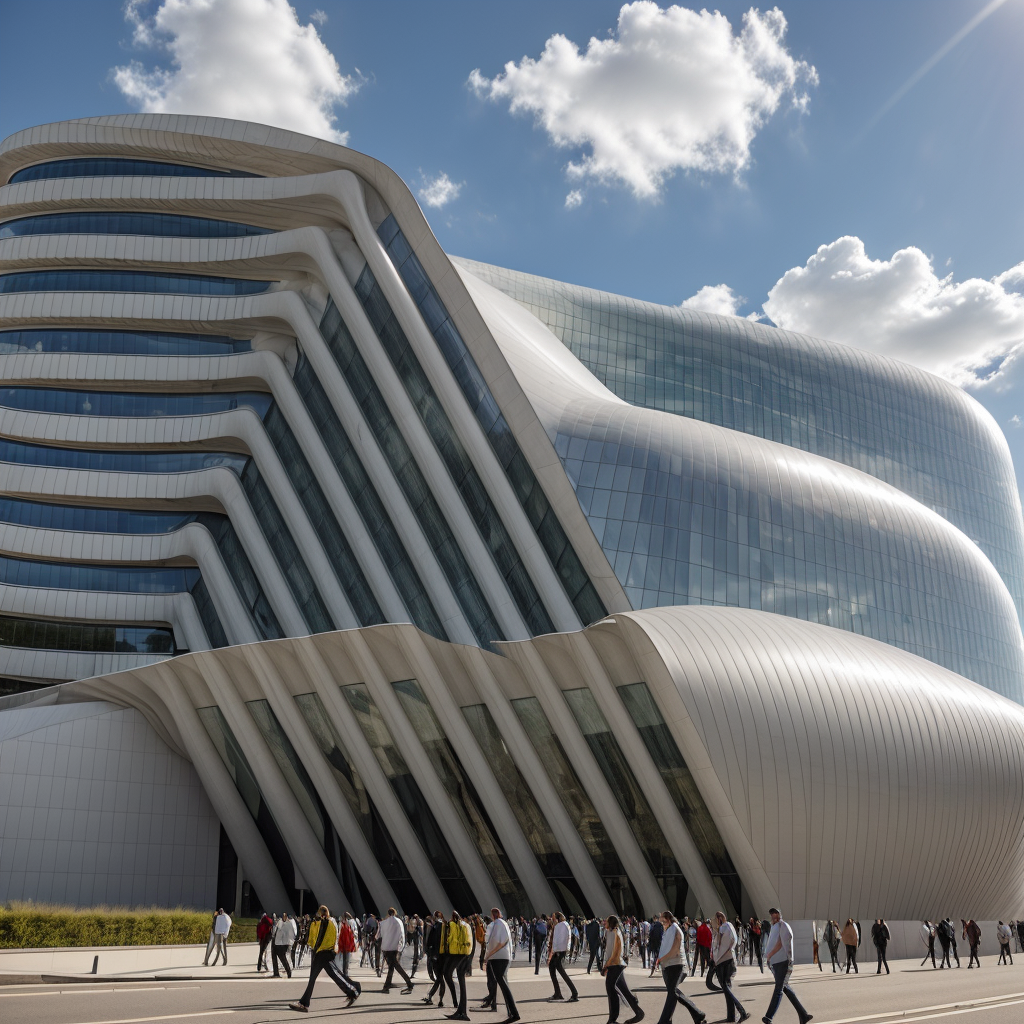
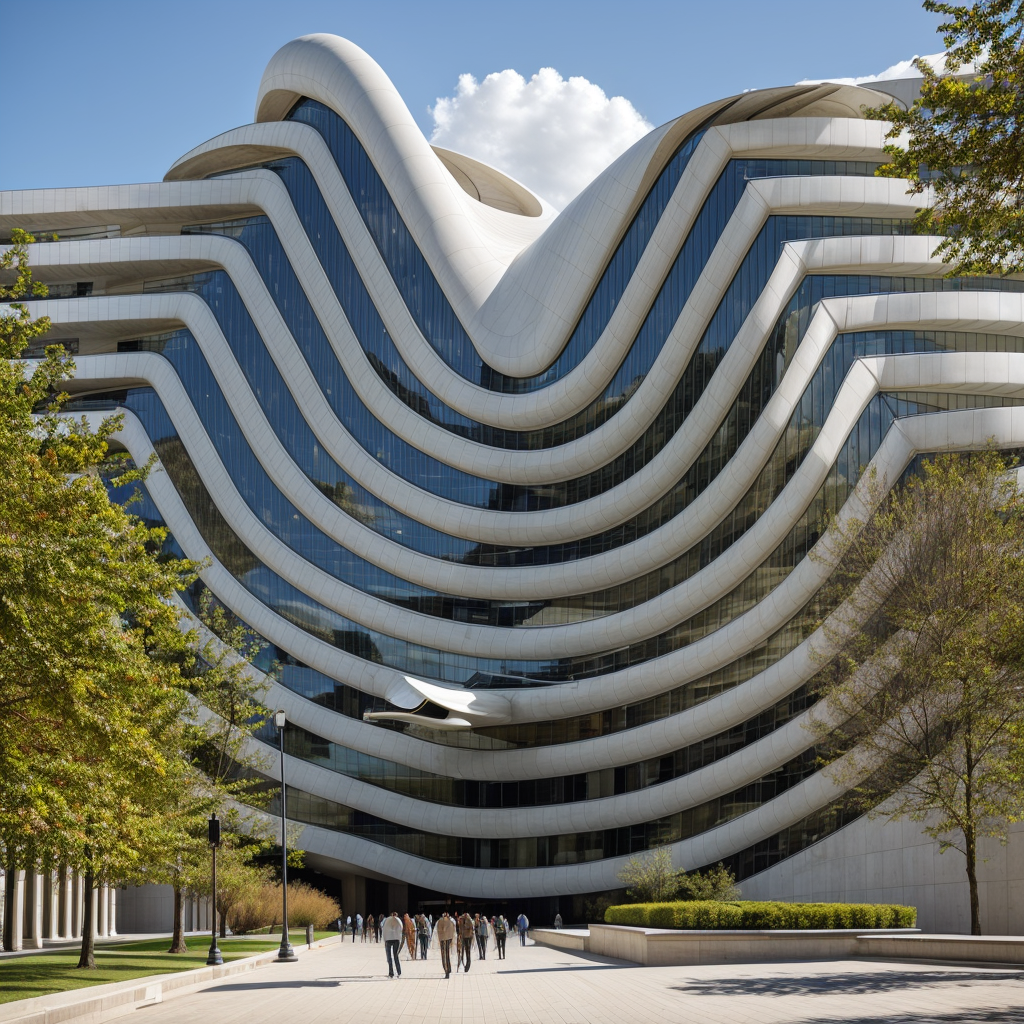
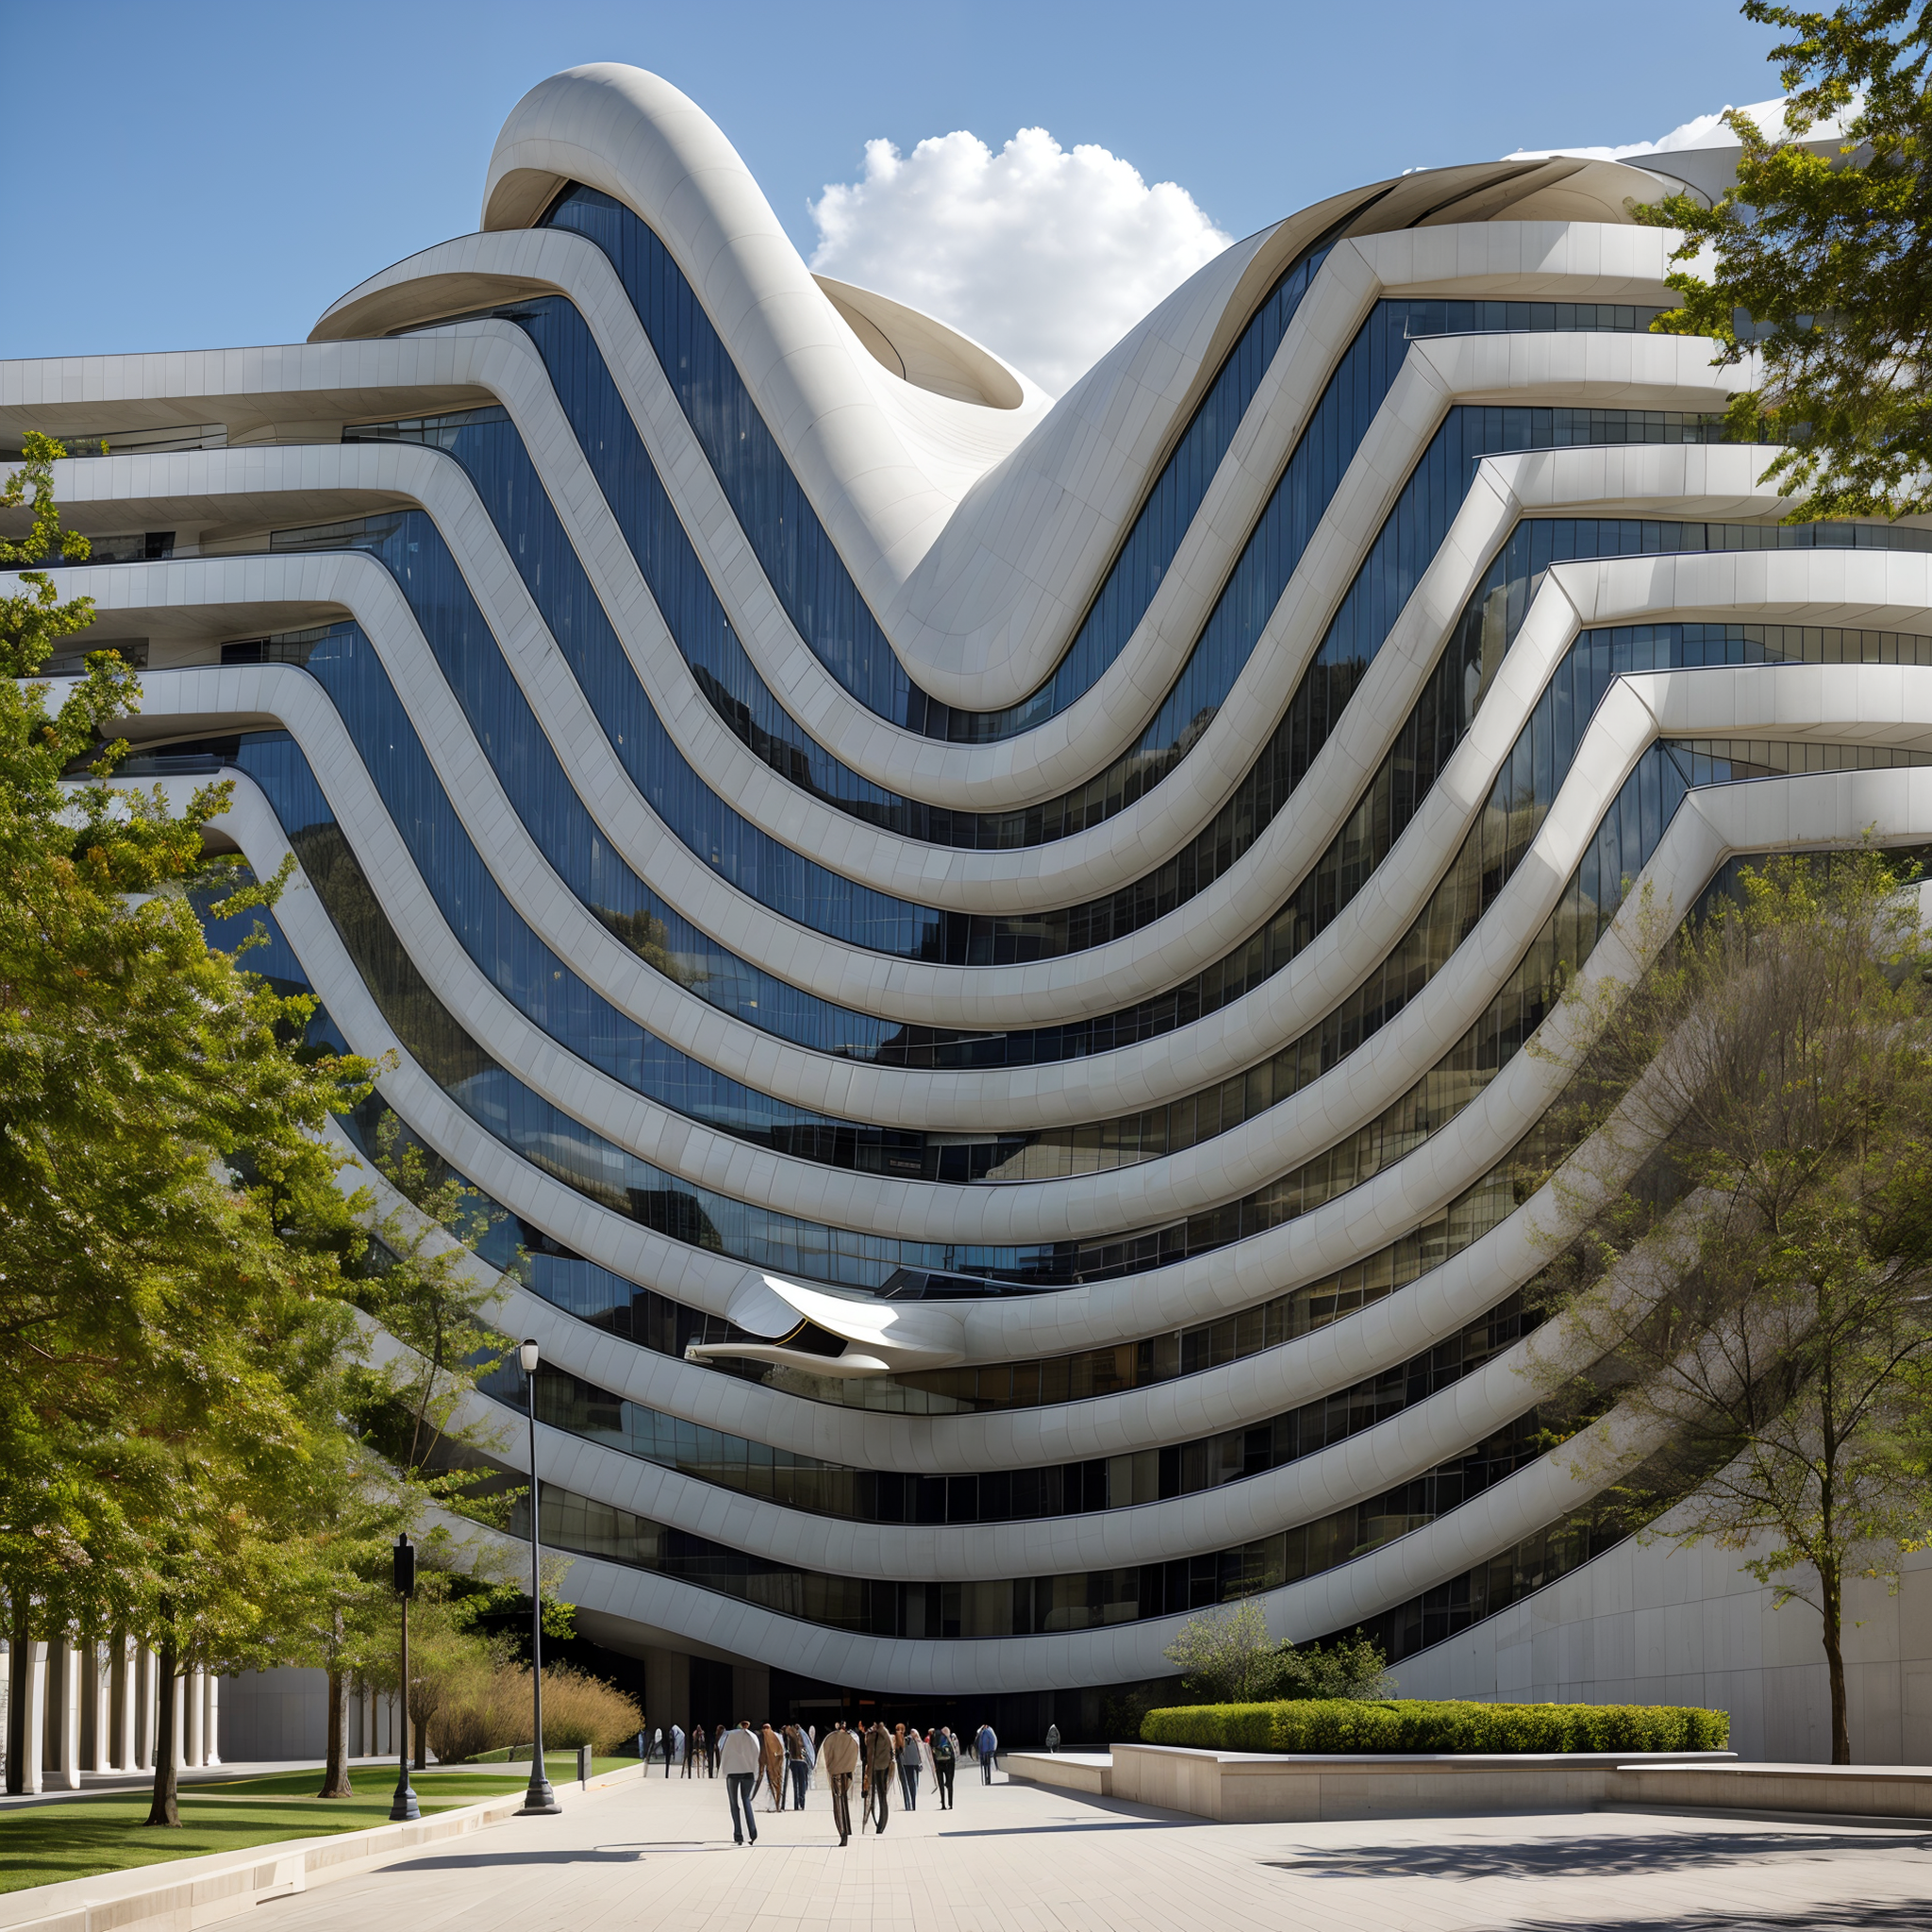
Later I created another set of images but for something more modern this time, like this.
And I attached an image upscaler at the end of the workflow, so if you like an image you can upscale it with this component automatically. It can take some time because it will generate the whole image tile-by-tile.
Here is the comparison between the normal and upscaled versions.
After I finished all of them, here are the final images.
You can find all the tools, extensions, and the images for the workflow in the resources.
Let me know what you think about this workflow and if you are interested in a more detailed/focused tutorial about ComfyUI.
I hope you liked it, thanks for watching till now and see you in the next one!


 Just occasional emails with great value!)