Resources
Now it is possible to this to extend your image or add any object you want to your design just with one click, directly inside Photoshop. Yesterday Adobe announced a huge update. They integrated their generative AI Firefly into Photoshop. Adobe had a live session for almost 8 hours yesterday, and I watched the whole thing, and in this video, I will share all of the tips from there.
They announced new adjustment presets, a remove tool, an updated gradient tool, a new toolbar, and of course, the main star of the update, generative fill, which you can transform your images to something like this using only Photoshop. If you want to use it, you just need to download the Photoshop beta version. You can find it here in the adobe creative cloud app. You don’t need to wait for any beta access. If you have an Adobe subscription, you can use it right now.
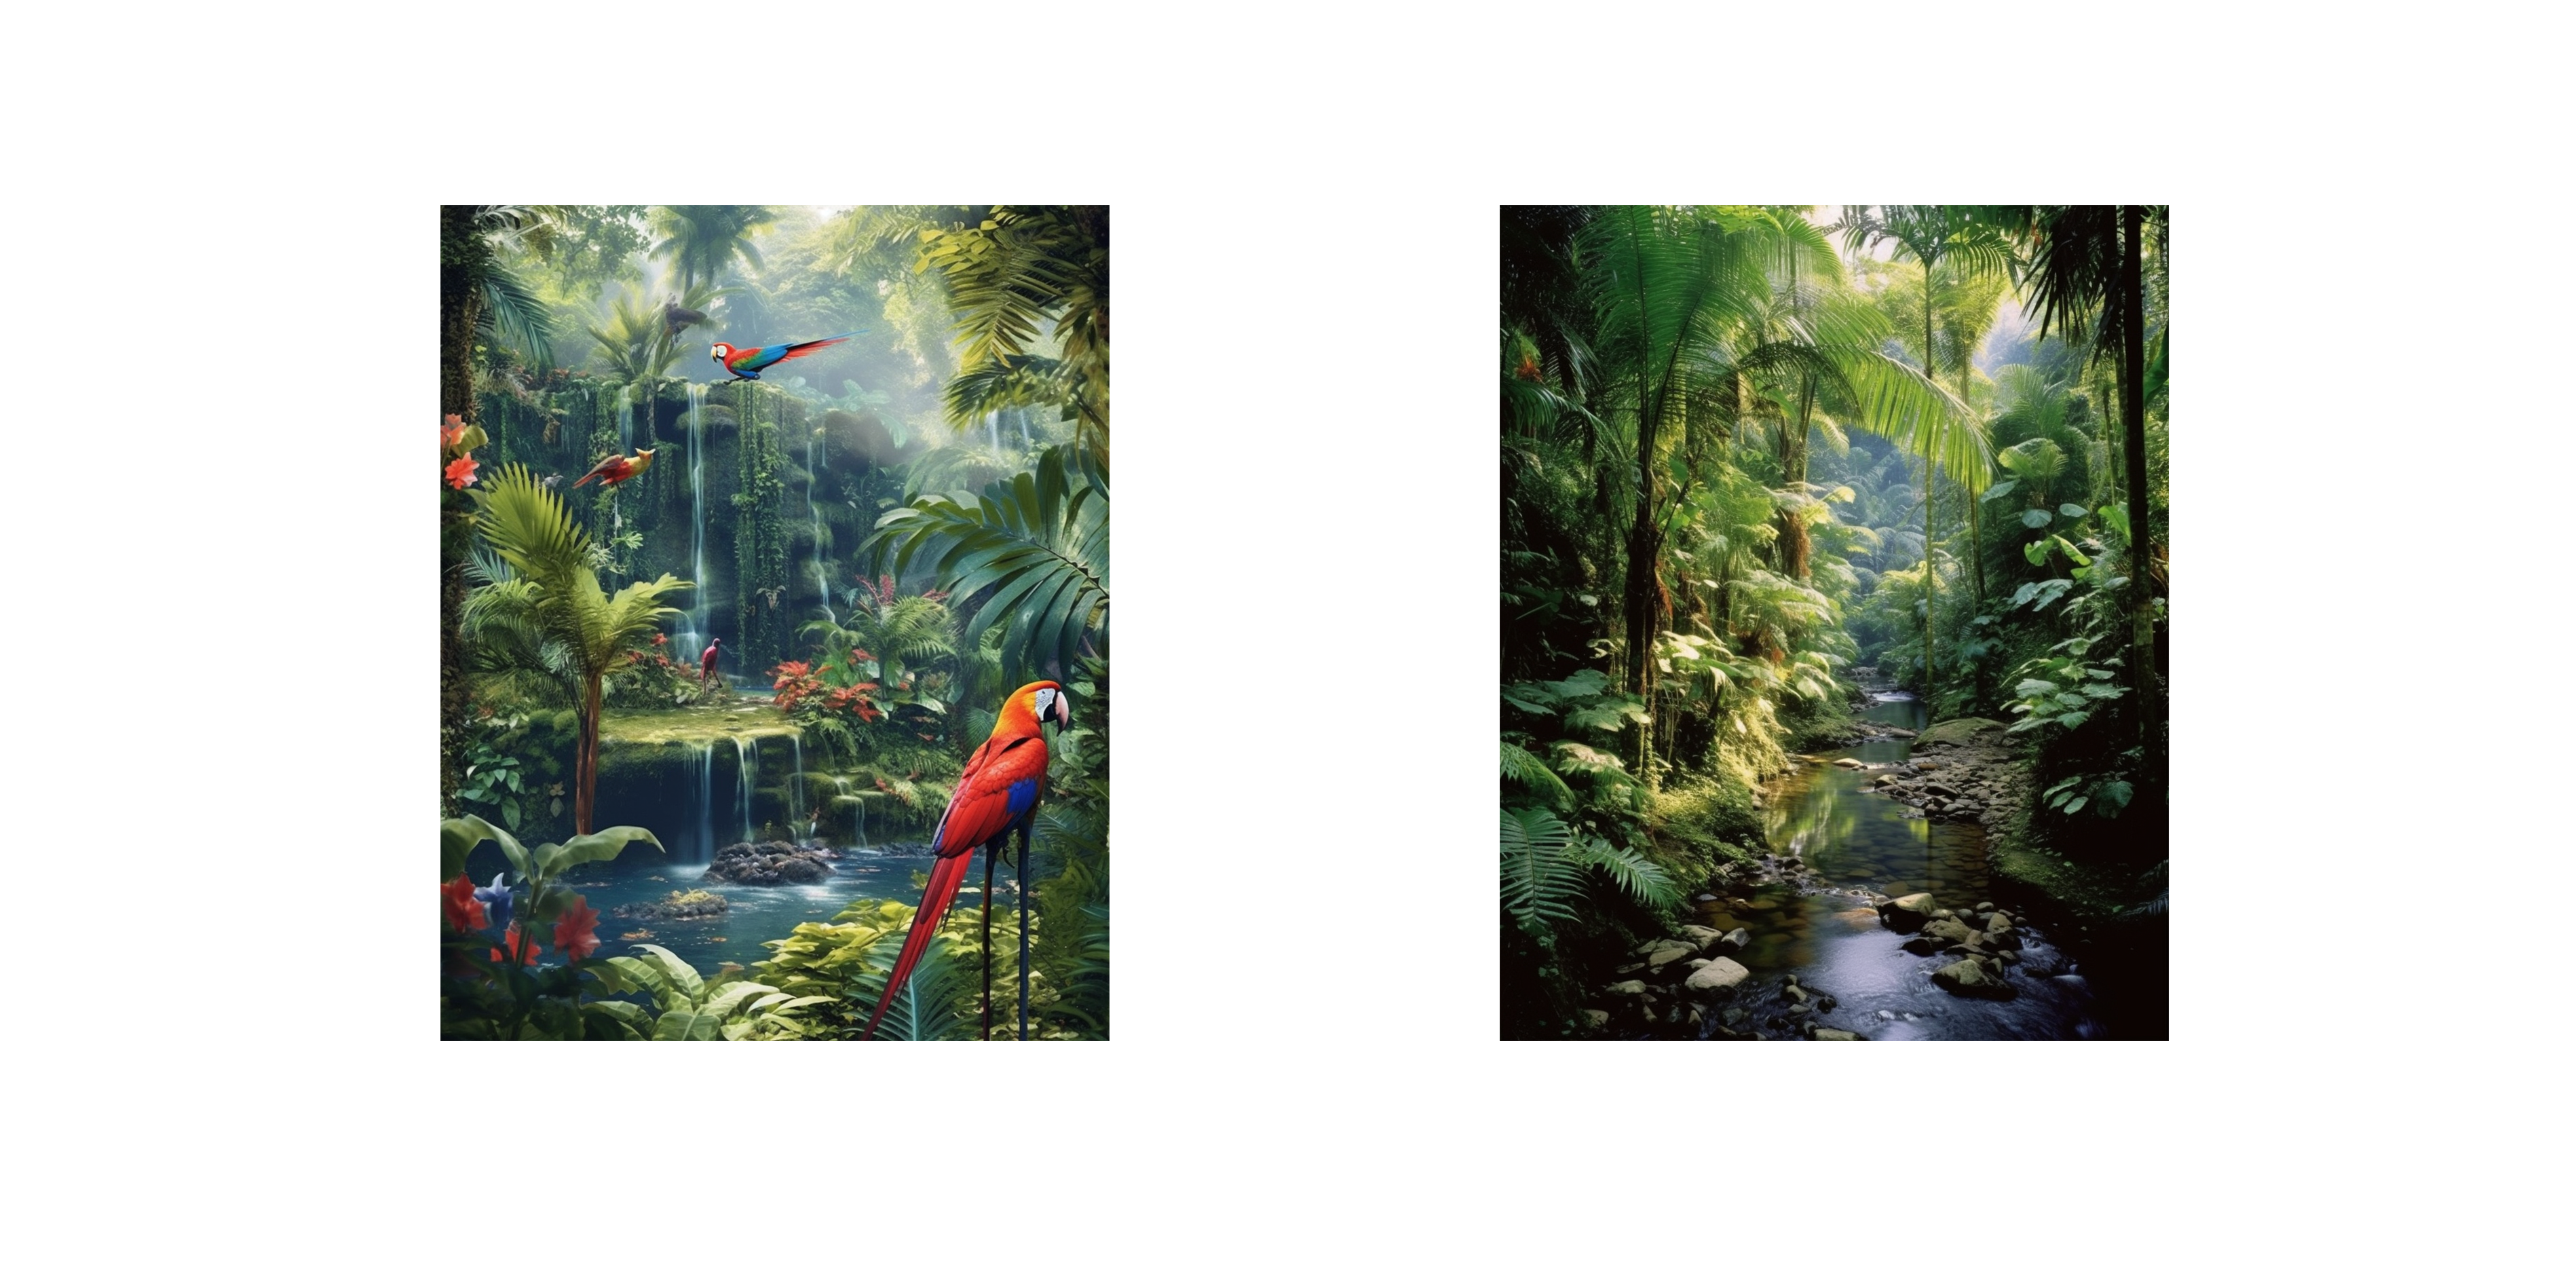
I have this image from Midjourney, which I really like, but I want to add more context to the left and right parts and maybe remove one of the cars. As you may notice, we have a new menu on the bottom part, which you can hold and move around the canvas. This menu is one of the new features with this update. If you don’t see it, you can turn it on from the Windows tab. Now we have two main buttons on this menu, select subject and remove background. But depending on the tool we choose, we get different options in this menu. For example, let’s choose this car with the lasso tool. As you can see, we have other options right now, and the main one is the generative fill option which is definitely the most exciting part of this new update.
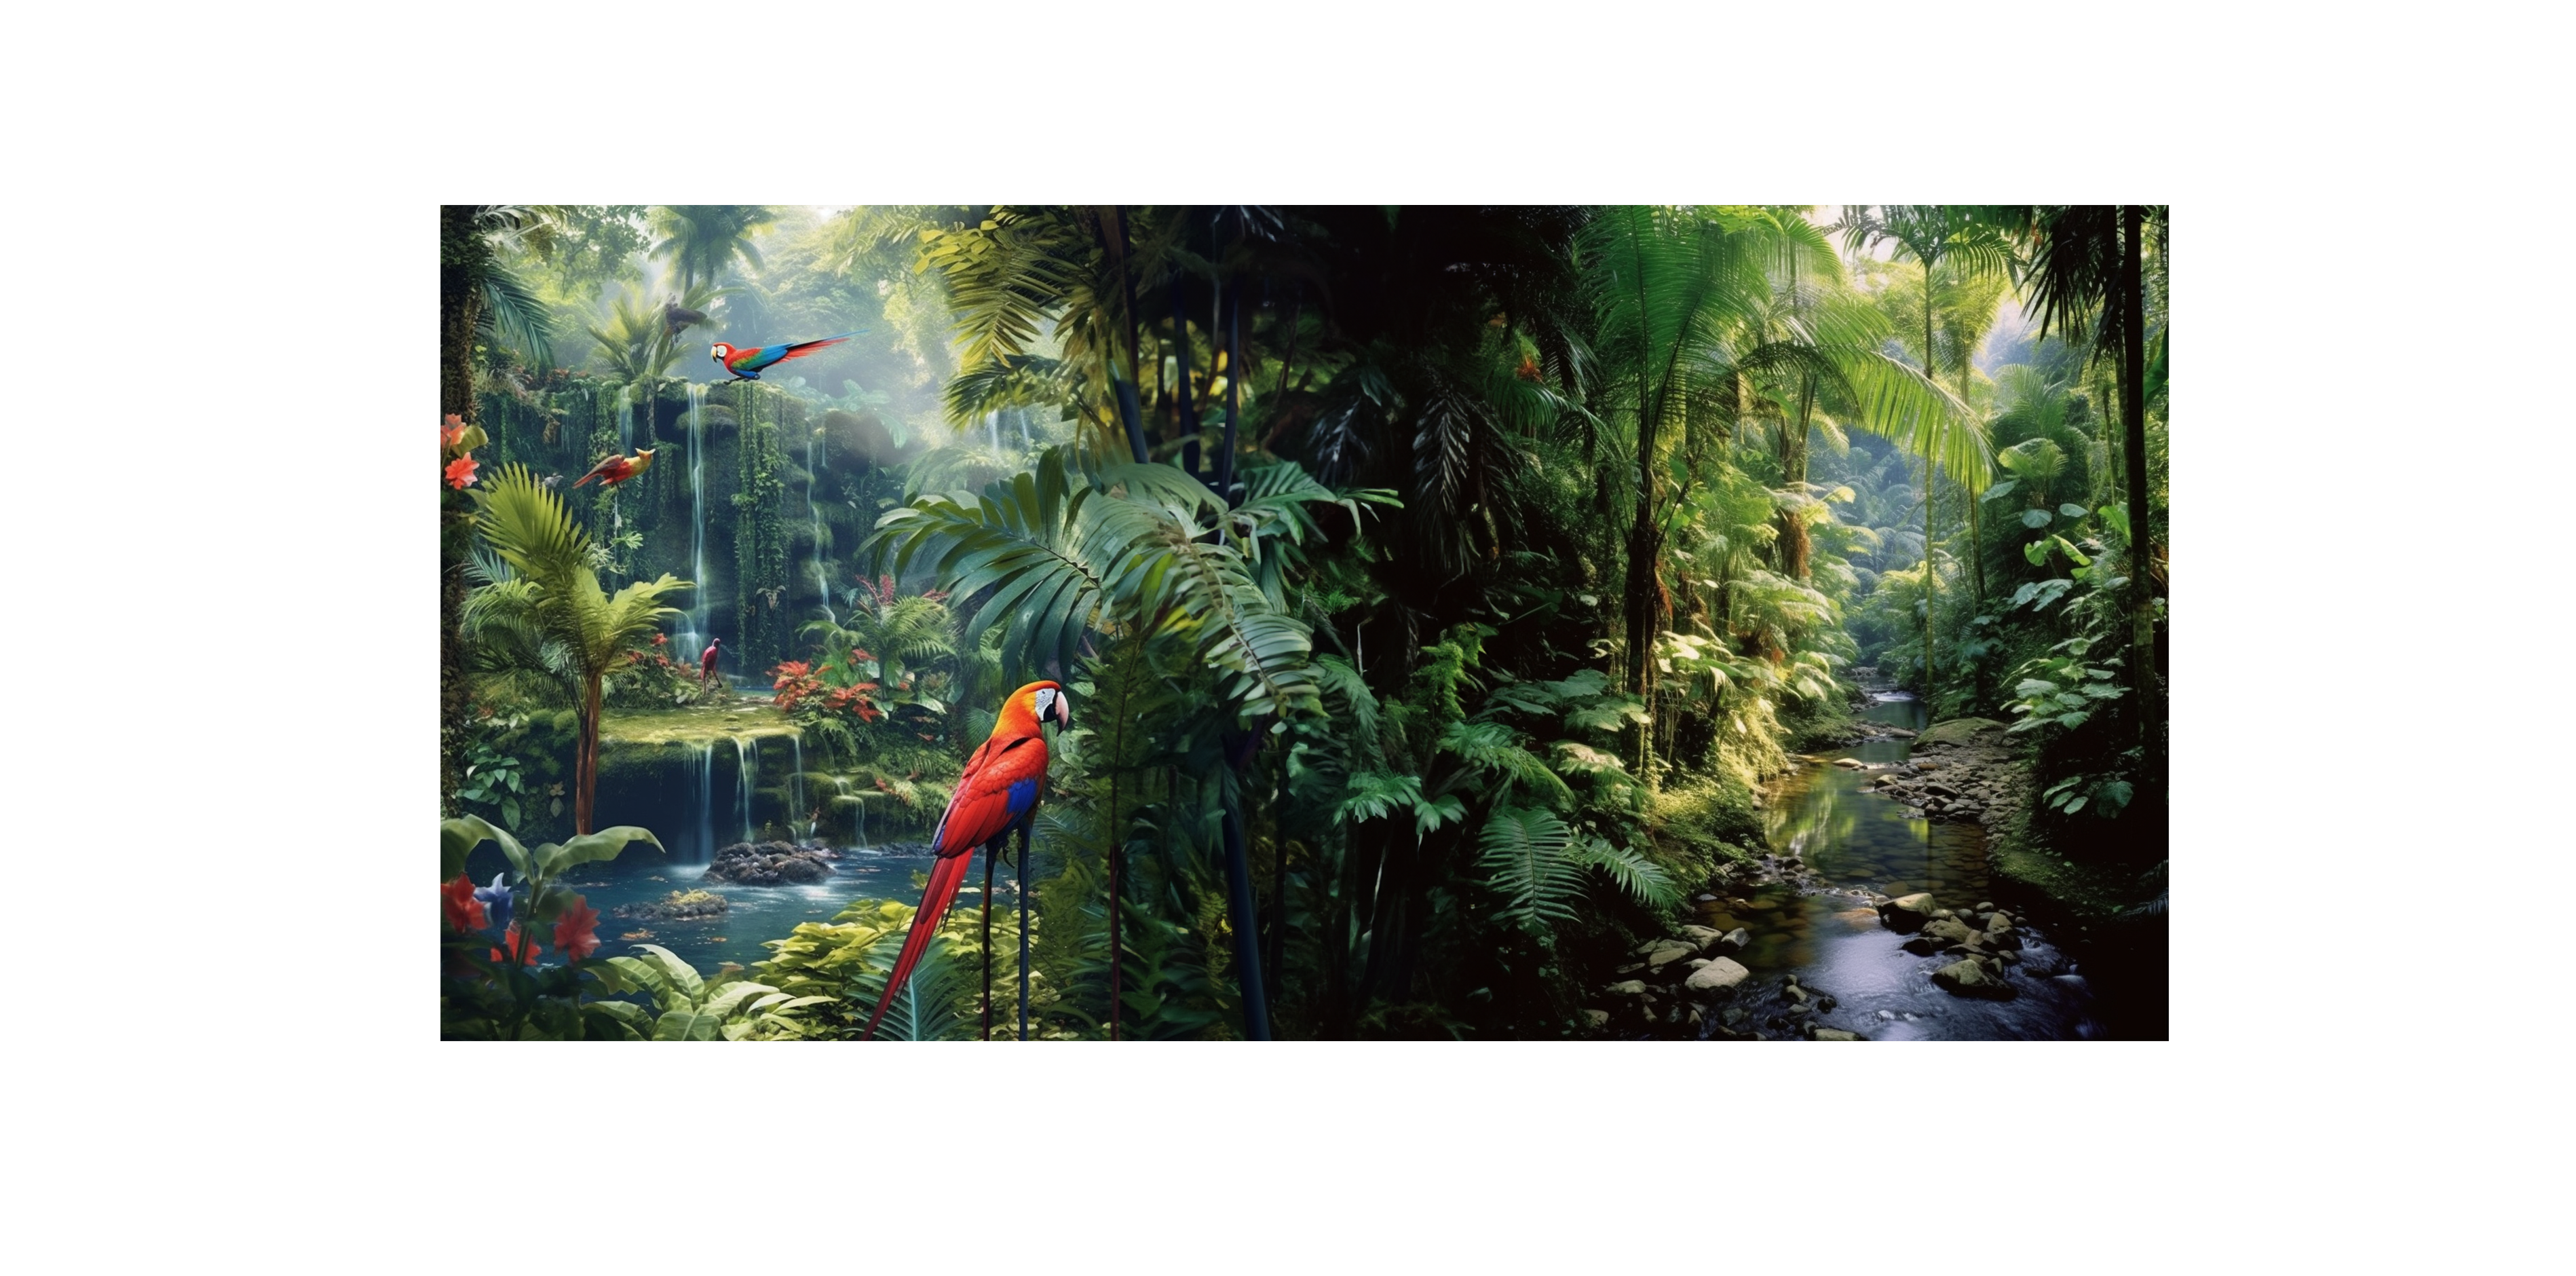
Now I will enlarge my canvas first to add more space to the sides. Then let’s choose the right side first and hit the generative fill option. If I want to add anything specific to the selected space, I can type my prompt here, but I just want to continue my image, so I will let it for AI’s imagination and leave it blank.
This is the real-time speed of the process, so you can see the generation speed. Of course, it can be different depending on your computer. In my case, the maximum generation time was around 1 minute. For the generative fill, we don’t need to download any dataset for sampling.
Because it is using it directly from the cloud, this is a huge bonus because, for example, in the case of stable diffusion, we must download more than 10GB files for the datasets and maybe even more if you want to use different models or extensions. That’s why we need to connect it through Adobe creative cloud. And for generative fill, we need to have an internet connection for the data sets. But if you don’t have an internet connection, you can use it without the generative fill tool.
We have our first generation ready. In each generation, we get three different options that we can choose. The first one, it’s not so great, so I will generate it again.
Okay, in this one, the 3rd option is nice, but I am not so happy with the tree. I will select this area and just type the tree to generate. Even though we just type trees without any style or type, it analyzes our image and creates something that will fit the current style and environment. Then I will do the same for the left part. This option is quite nice. It does a fantastic job of following the same perspective lines and color palette of the original image, so it looks very realistic.
And I don’t like this car; I want to add another one, but maybe in motion. Normally adding a car directly on Photoshop is something I hate. Because for me, it is super hard to find a car image in the correct perspective and lighting direction. But look at this one; it fits perfectly; even the blur and blur direction is all perfect.
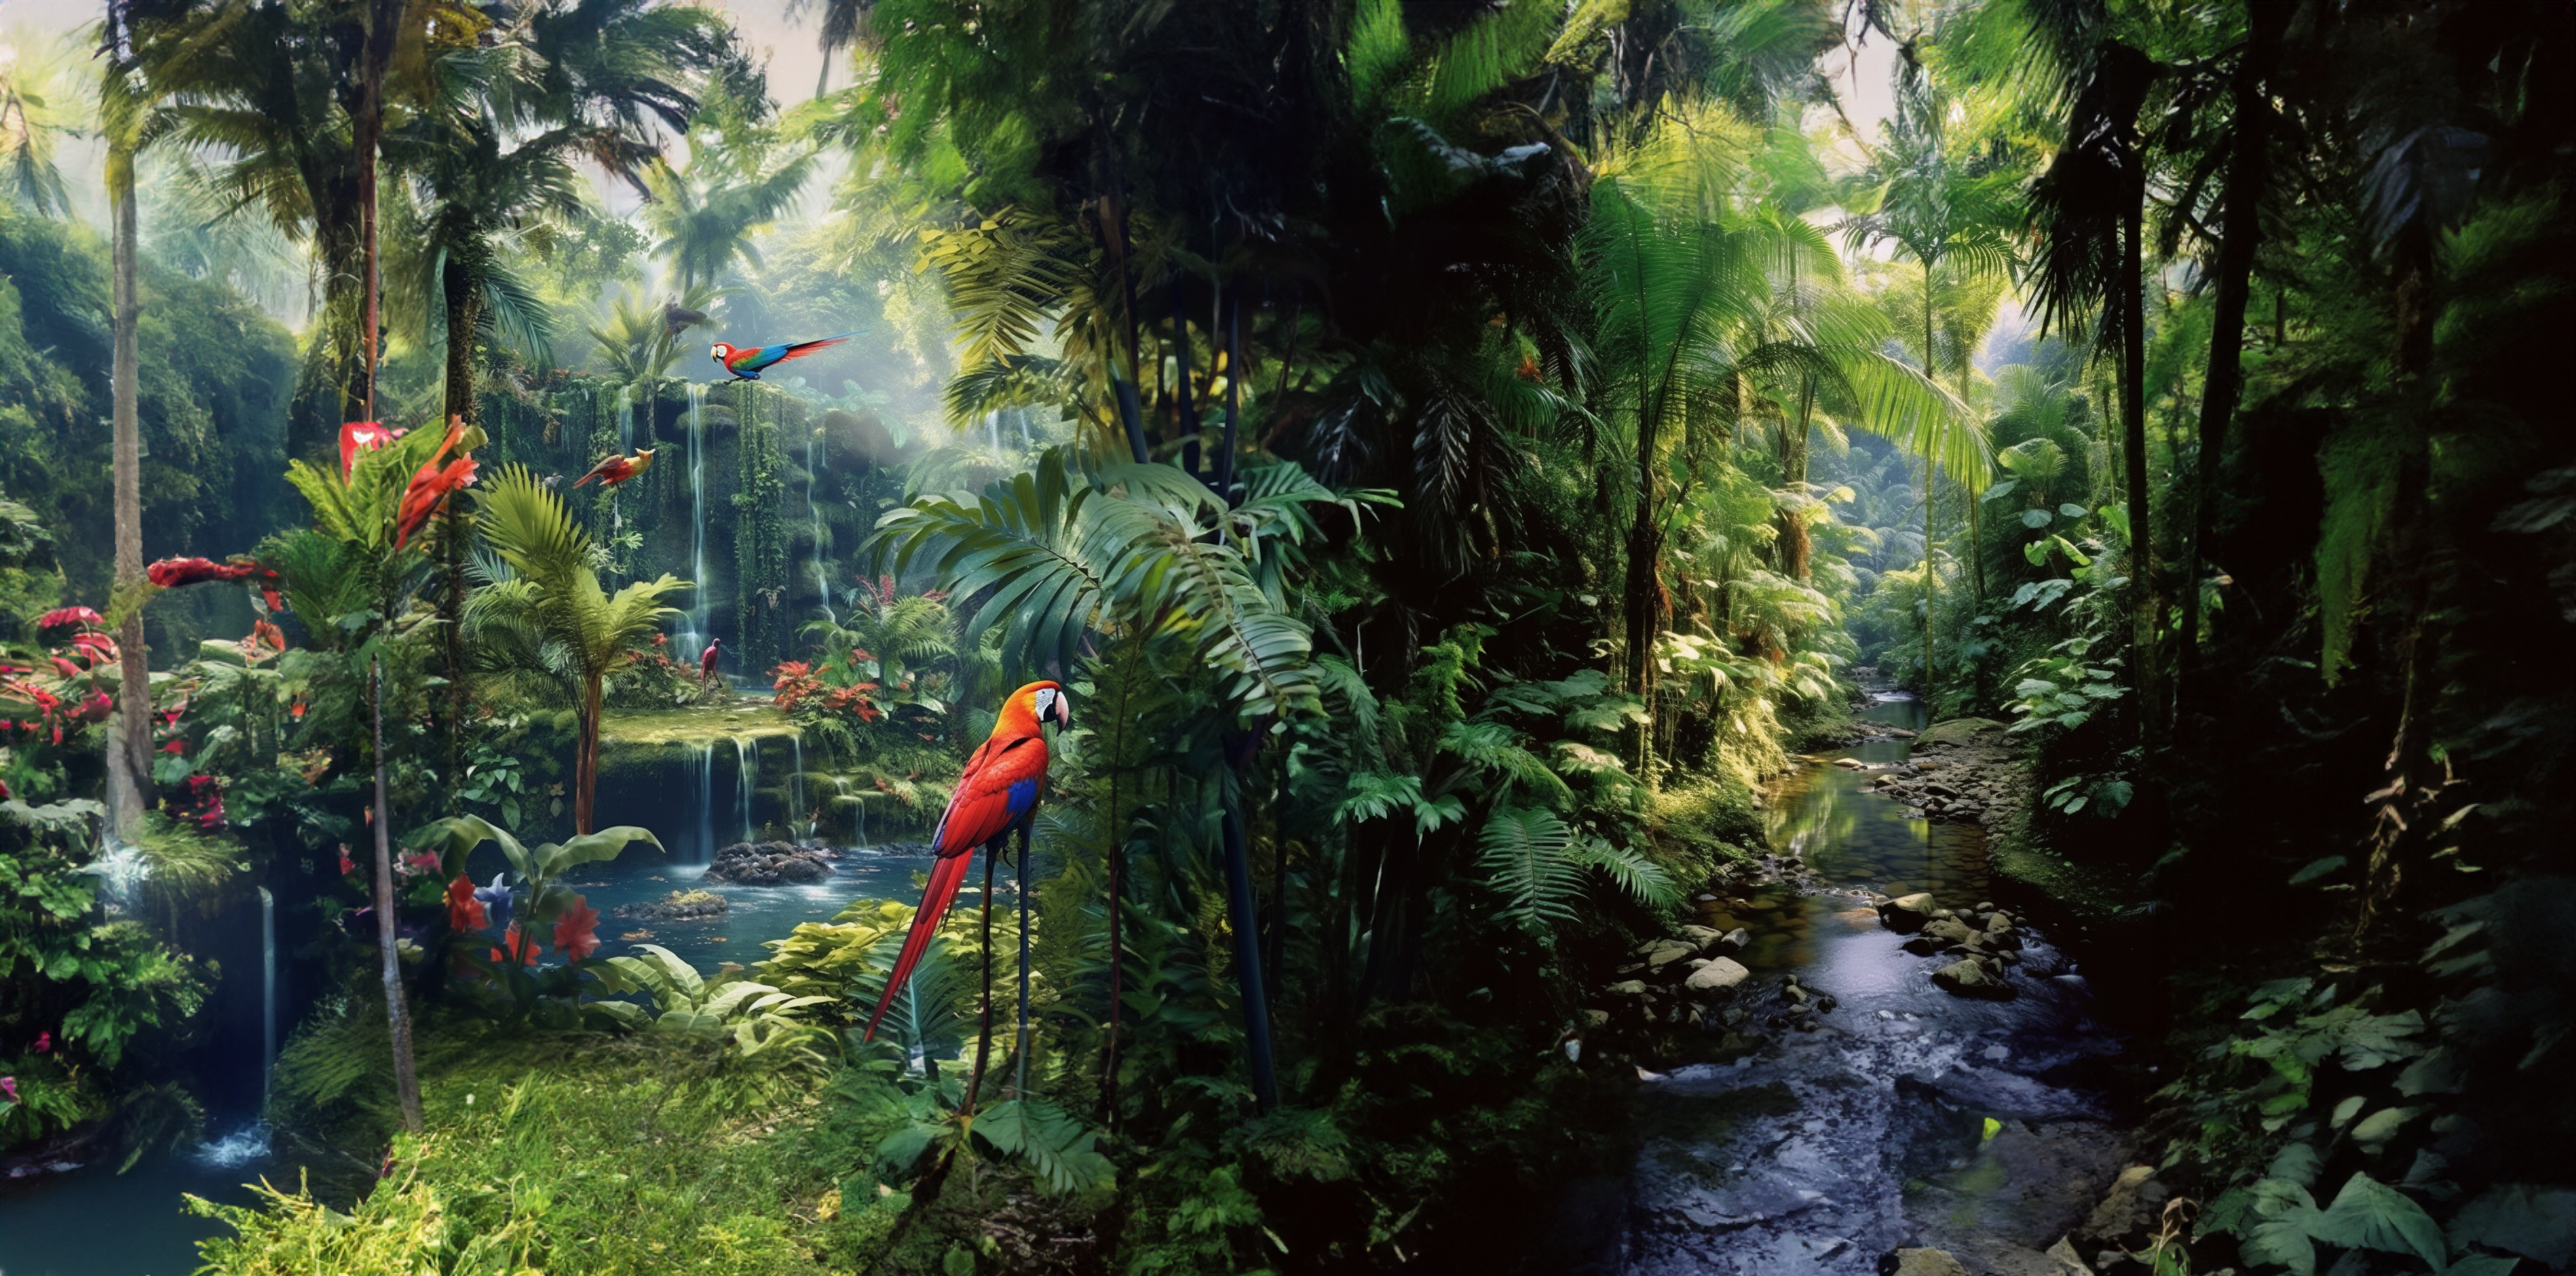
Lastly, I will add a bit more sky on the top part, which is not so exciting because it is pretty easy to do this with the content aware fill tool. And here is the final updated version.
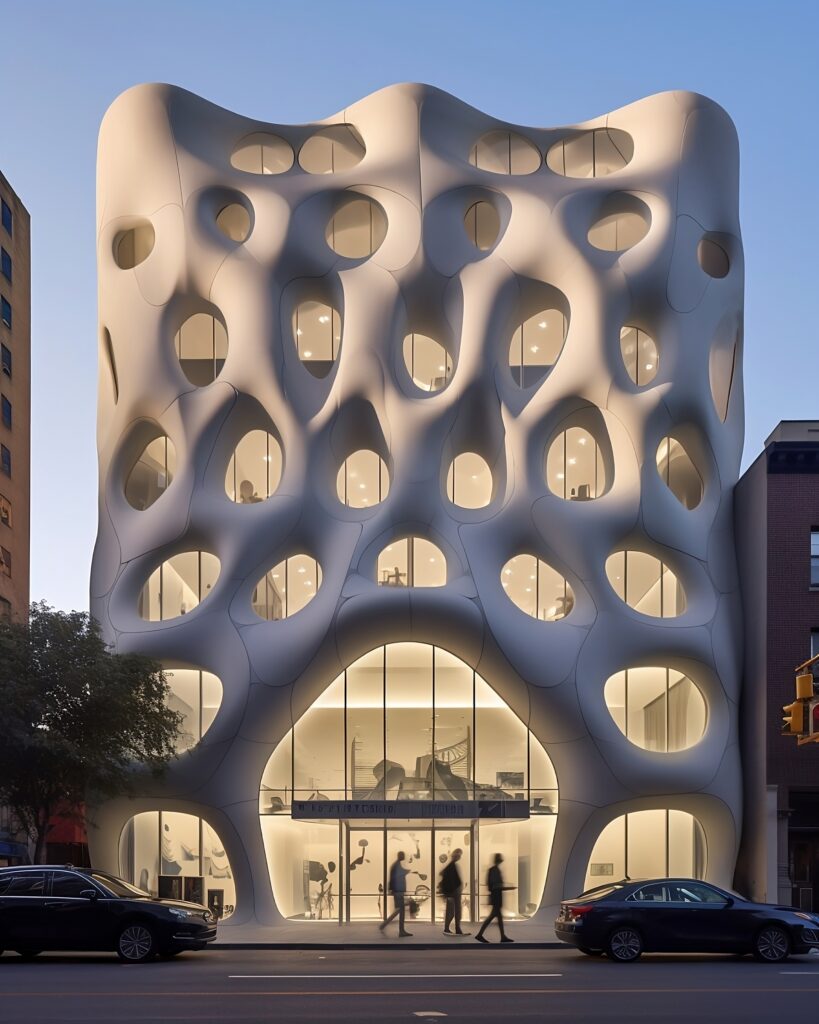
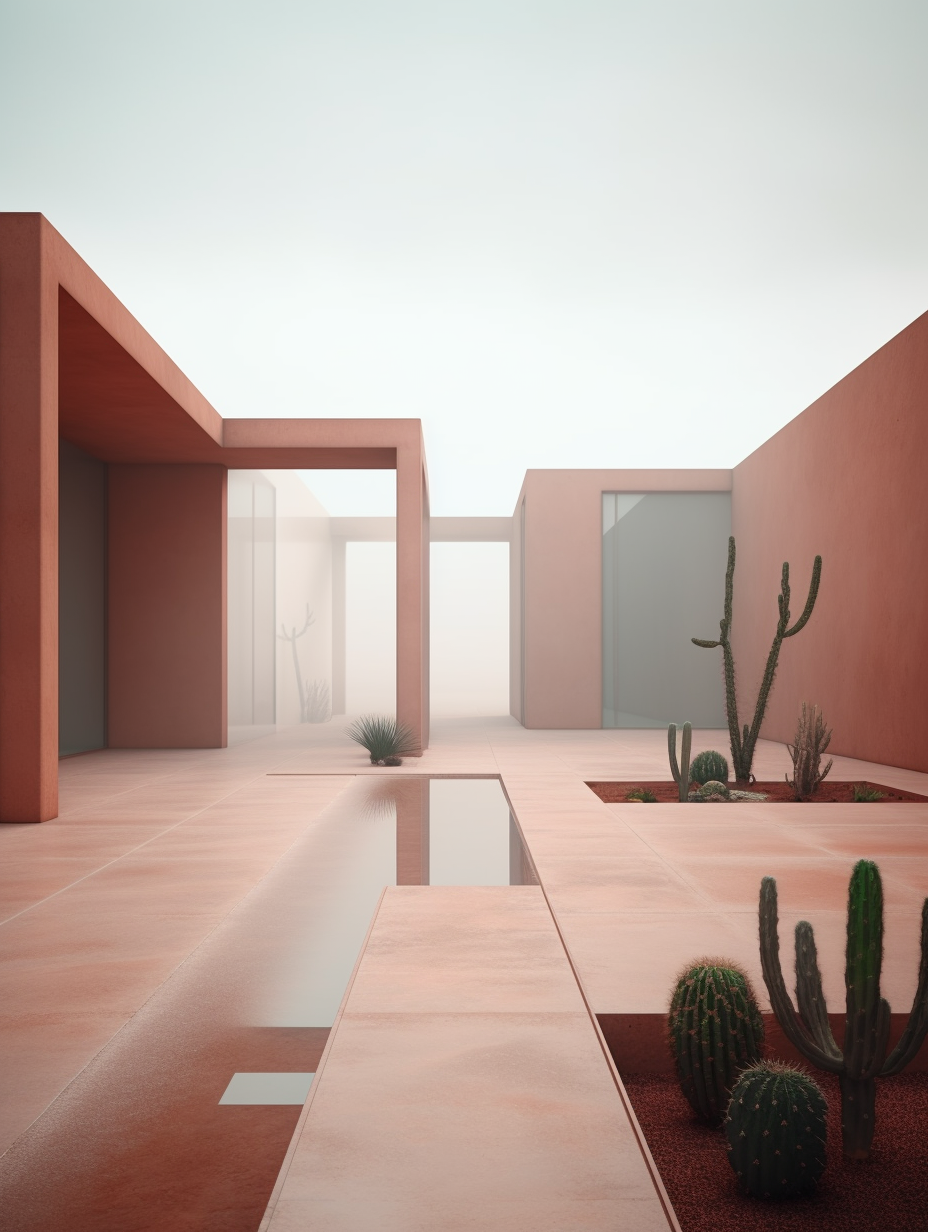
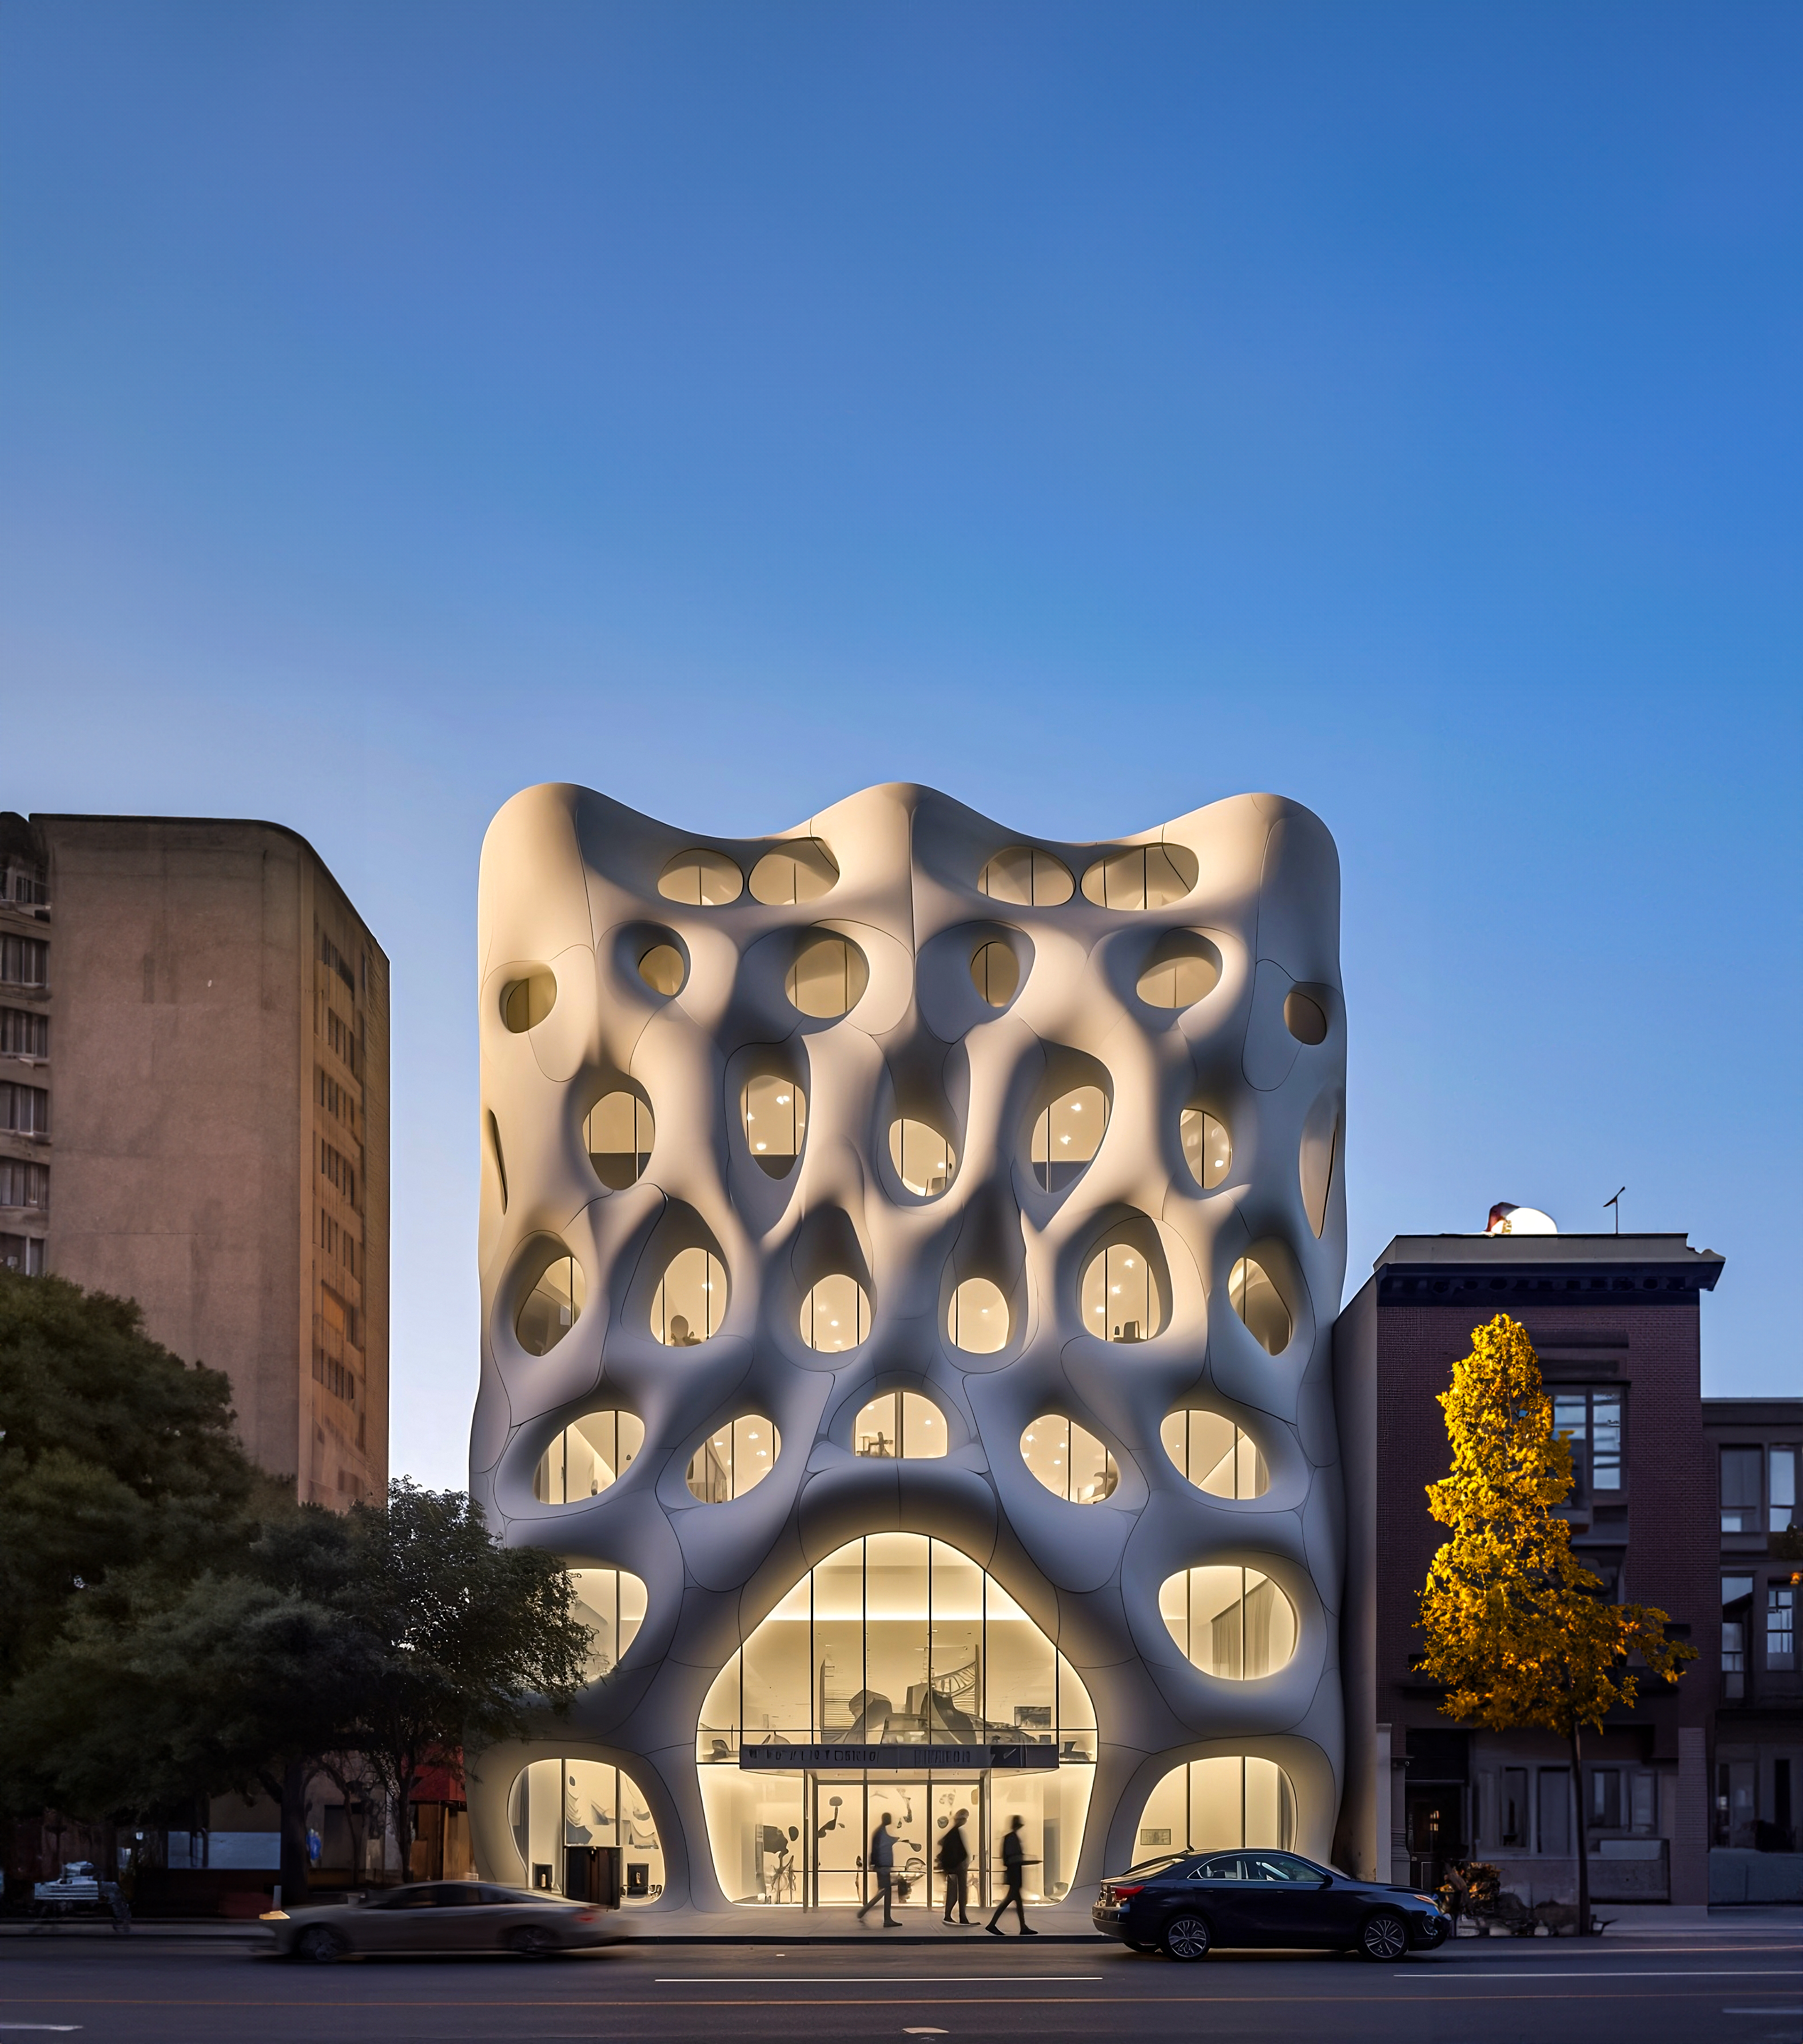
Now let’s edit this interior garden view with the generative fill tool. I wanted to test it out with different types of images to see its capabilities in different environments and styles. Like, an architectural facade and interior garden view, two interior designs, and landscape images. A portrait photo, and I want to see if we can generate something from an empty page.
In this one, I wanted to add a person here; this one was one of the most exciting parts for me. Because I wasted so many hours trying to find a nice png people image to use in my renders and then try to fit them perfectly, I will choose this area, and let’s try to generate a man with a black shirt.
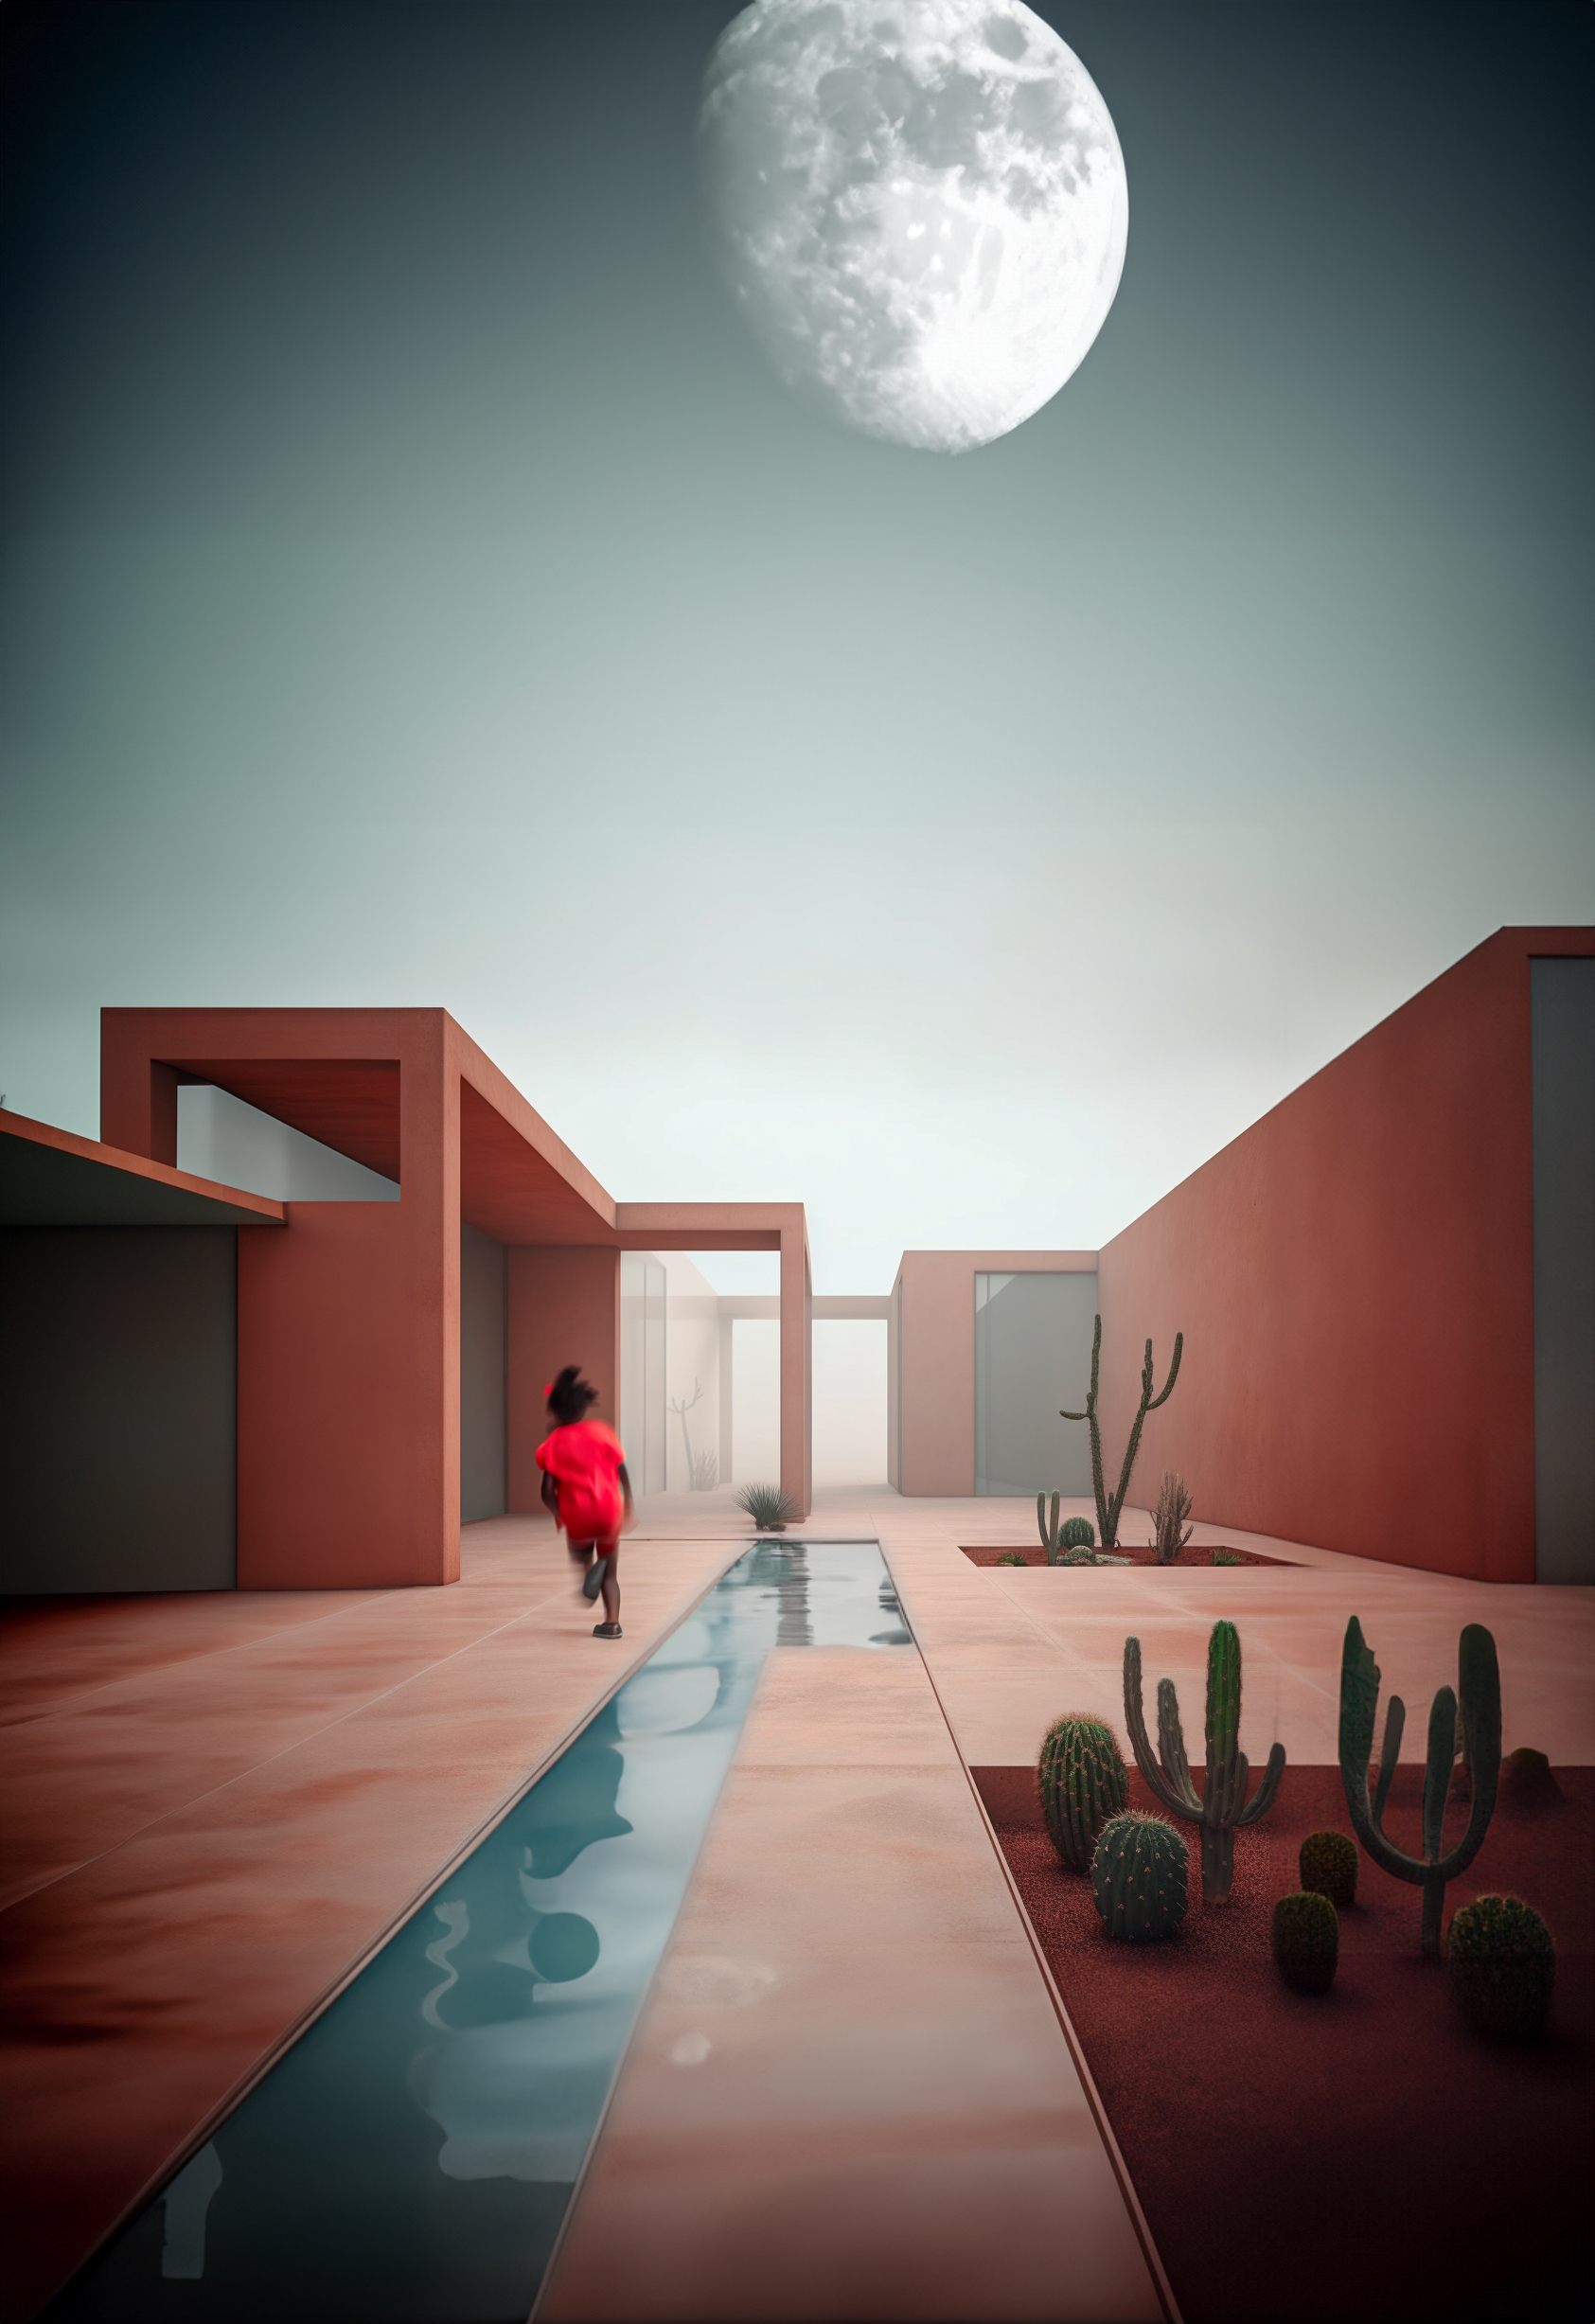
This one didn’t work out so nicely, so I’ll try another one. This time a girl with a red shirt, blurry, in motion. And I love it. The motion, overall colors, and look there is even a pretty nice shadow on the ground. Normally I had to go and search for png people and try to find an actual nice image that I already didn’t use many times. Even though I find it, it is super hard to find it in the right context, perspective, direction, and color tones.
I will add more sky to make the image vertical again. Let’s just say “space sky” and see what comes up. Okay, even though they are super cool, but not for this image. Let’s try the Moon instead. Yes, this one fits perfectly with the overall mood of the picture.
It is really amazing how much you can change your image’s overall mood just with a couple of clicks now. And I only added pretty minimal things. Possibilities are absolutely endless with this.
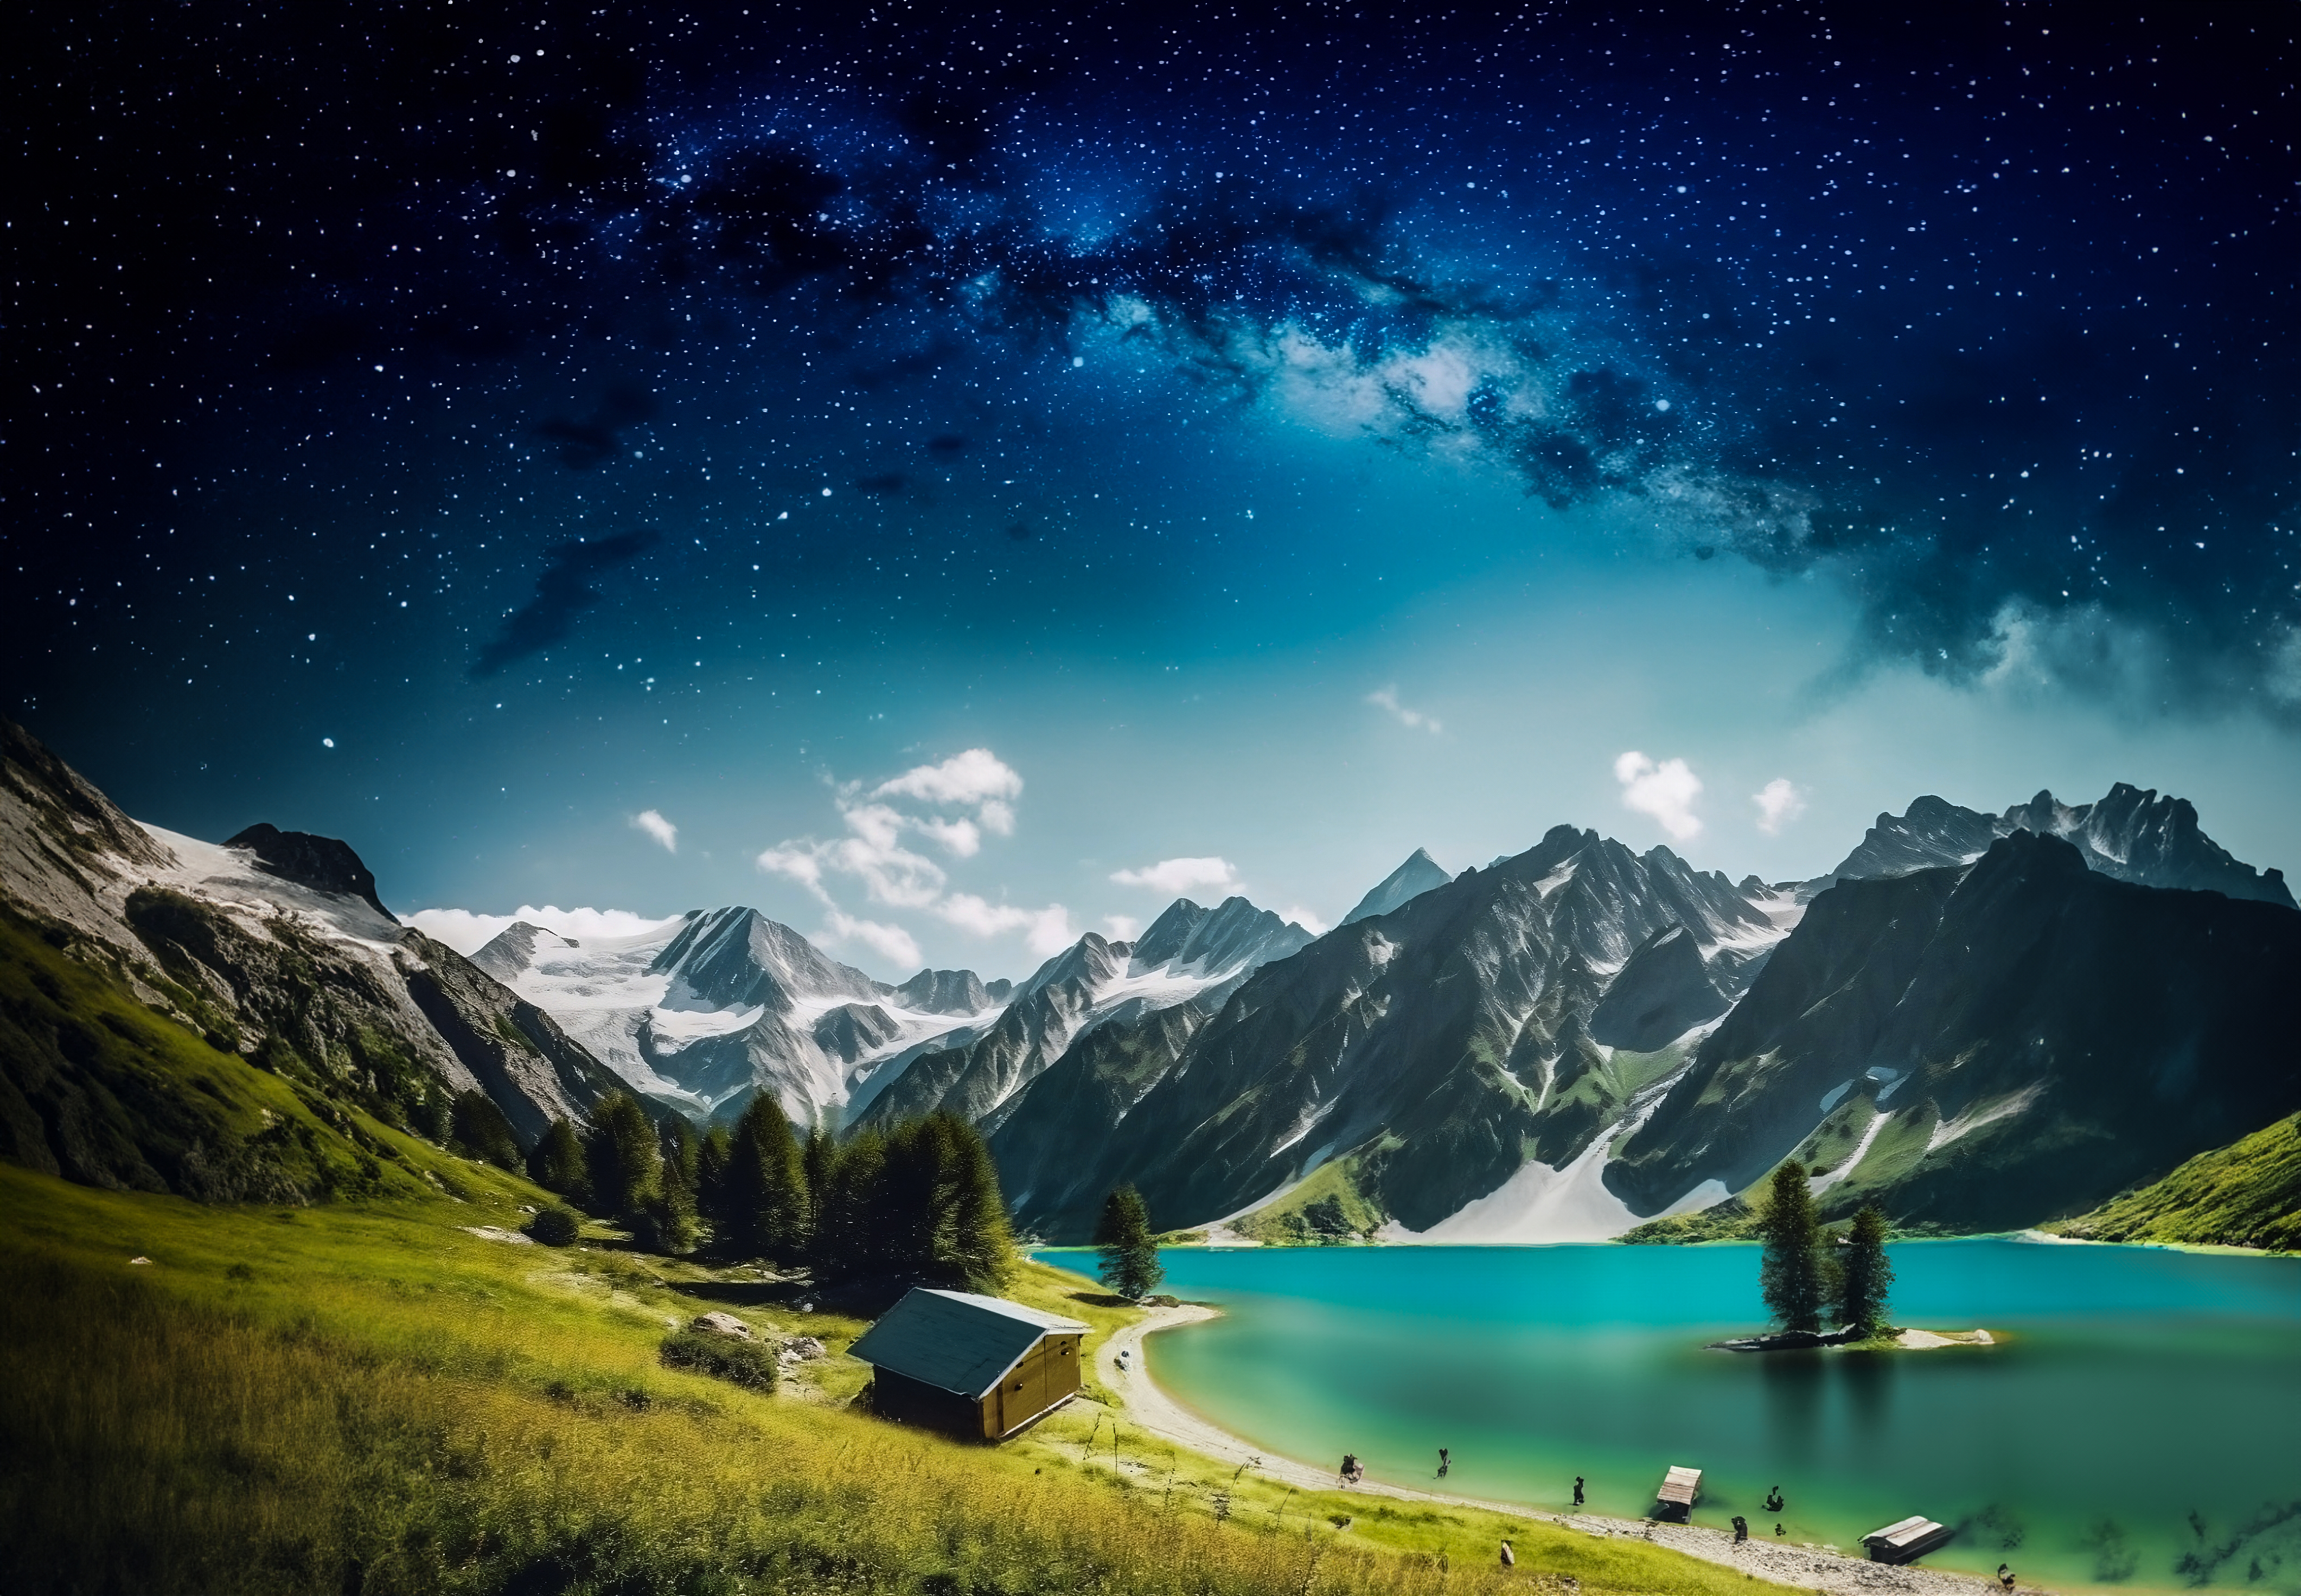
In this landscape image, I want to see how good it is to understand the depth of the image and the scale of the object at different distances. Let’s add a cabinet in the foreground here “Wooden cabinet, yellow.” And the results were super realistic and fitting to the whole terrain shape.
But it wasn’t yellow; that’s why I generated it again, and the 2nd time, it was much better. Now I will select this further part and type the same prompt. And it understood the depth of the image pretty nicely and placed our tiny cabinet. Let’s change this whole area into a lake. I will select this area quickly, and let’s type lake and reflections on the water. Even though we don’t type things like, “reflections or shadow,” it automatically creates them, but I think it may give better results if you specifically add it. And you see how much you can change the image just with a simple selection and firefly magic.
In these parts, there are some problematic parts with this half cabinet, so let’s generate again. And this version is much better. I loved the small island here, so I’ll keep this one.
When I first saw the update, one of the questions I thought was, “Can I merge two images with the generative fill tool?” And let’s see if it can. I extended the top part and added this galaxy view; then, I will simply select this area in between them. And it merged them perfectly.
You may say, “Okay, but these two images were not so hard to merge,” then check out this one. If the two images’ perspectives match, it can merge them pretty seamlessly. And here is the final result for our landscape image.
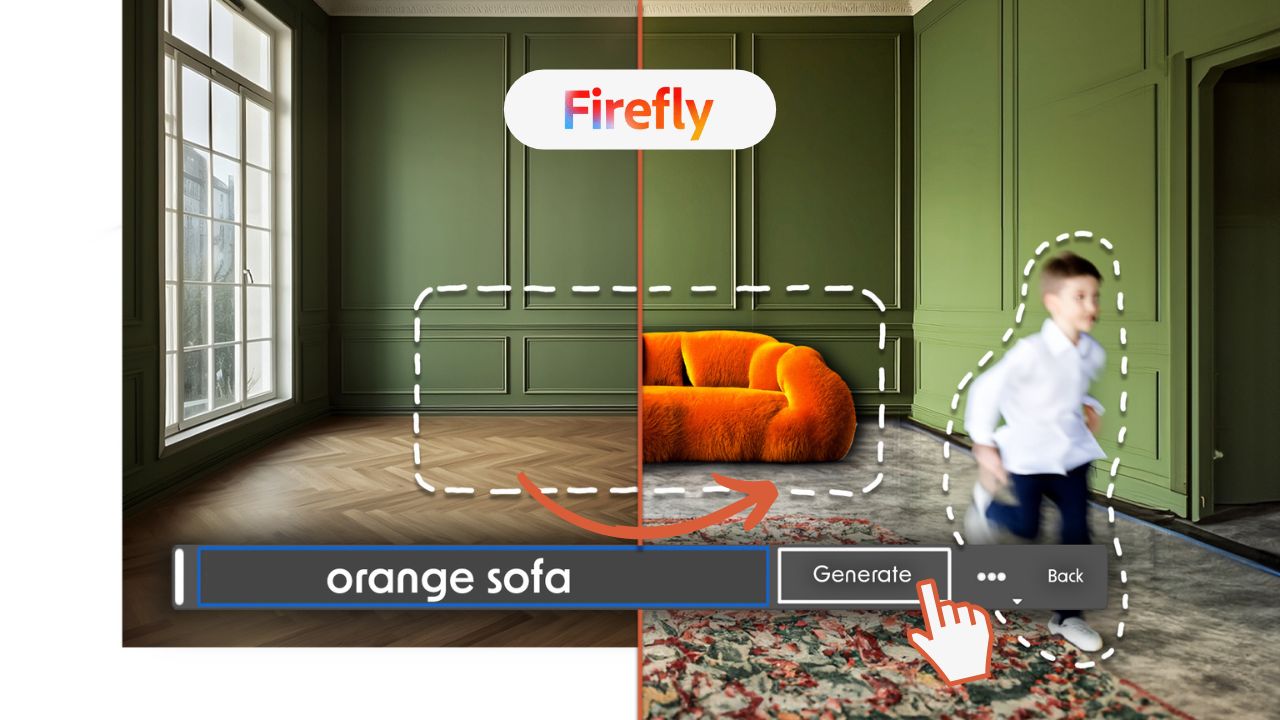
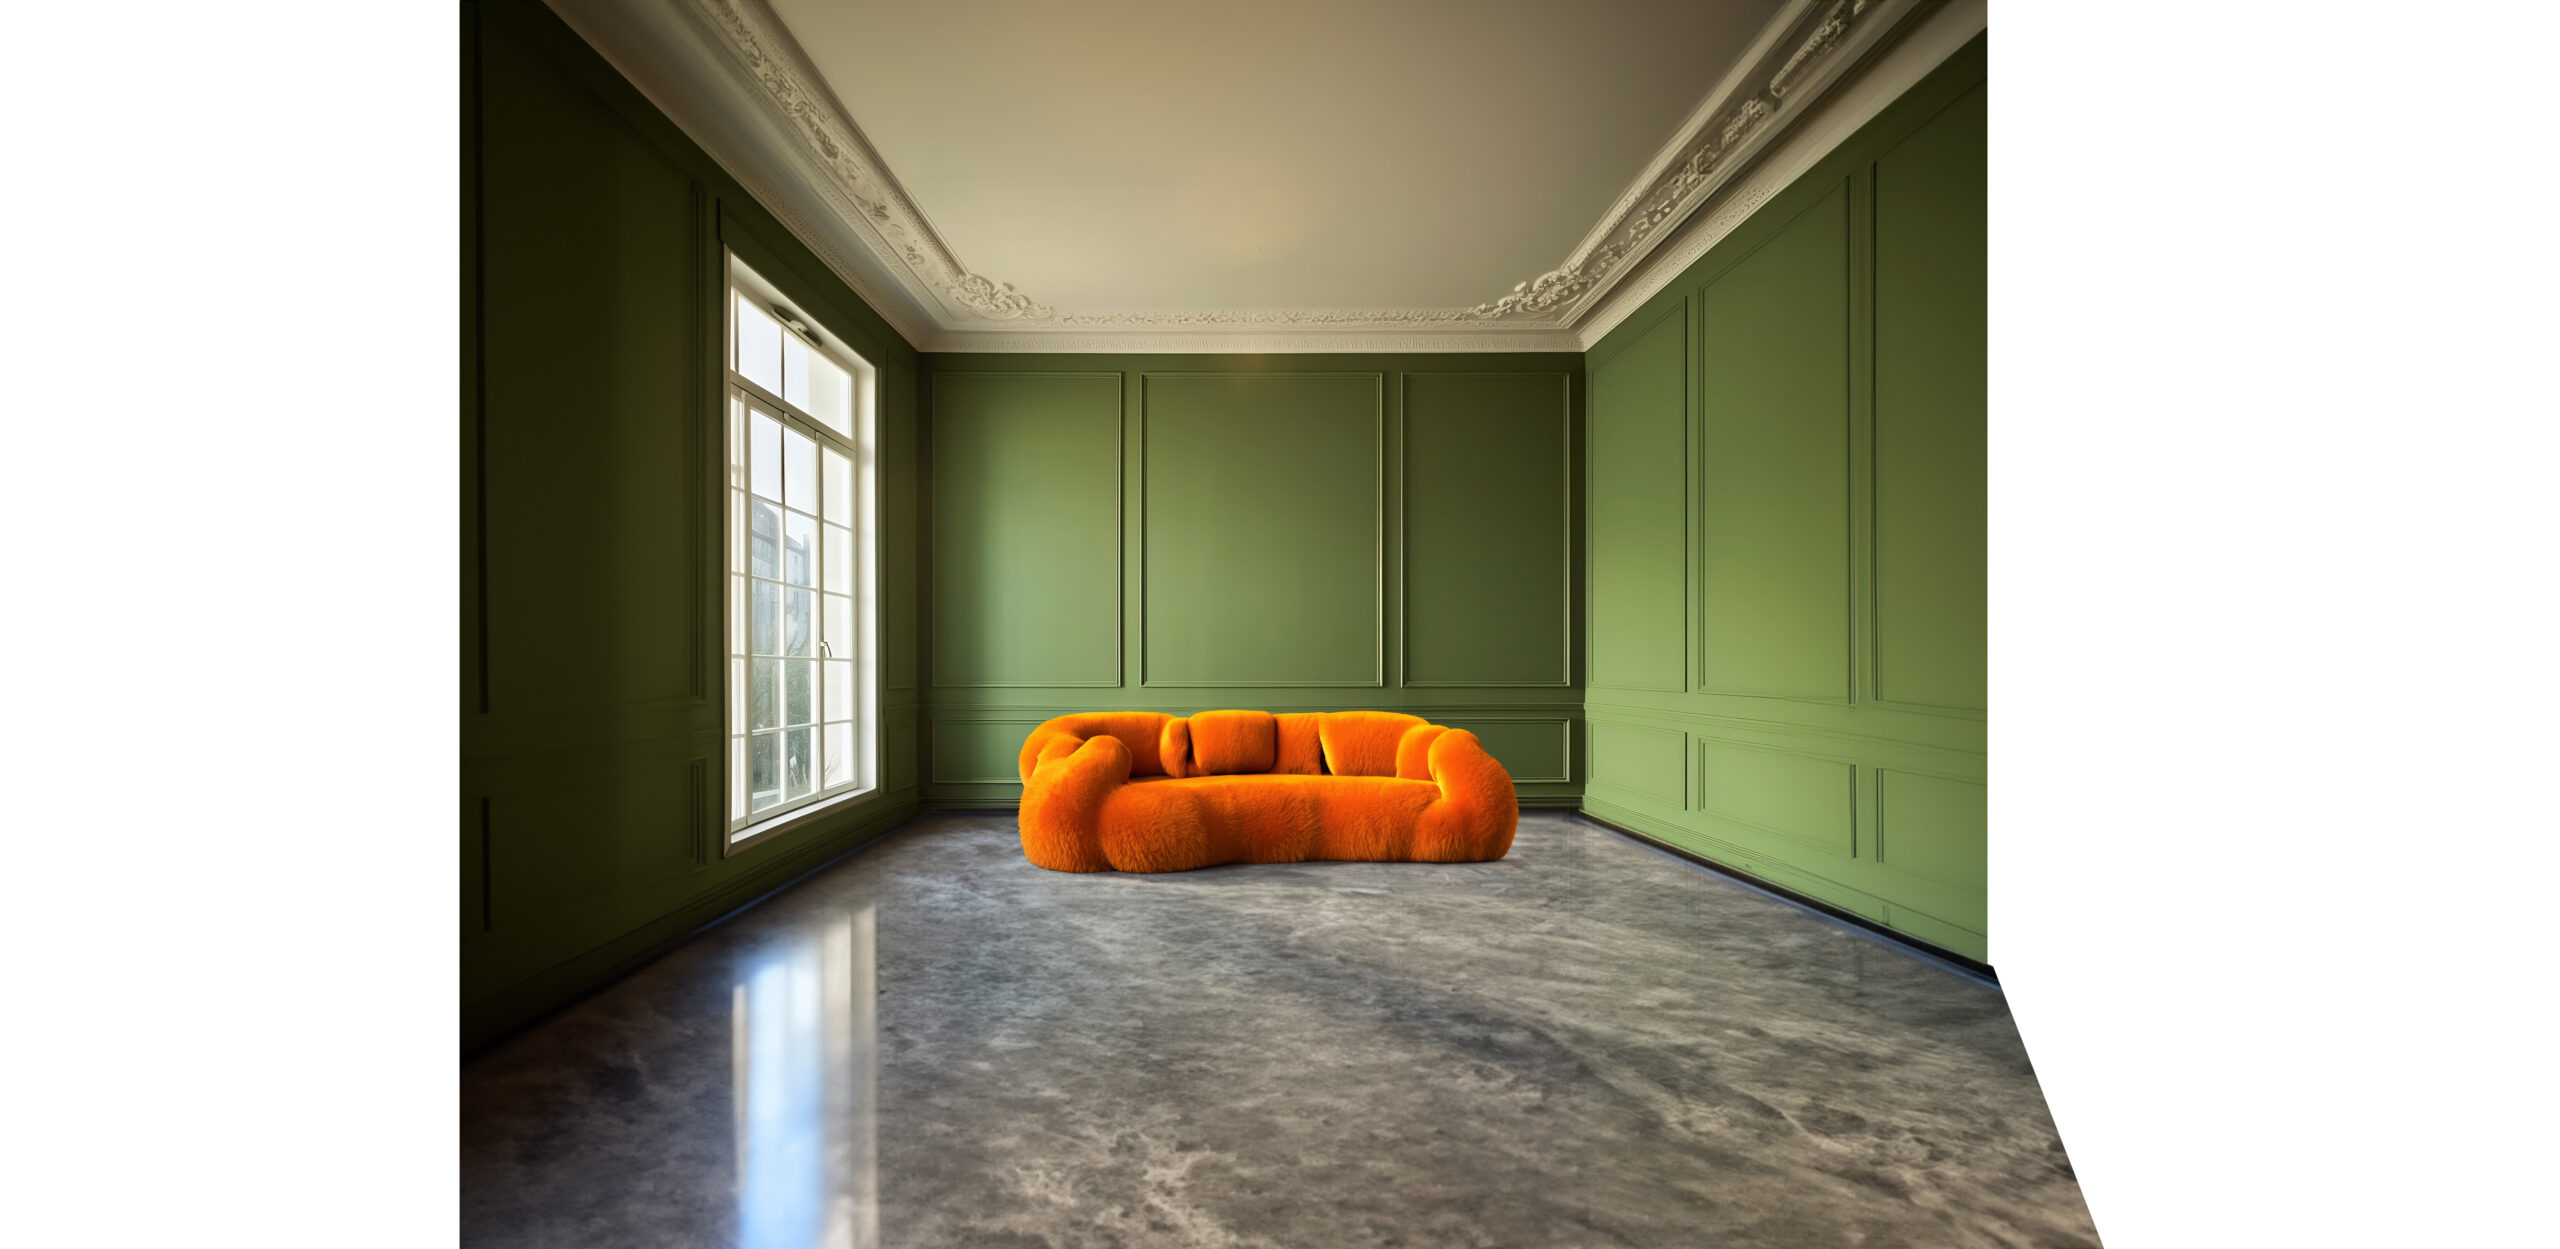
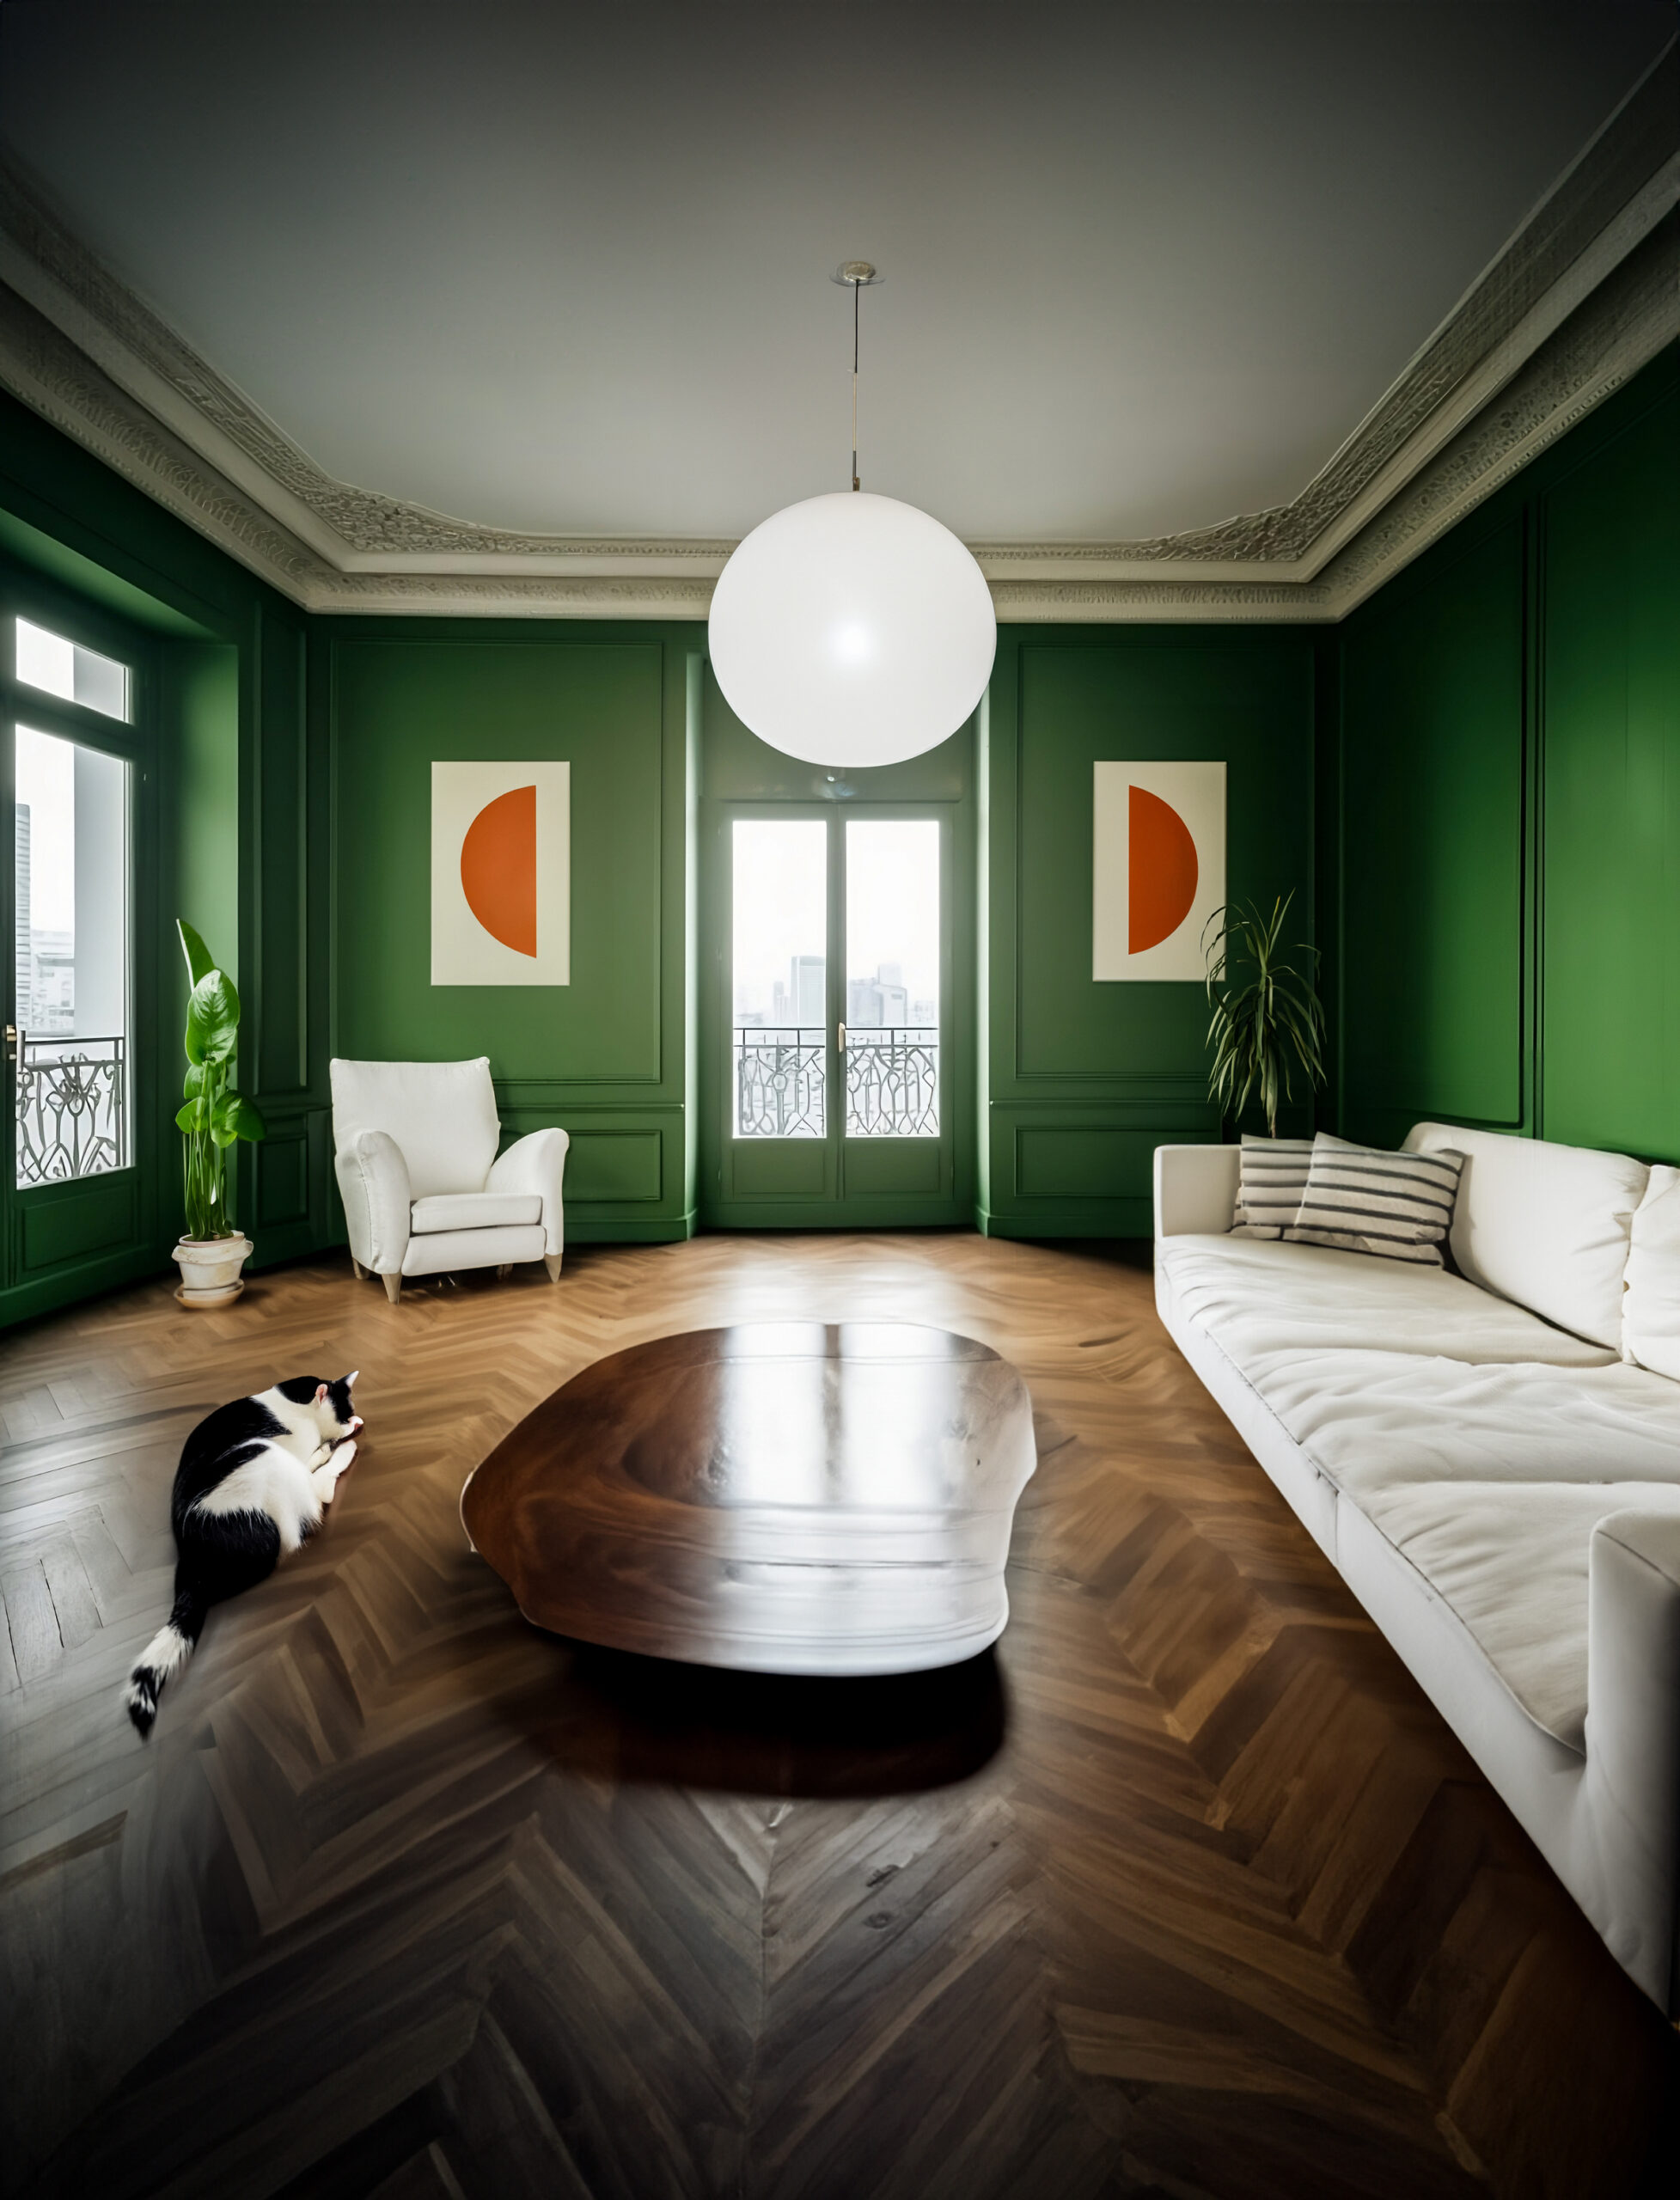
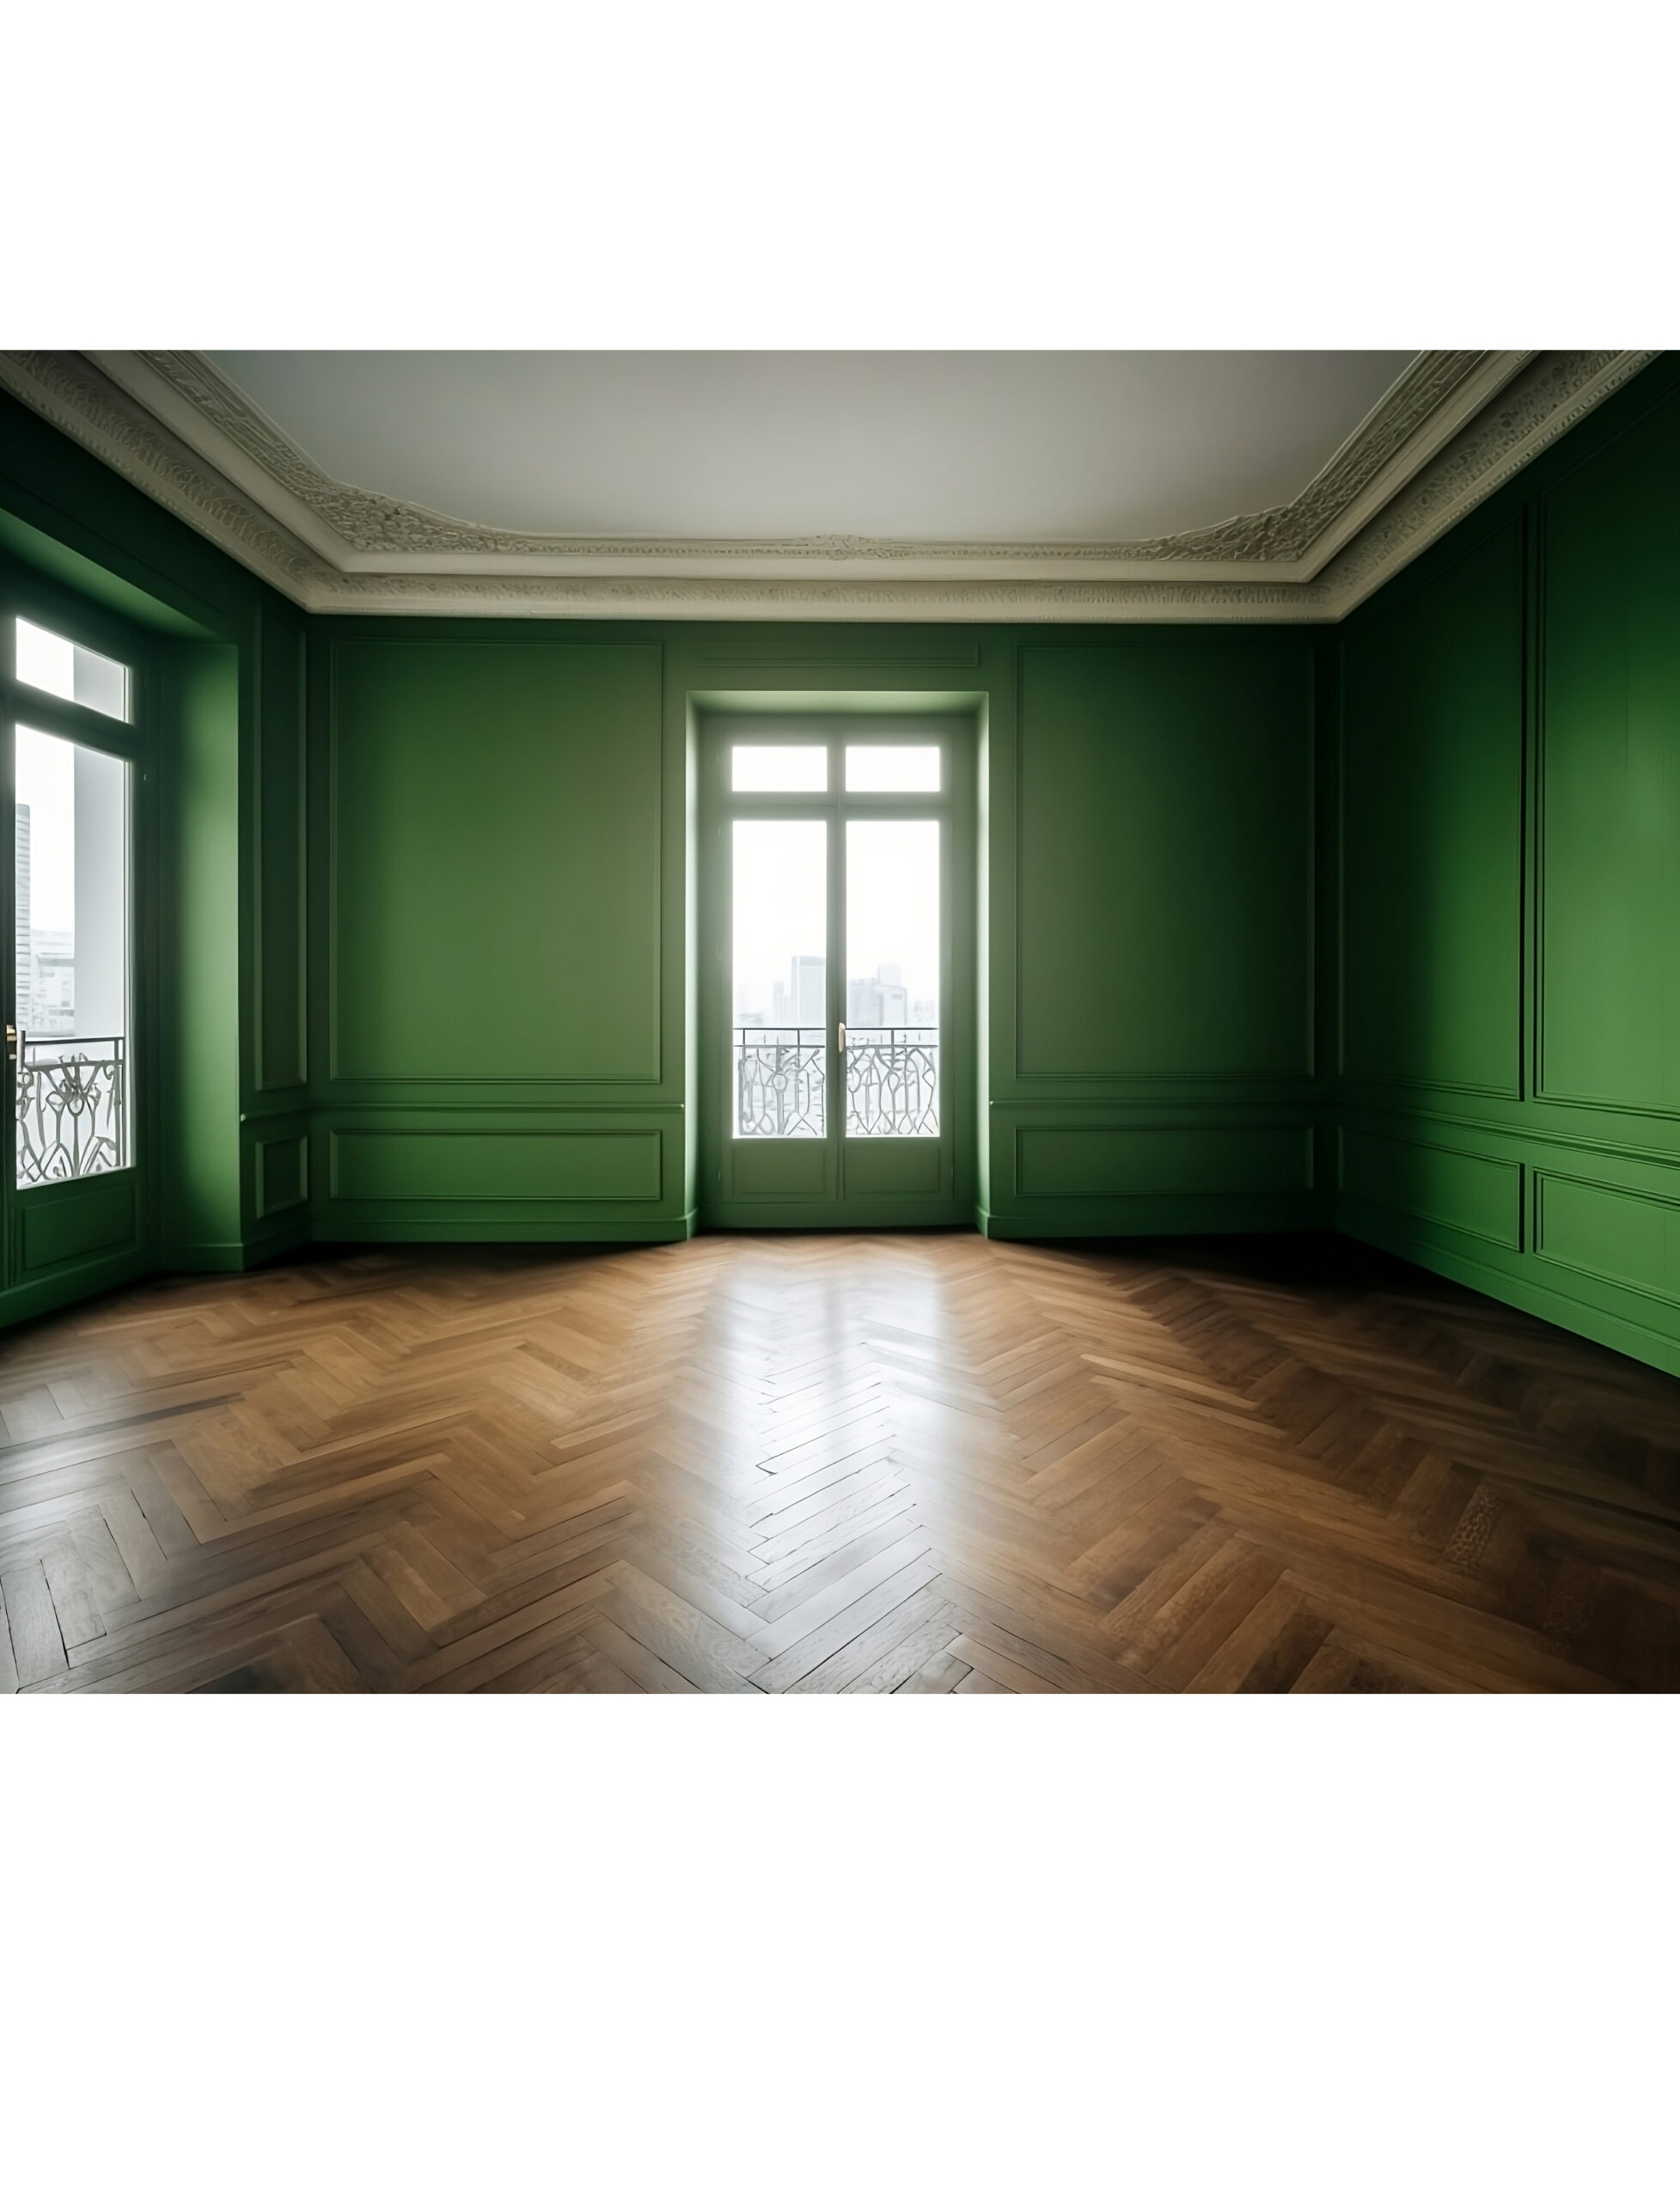
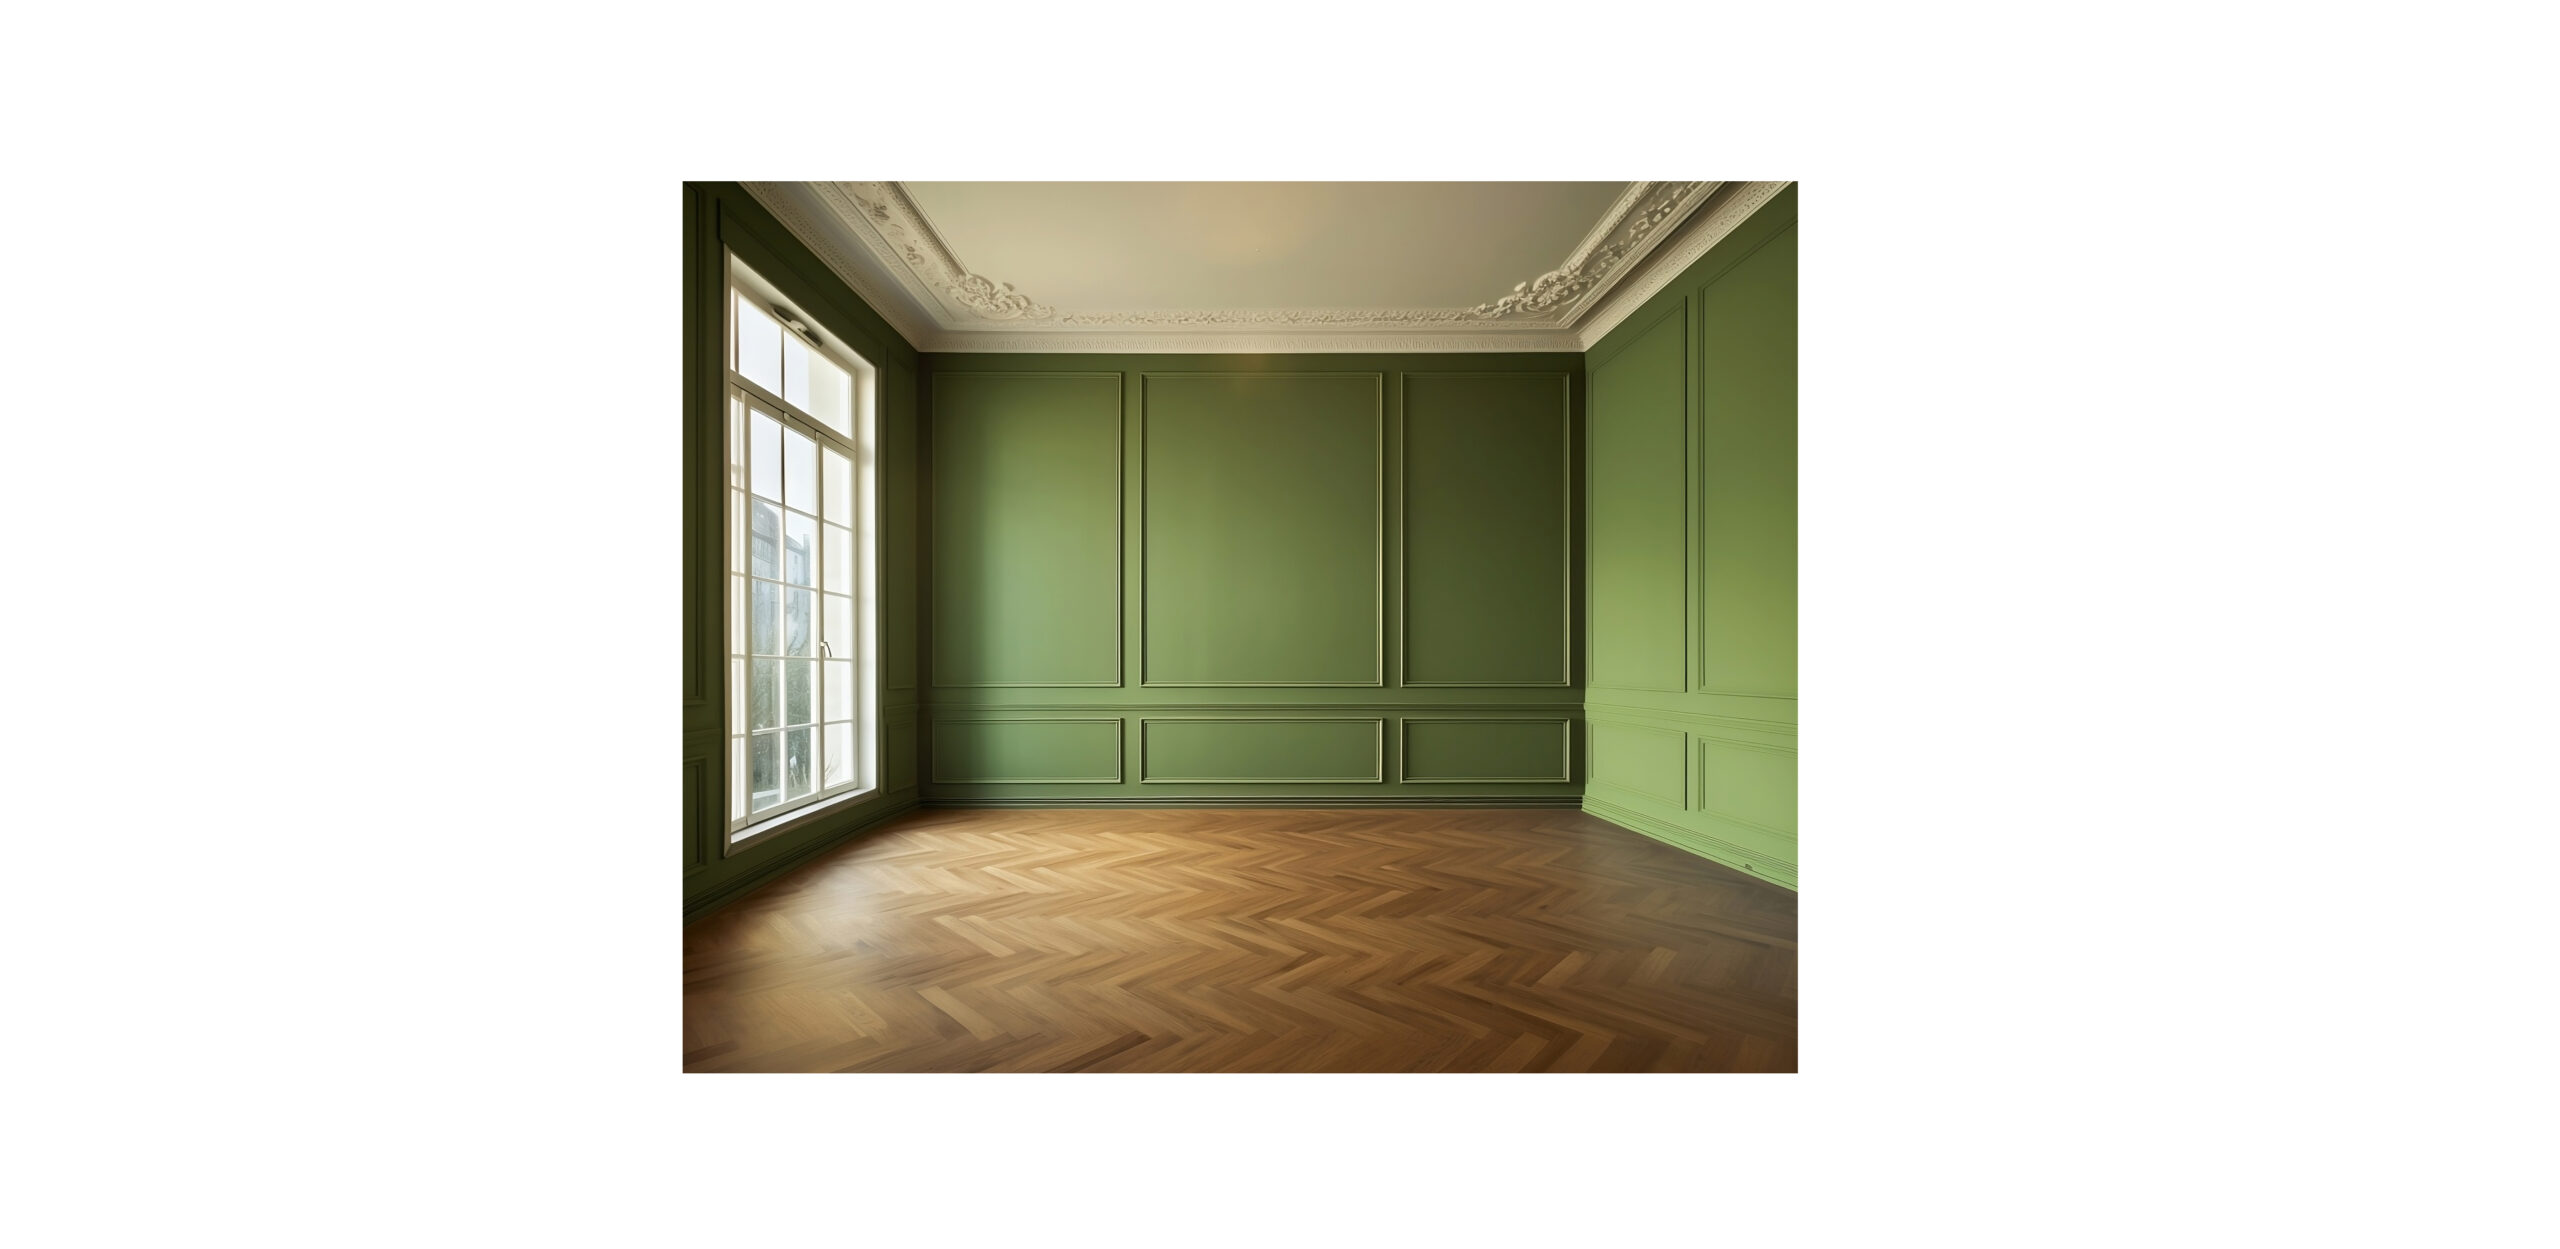
Okay, this part was the part that was the most exciting for me. Normally if you want to generate design alternatives for a room like this, you either need to model the whole room and then find nice 3D furniture from some library.
Or you can try to find furniture png images and try to combine them. But it is very difficult, almost impossible, to make them look realistic. Because, most probably, their perspective won’t be the same as your image. Even if it’s the same, the lighting won’t be the same, so there are many things you need to take care of.
And changing textures and materials is relatively easier than putting furniture. But still, either you have to find nice seamless images or create your own and then match the perspective with your image. But now all we need to do is choose the floor, and let’s say “polished concrete floor,” and it will take care of all the perspective, reflections, and lighting. We can even see the reflections of these tiny wall decoration elements. And now, one of my favorite moments.
I’ll choose this area and type “soft sofa, furry, orange color” and look at the results. The first two are not so my style, but I loved the 3rd one.
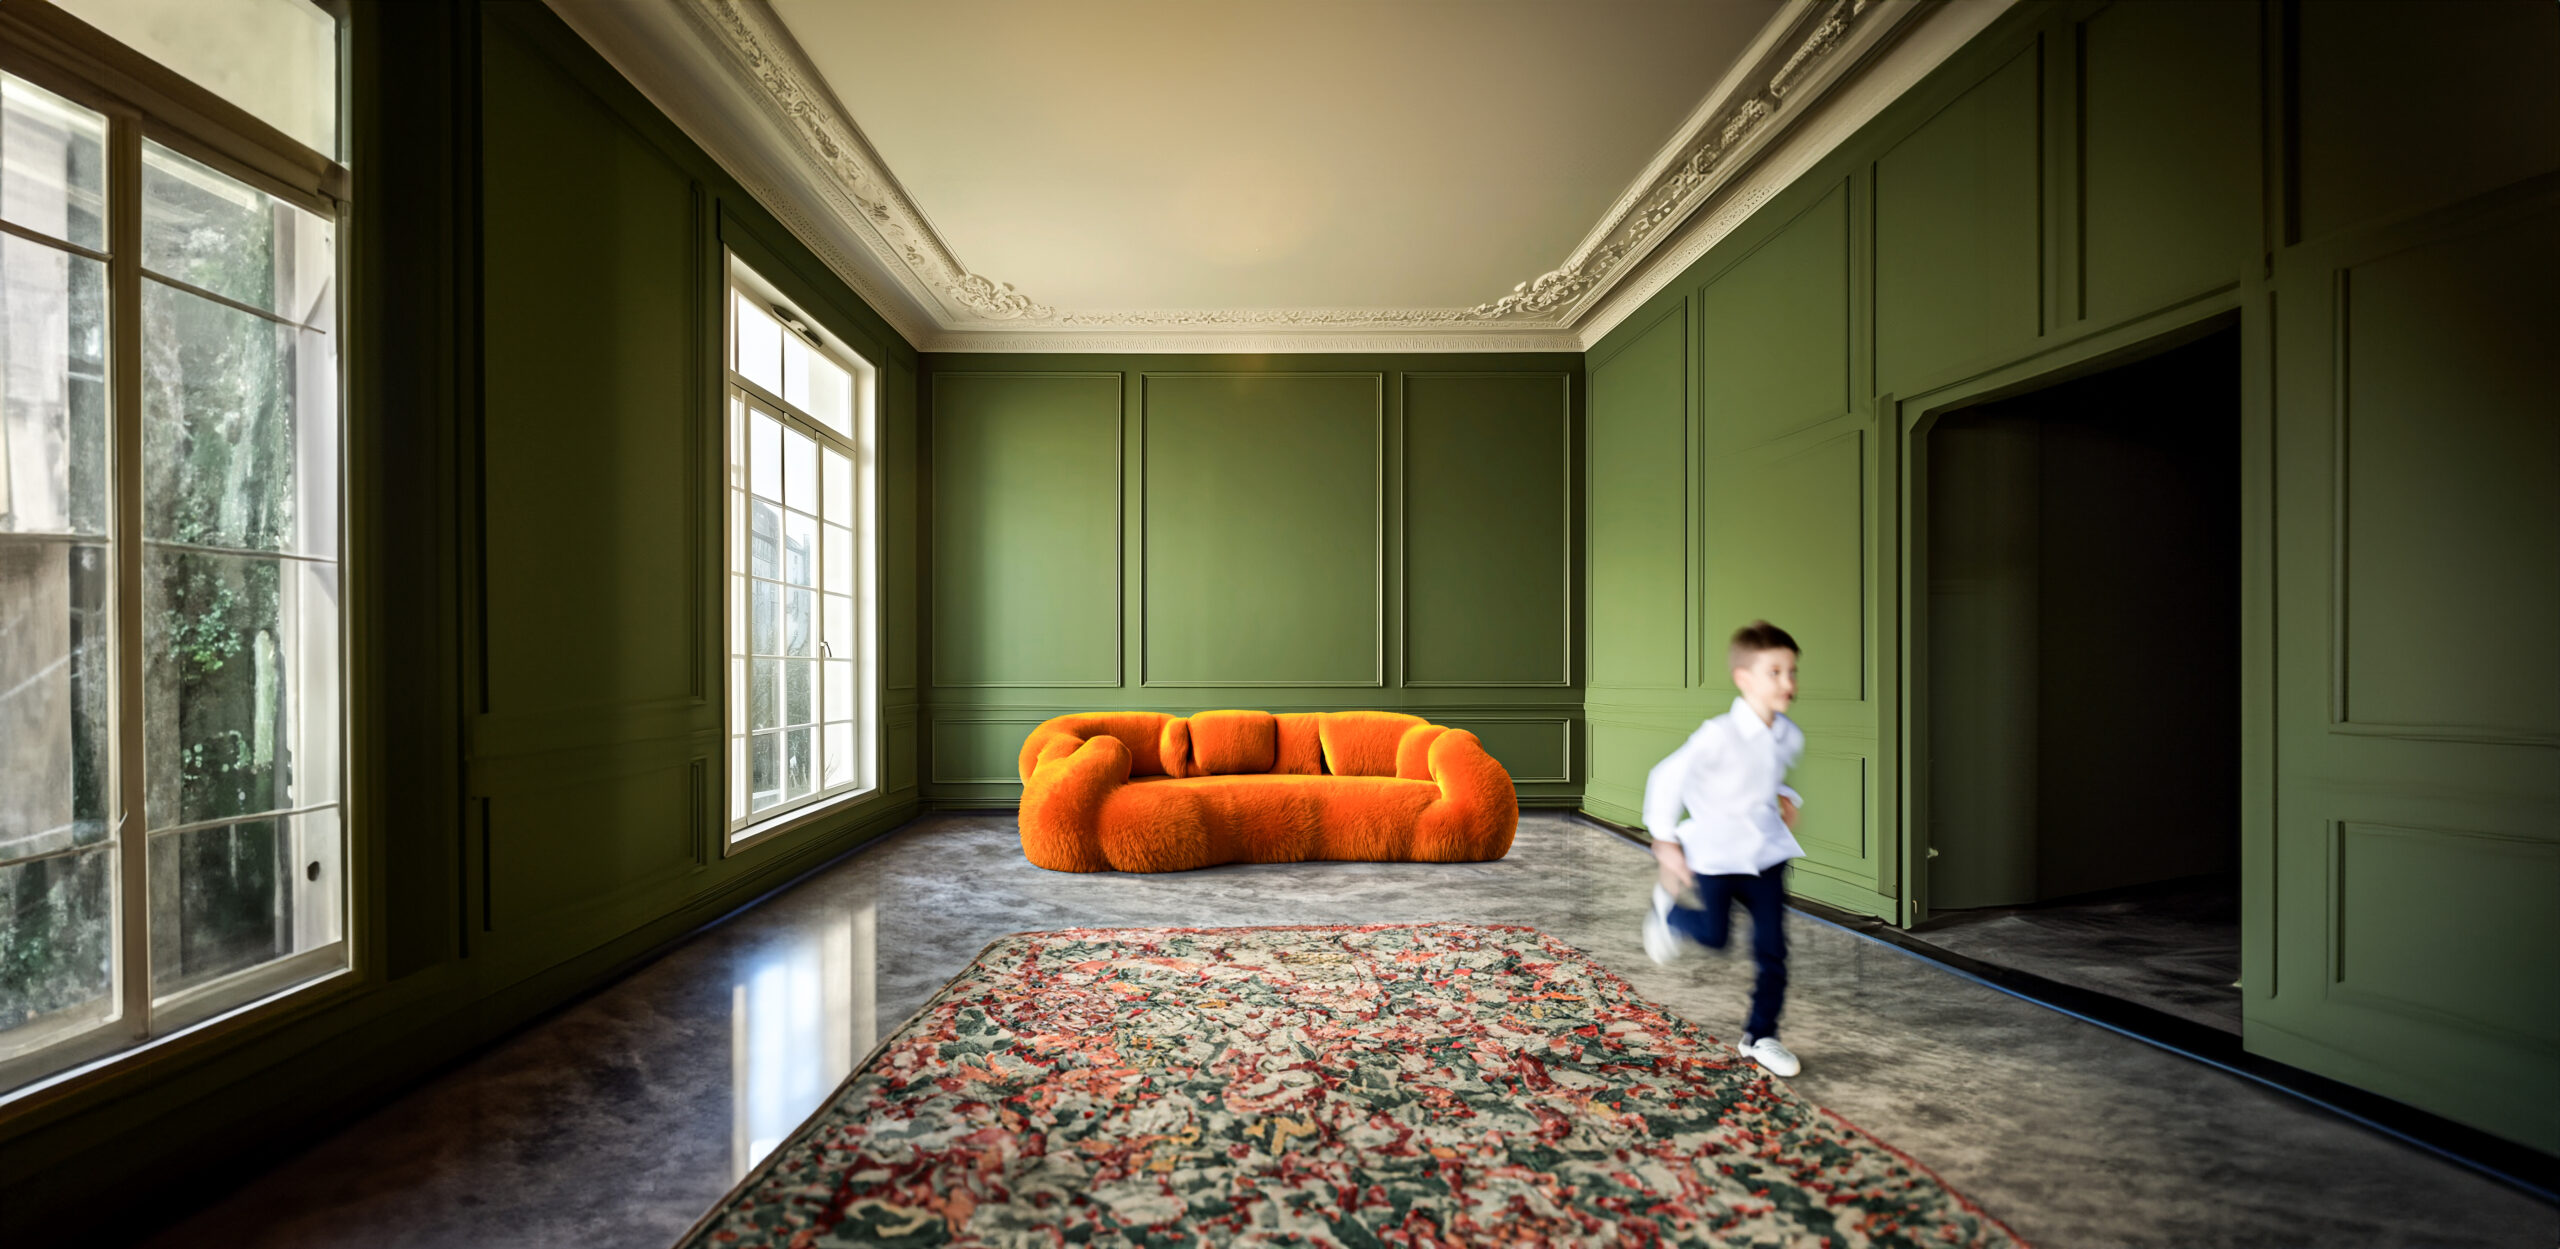
One thing I have realized, when you are editing your image with generative fill, make sure to select a larger area than the actual object you want to generate to give some space for it to put new reflections, shadows, etc., caused by the new object. If I select just enough area, it usually fails to generate something that fits well with the image. Later I added a nice vintage carpet on the ground and extended my image to both sides.
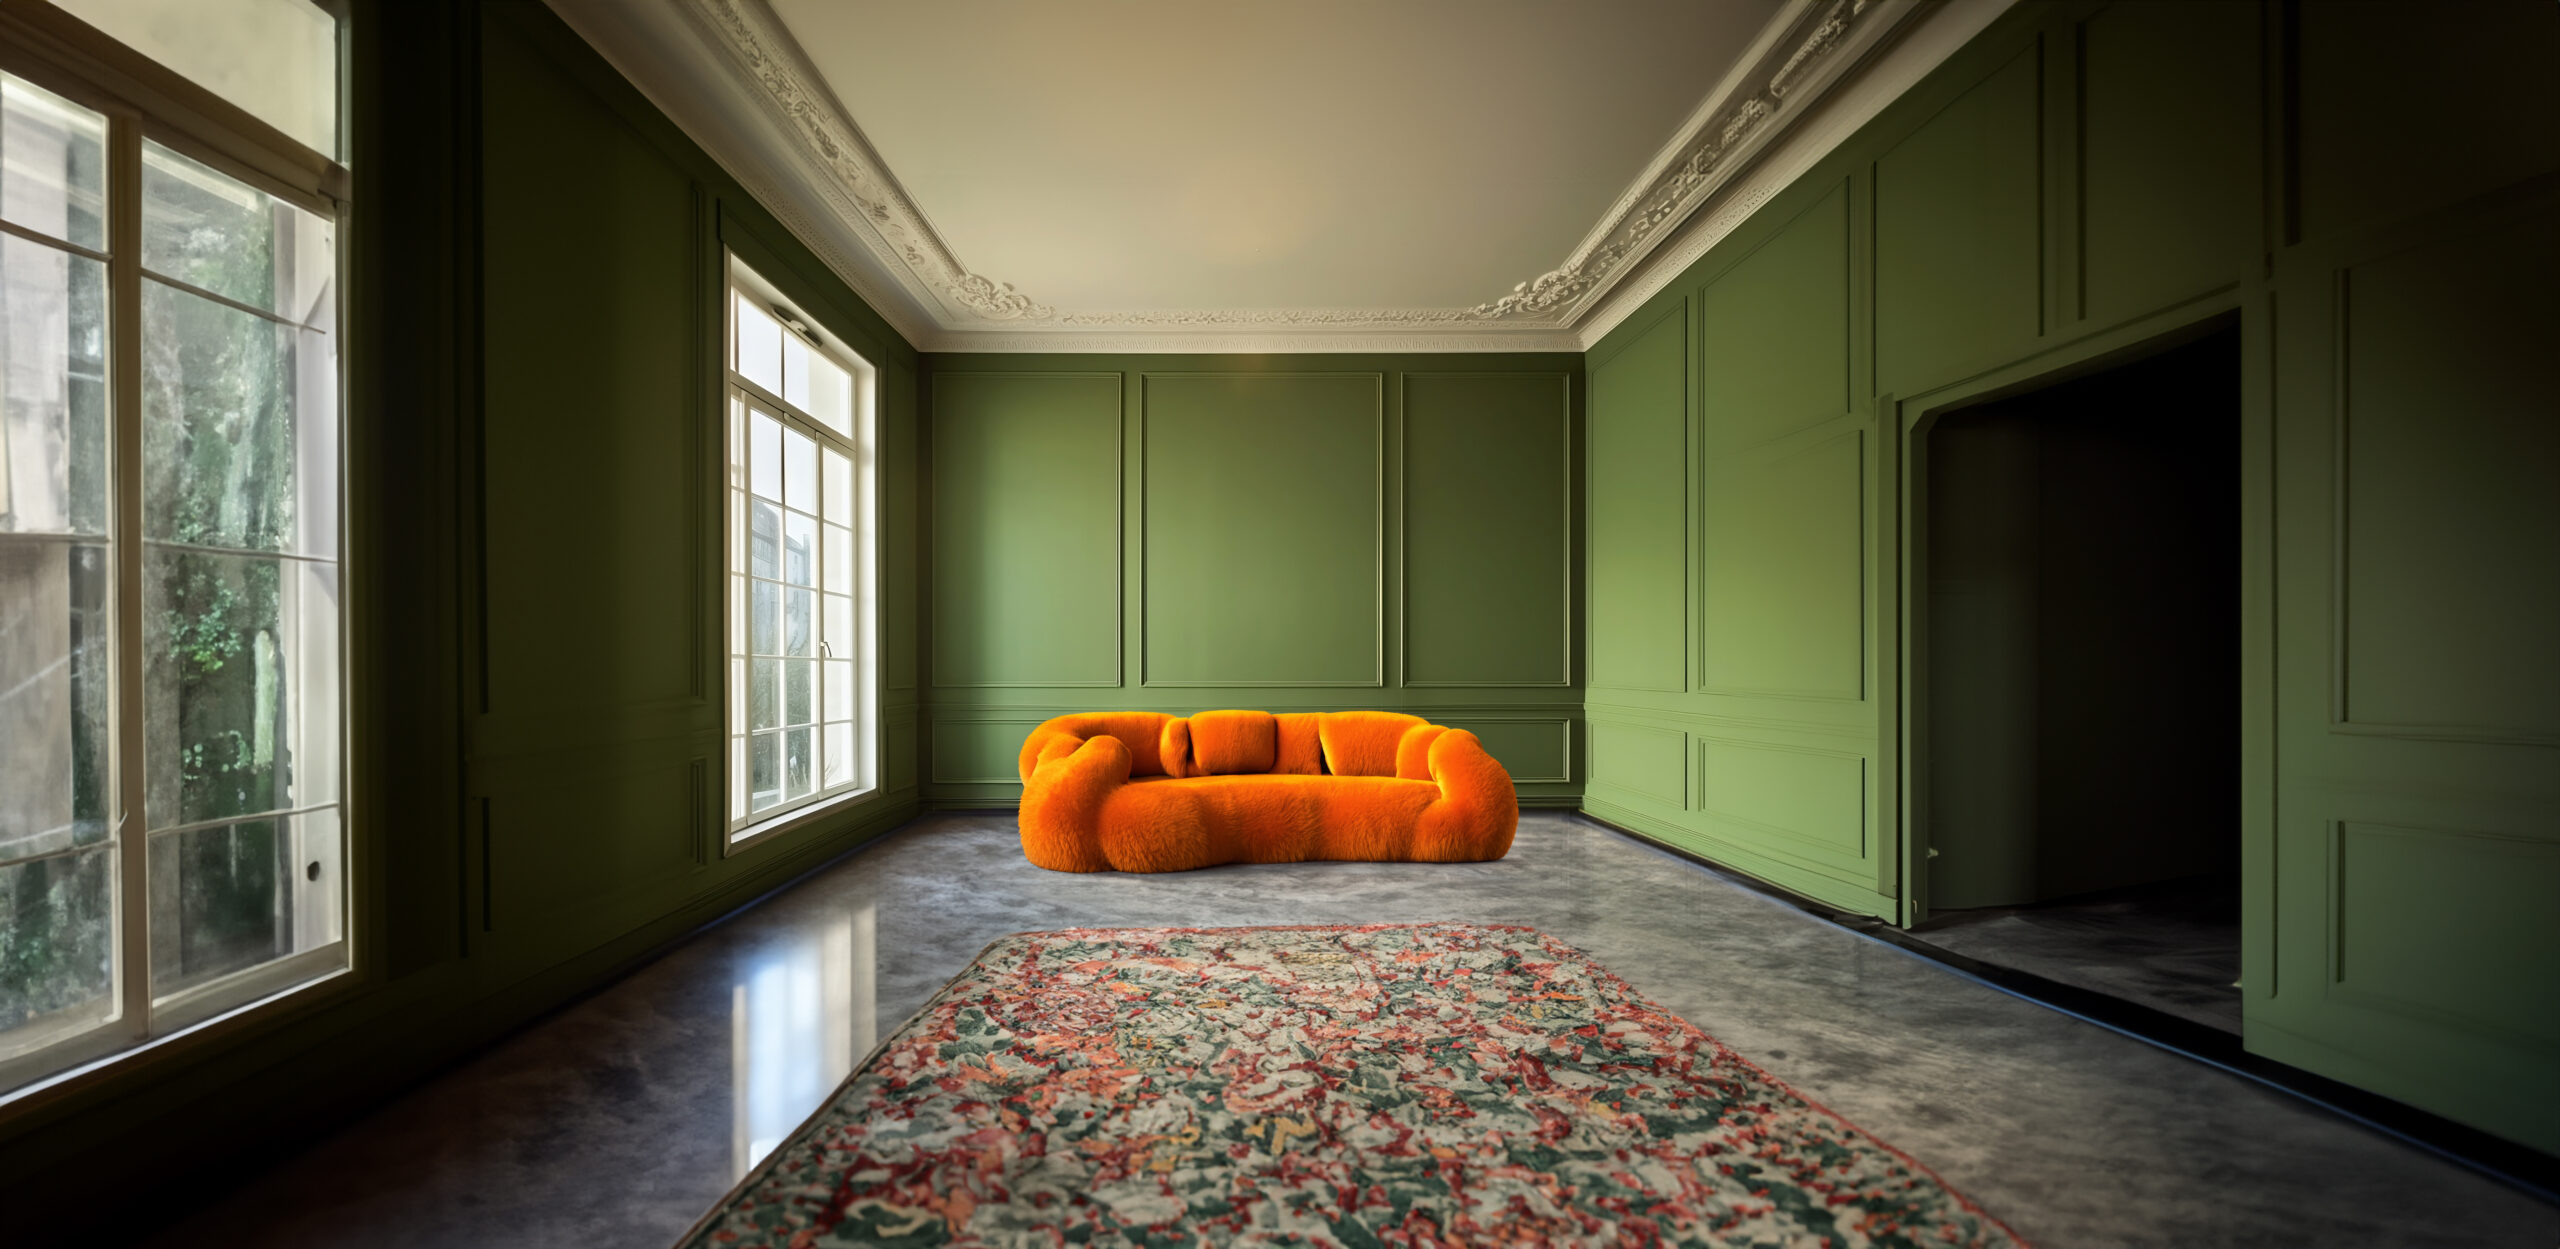
And here is the final version I created. It is mind-blowing what you can do within a very little amount of time.
I have another similar room that I want to decorate and add some life. I think the next step for this huge update would be an addition similar to the ControlNet on Stable diffusion. At least, I really hope that.
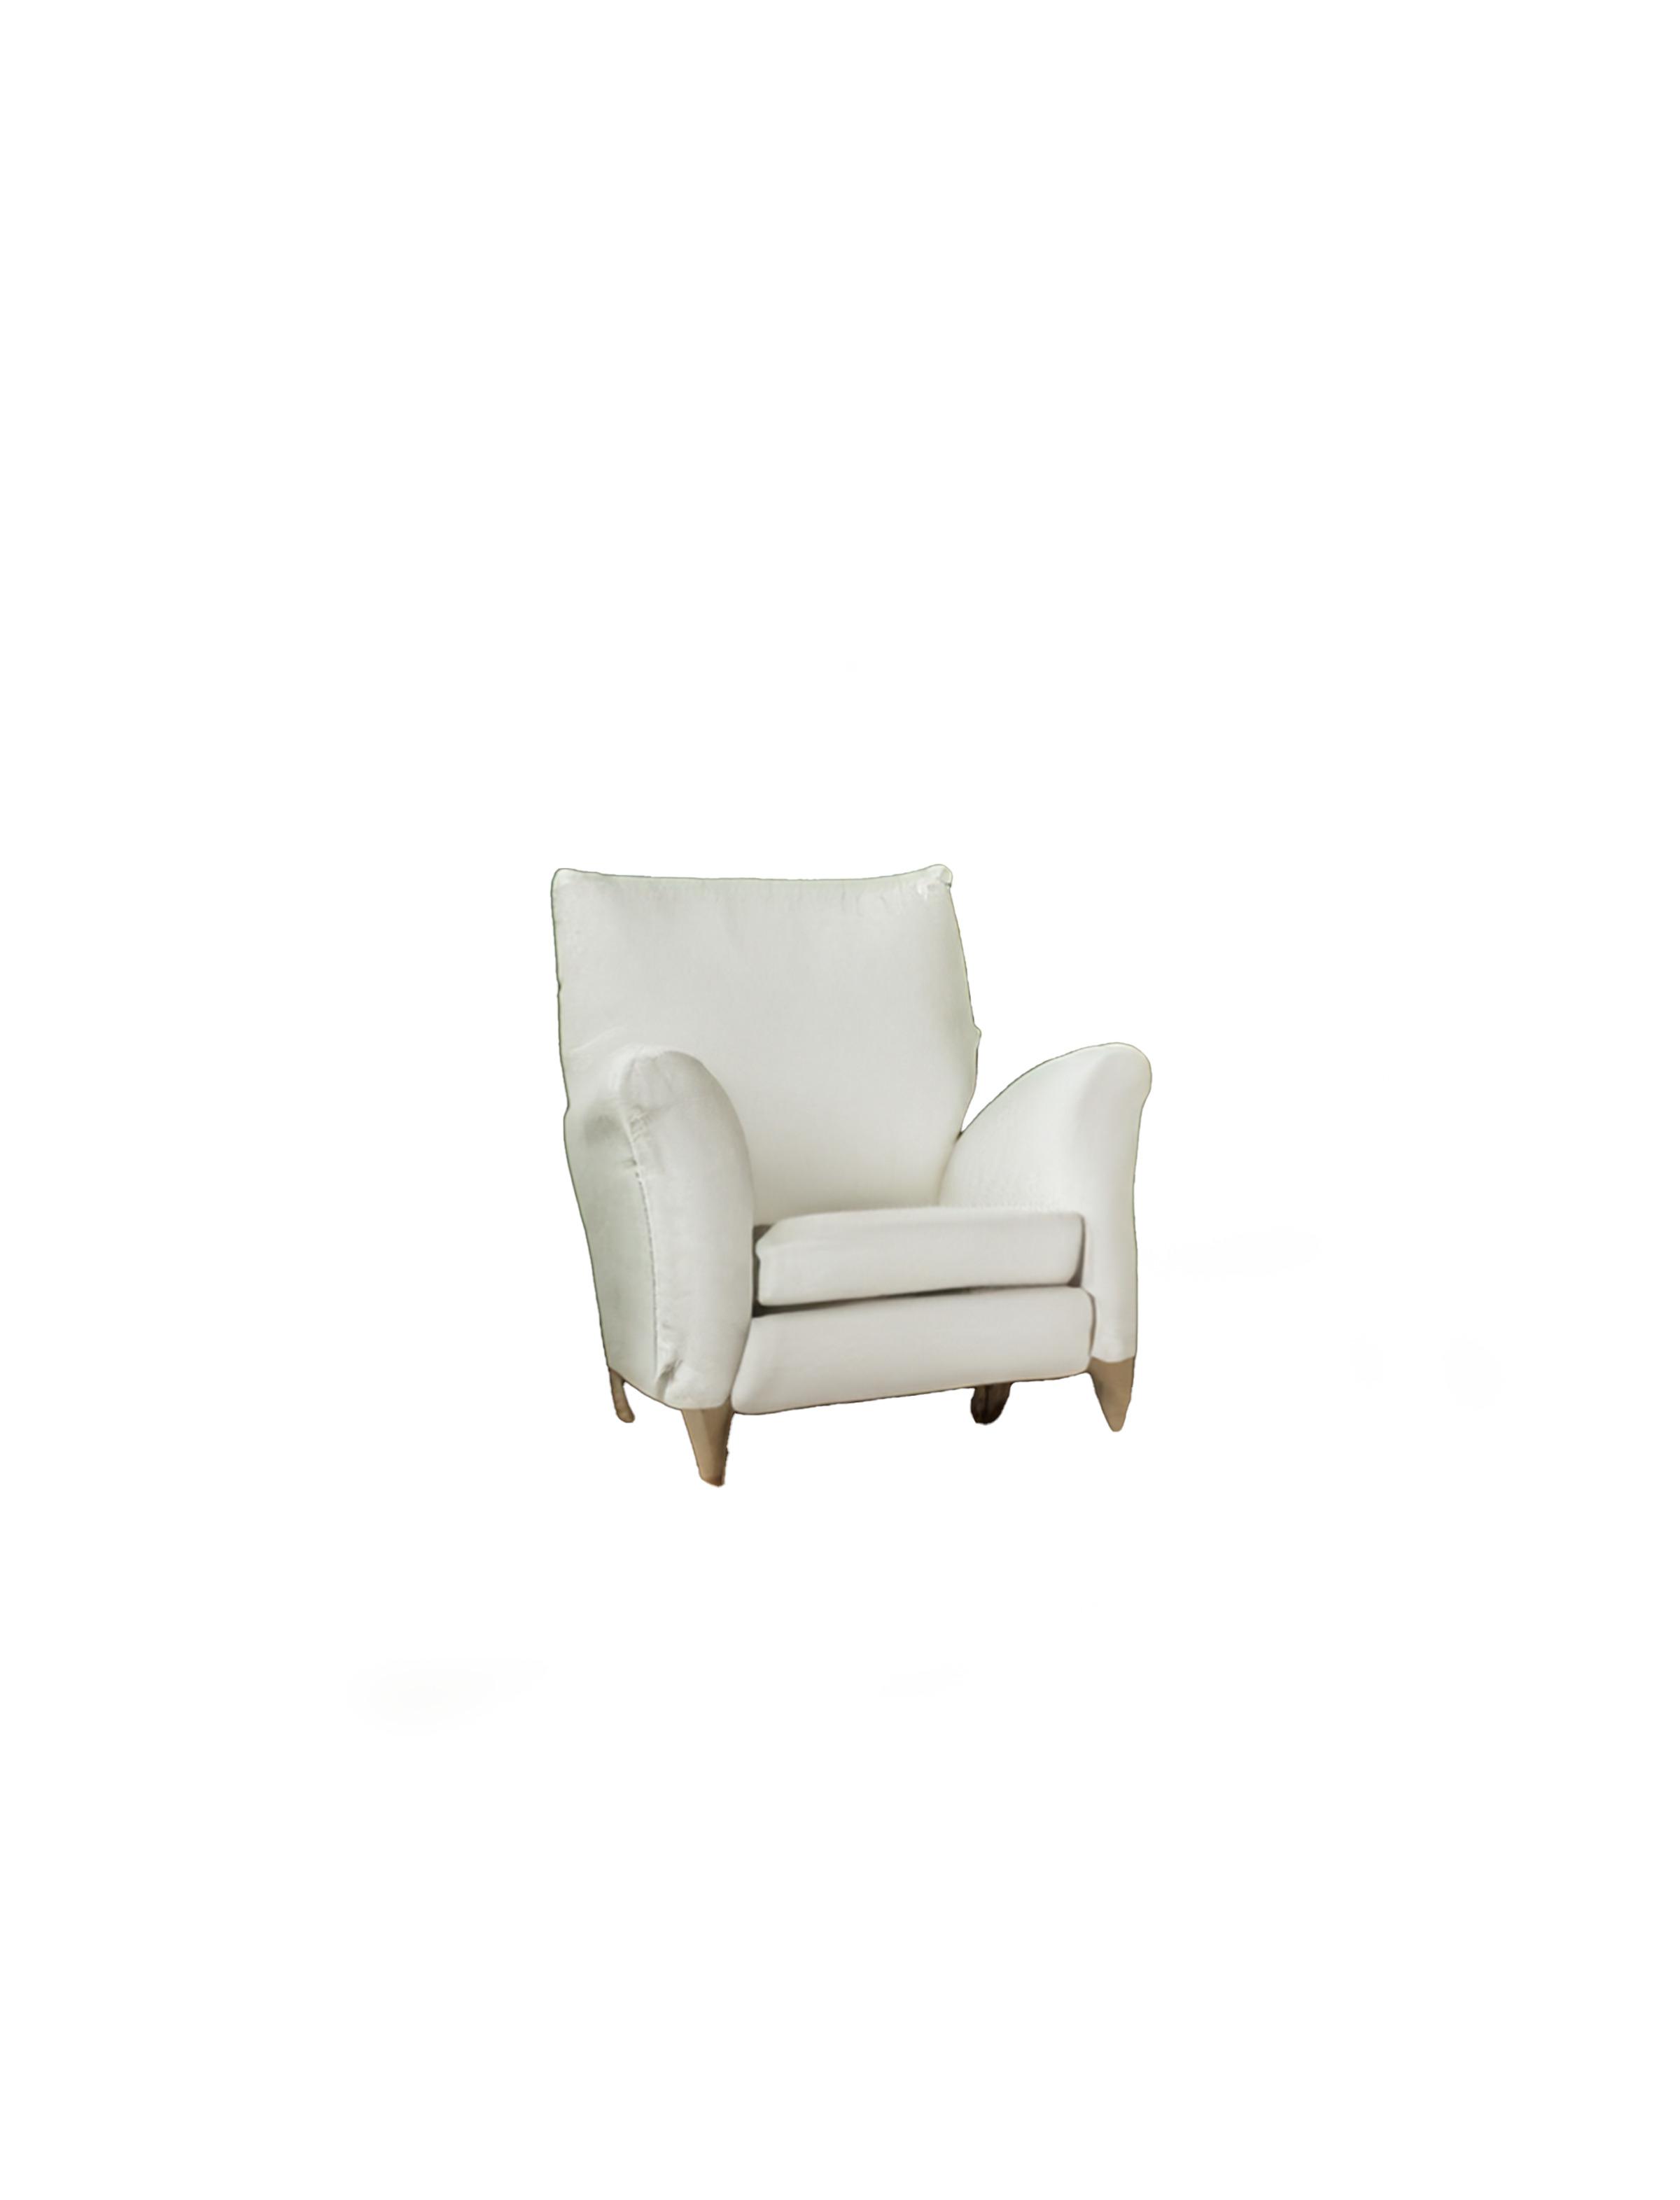
Because it would open a whole new world for us. Even it can generate amazing furniture in this case; for example, we can sketch the overall volume of the object we want to have, and it can generate on top of that using it as a reference.
Like this example.

And as another tip, it matters if you choose different areas at once or separately one by one. For the frames on the wall, because I chose them together, it generated the same style of paintings in both of them, especially in this one. It’s exactly the same, just in different directions, which looks great, I think. And lastly, I added a ceiling lamp, and our interior view is ready.
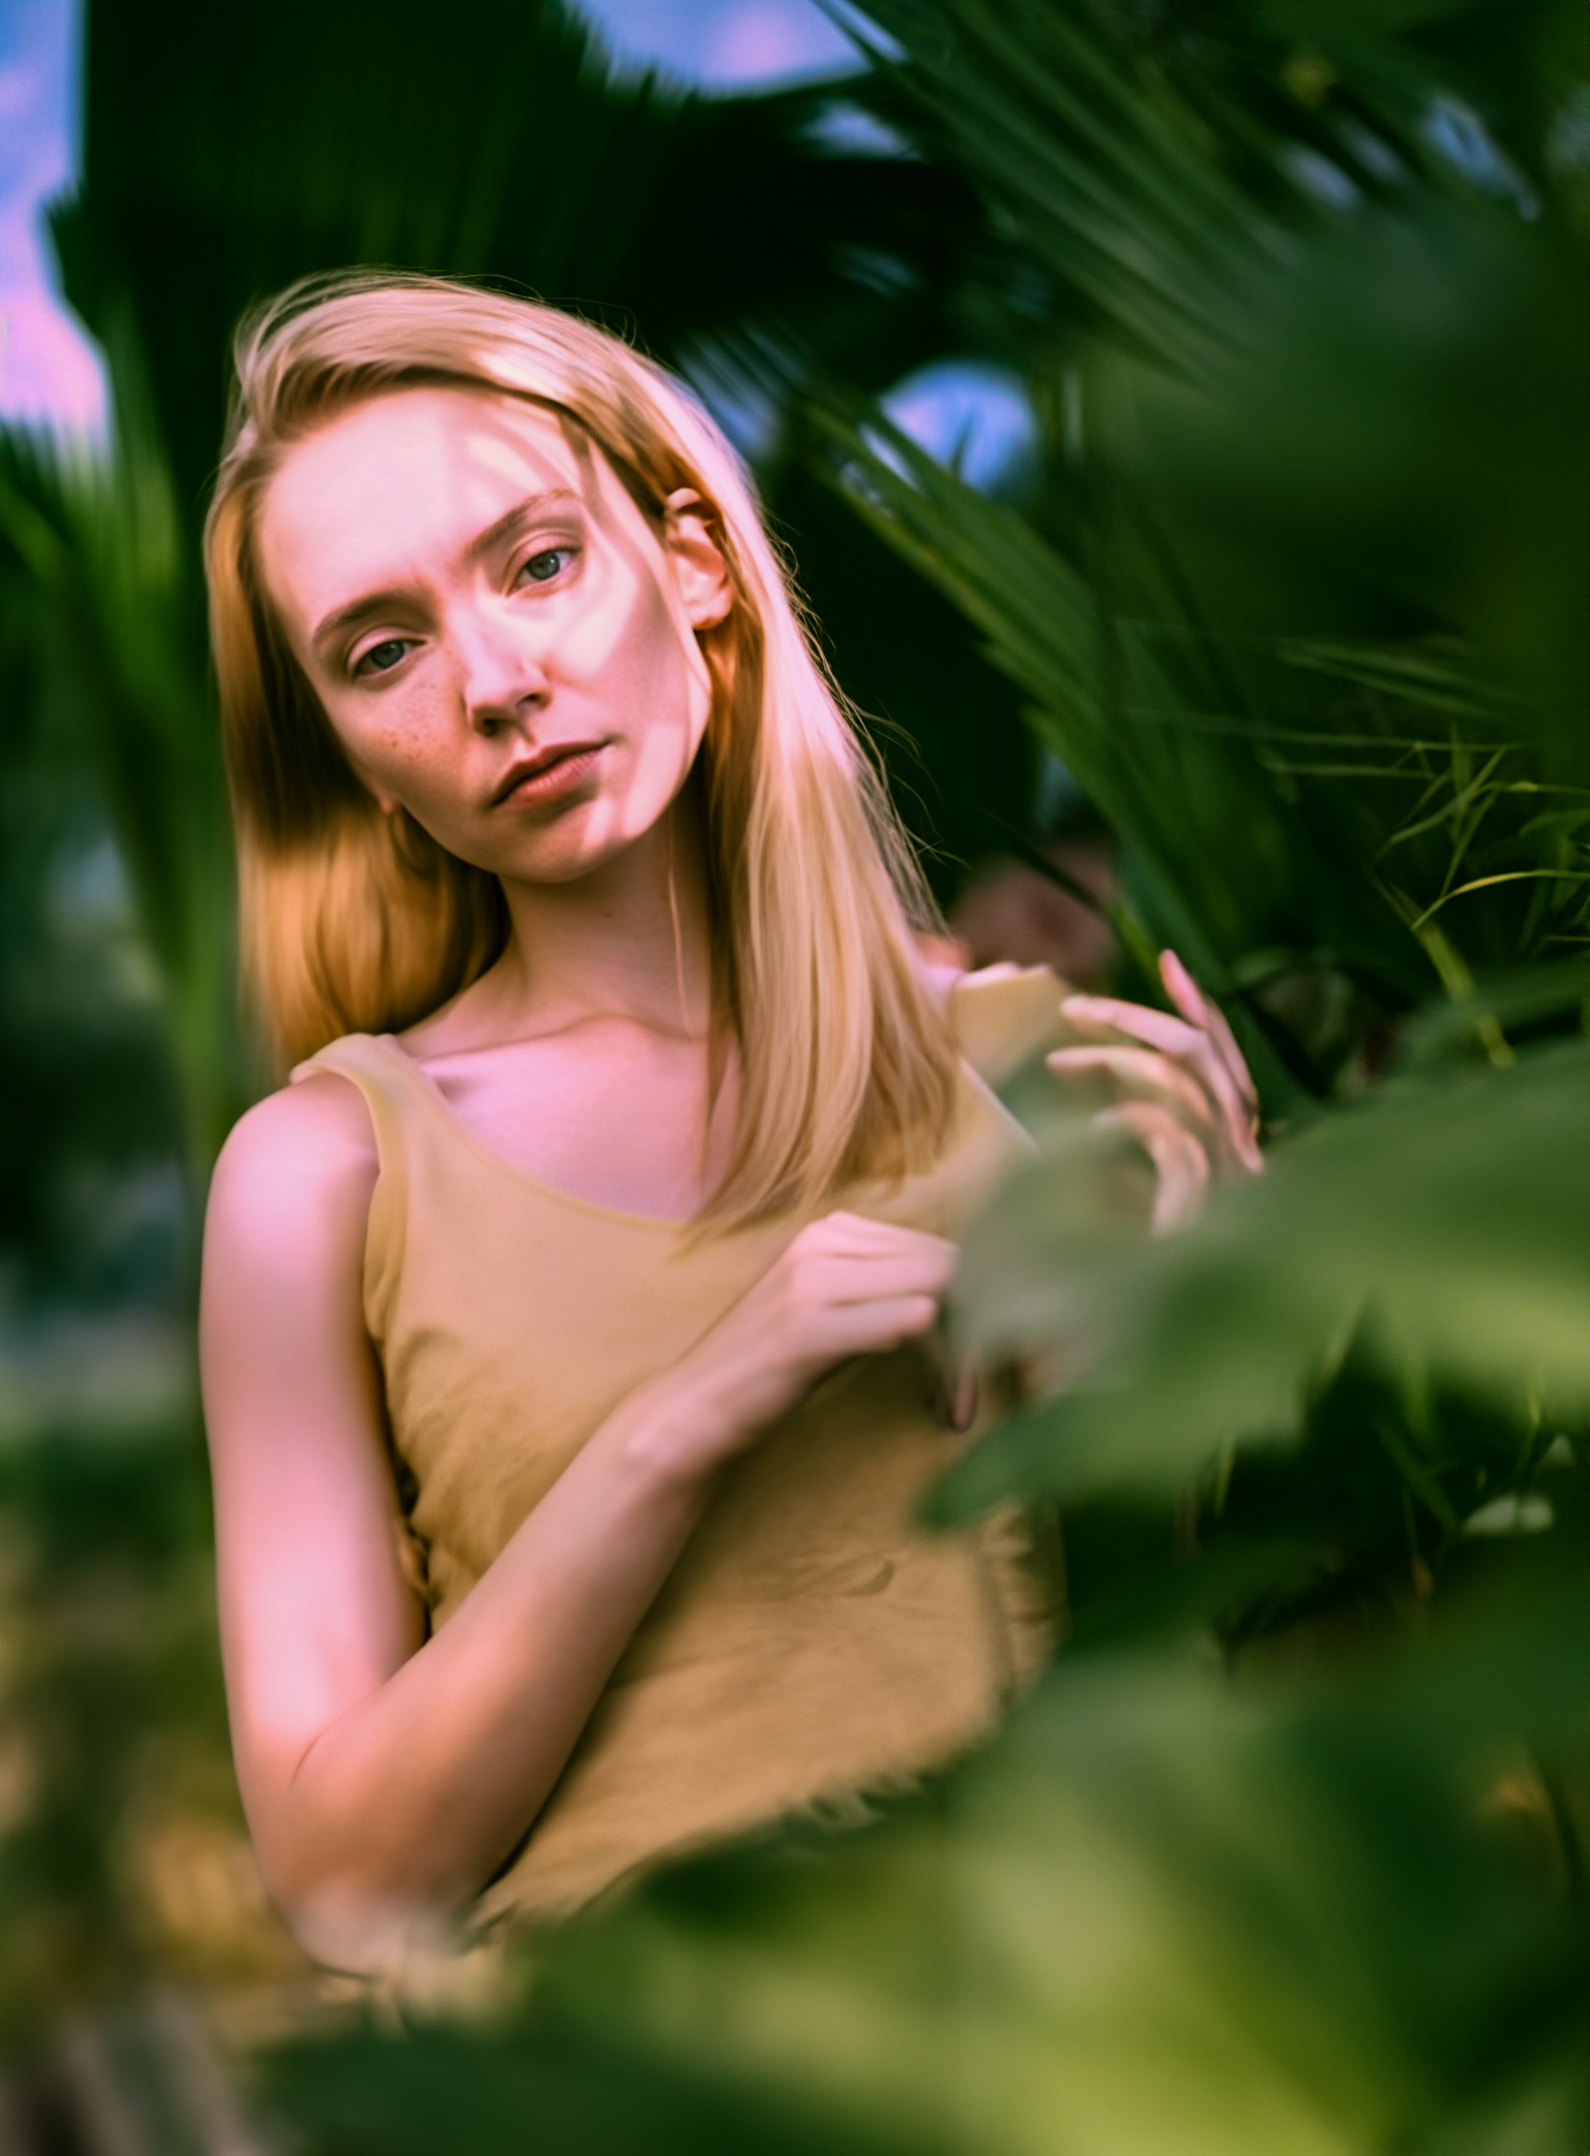
After facade view, interior design, and landscape images, let’s see what we can do with a portrait photo.
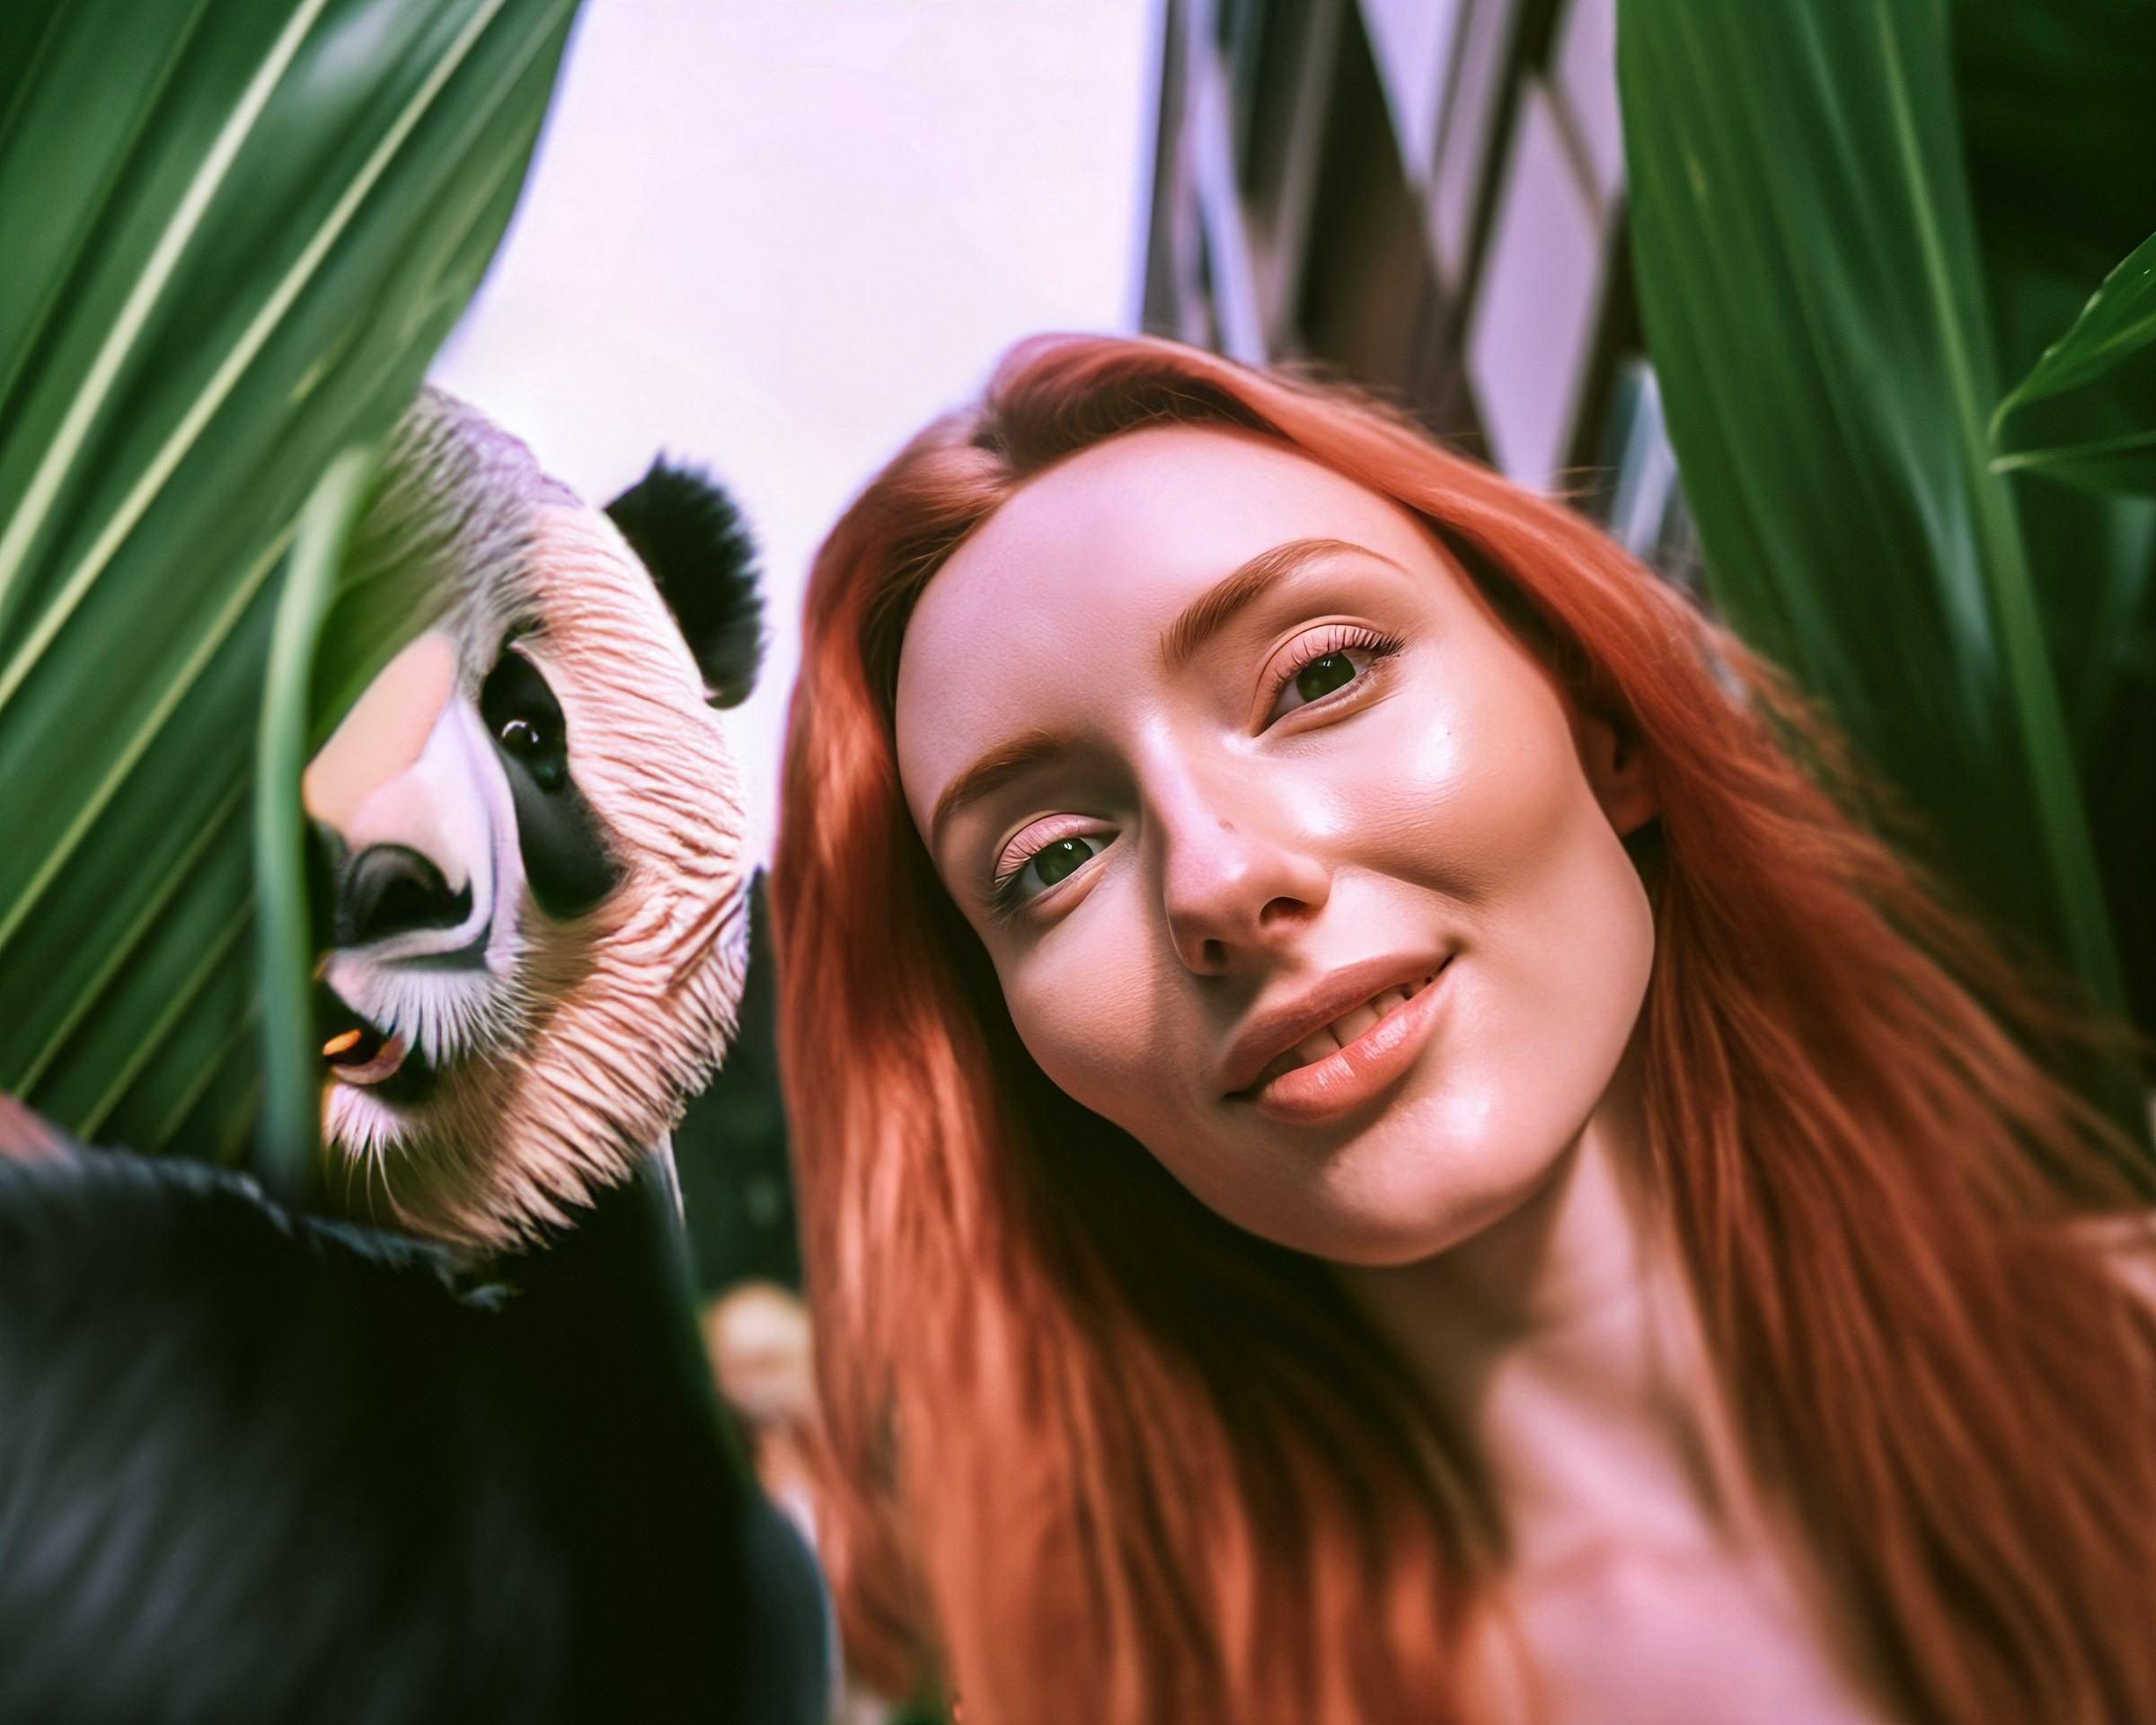
Again this image is from Midjourney, which is absolutely incredible; the overall quality, lighting, and textures on her face. Let’s first try to remove these leaves here to see how good it will complete her shoulder and arm. The first two options weren’t so great with blurry parts, but the 3rd one is amazing. It completely her shoulder perfectly.
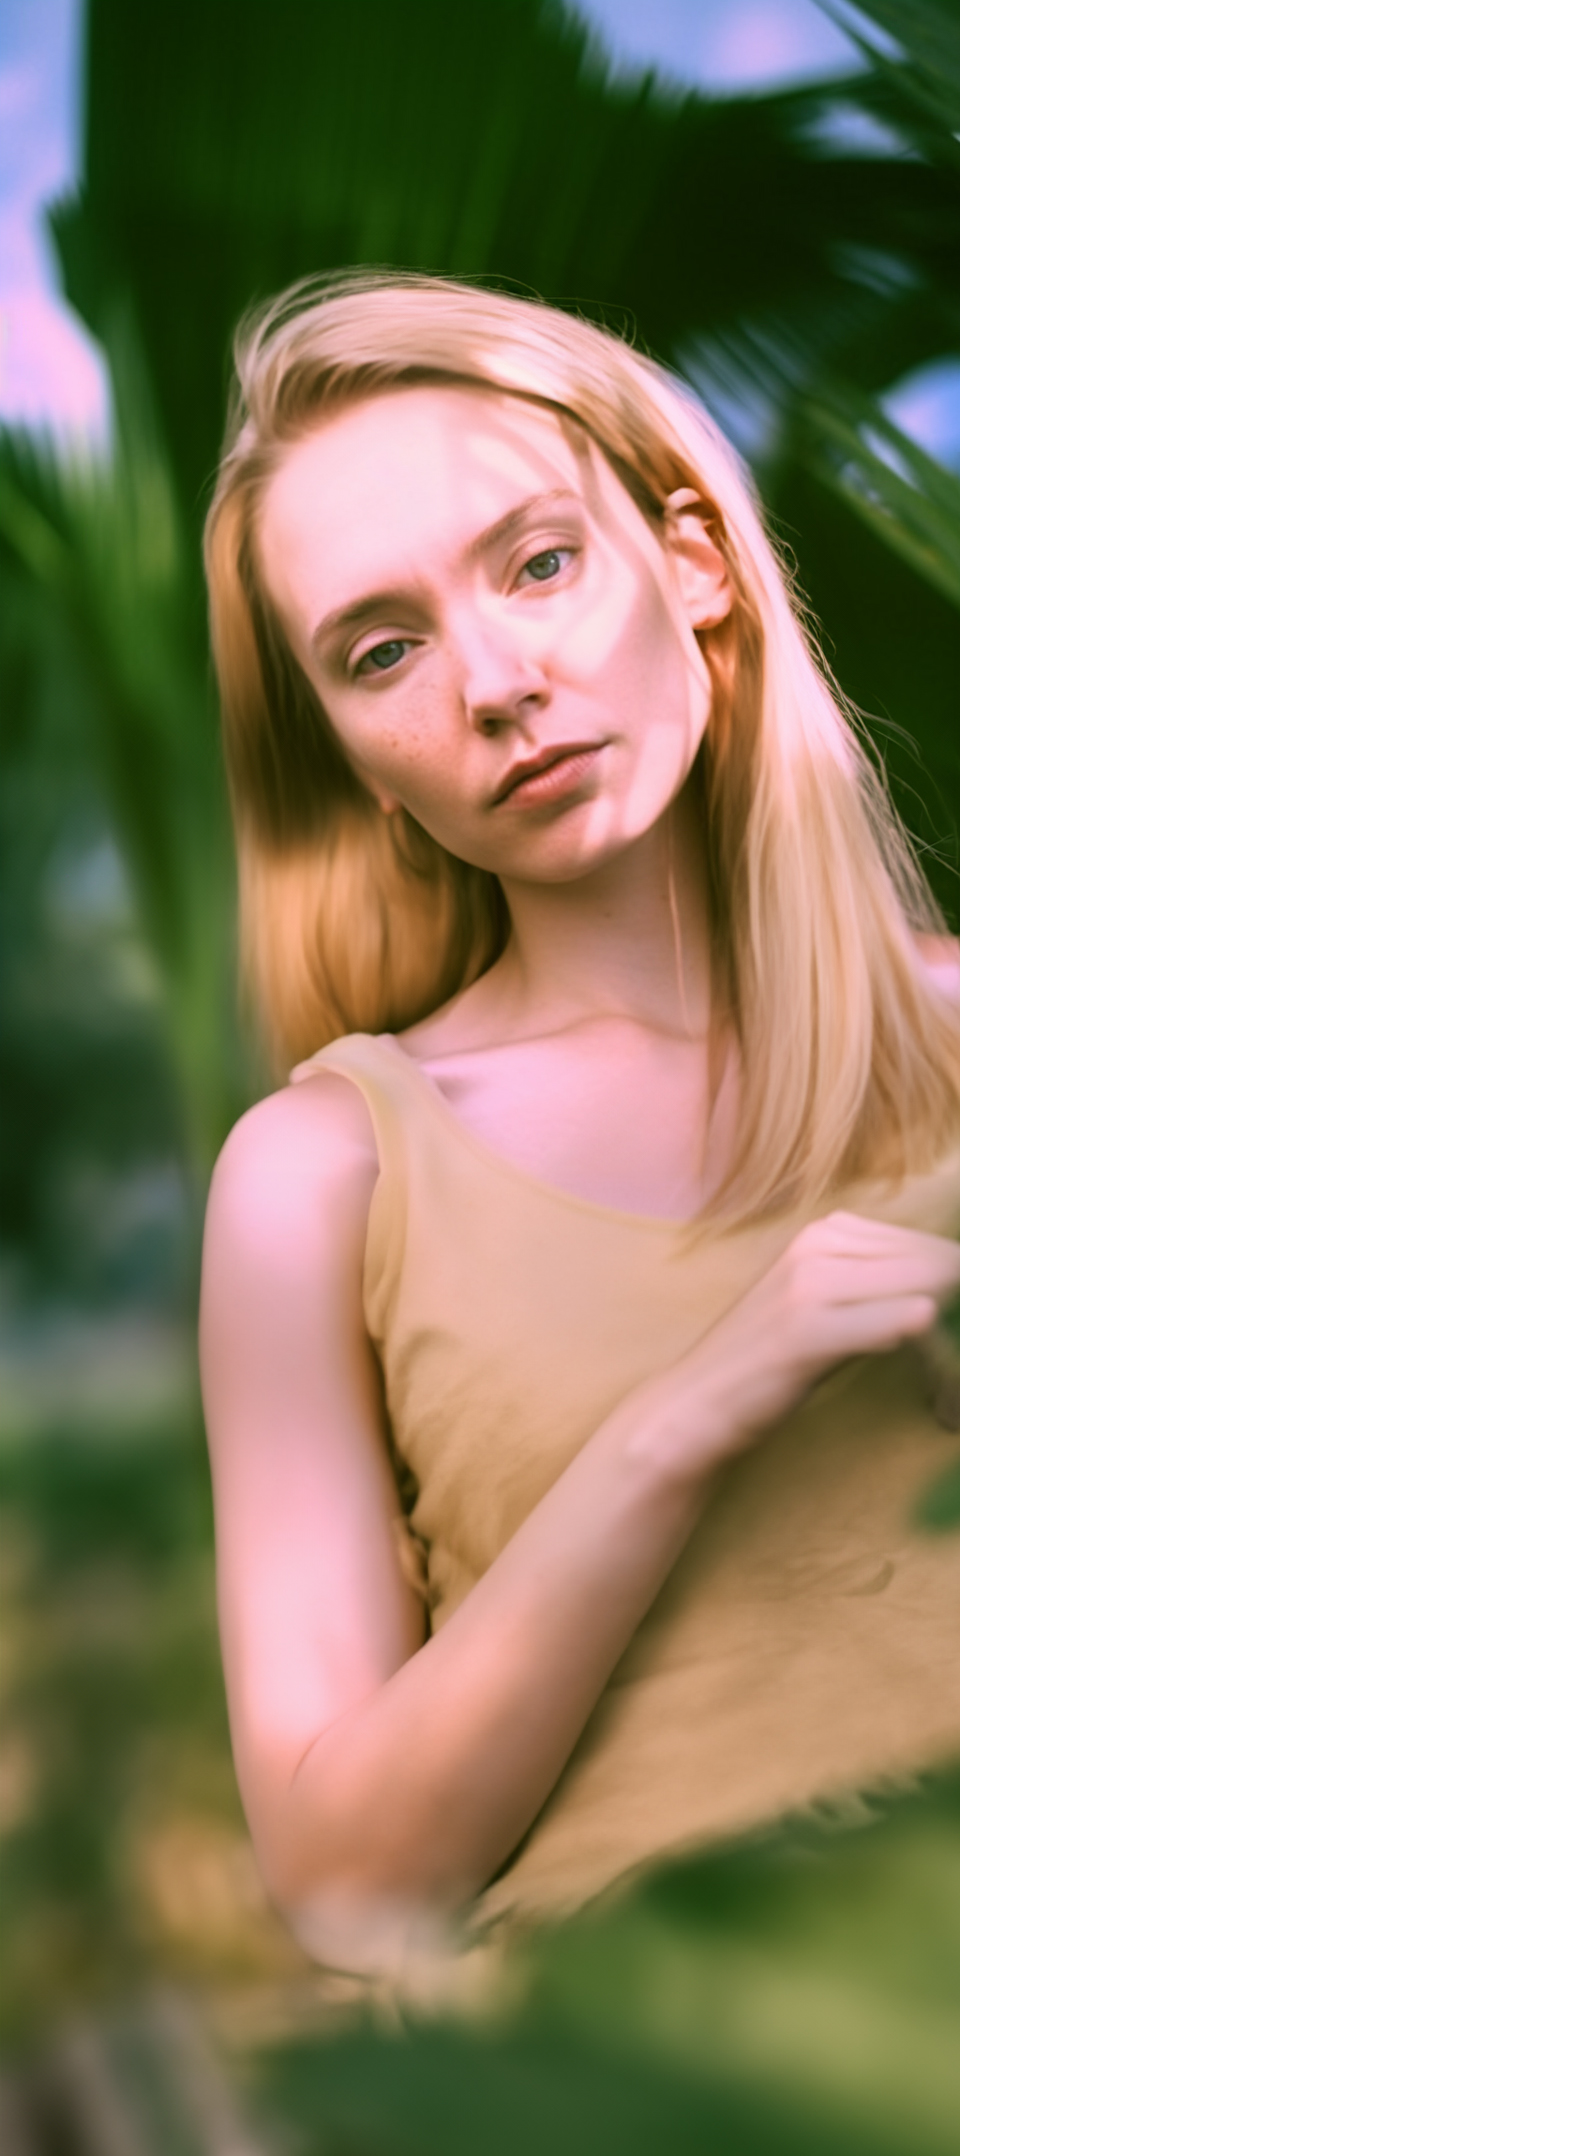
Then I added earrings with some freckles on her face. I wonder if we can turn her hair to some different style; let’s try blonde hair, for example. And all of the options are perfect. Then I extended to both the bottom and right side to generate the rest of her body. Usually, arms and hands can be pretty problematic.
But it managed to outpaint these parts in a way that made sense for her pose. Especially her left hand. And you can see the before and after here. I had a group selfie with the same girl. But all of the guys are the same, and it looks weird. Let’s change this man with a cute panda and remove others. Some of the pandas were angry, but eventually, we got a nice one.
And lastly, I have tried to create something from an empty blank page. To test it out as a pure “text-to-image” generation. For the generative fill, from a blank page.
How you select your selection area matters because it will try to fill that area completely.
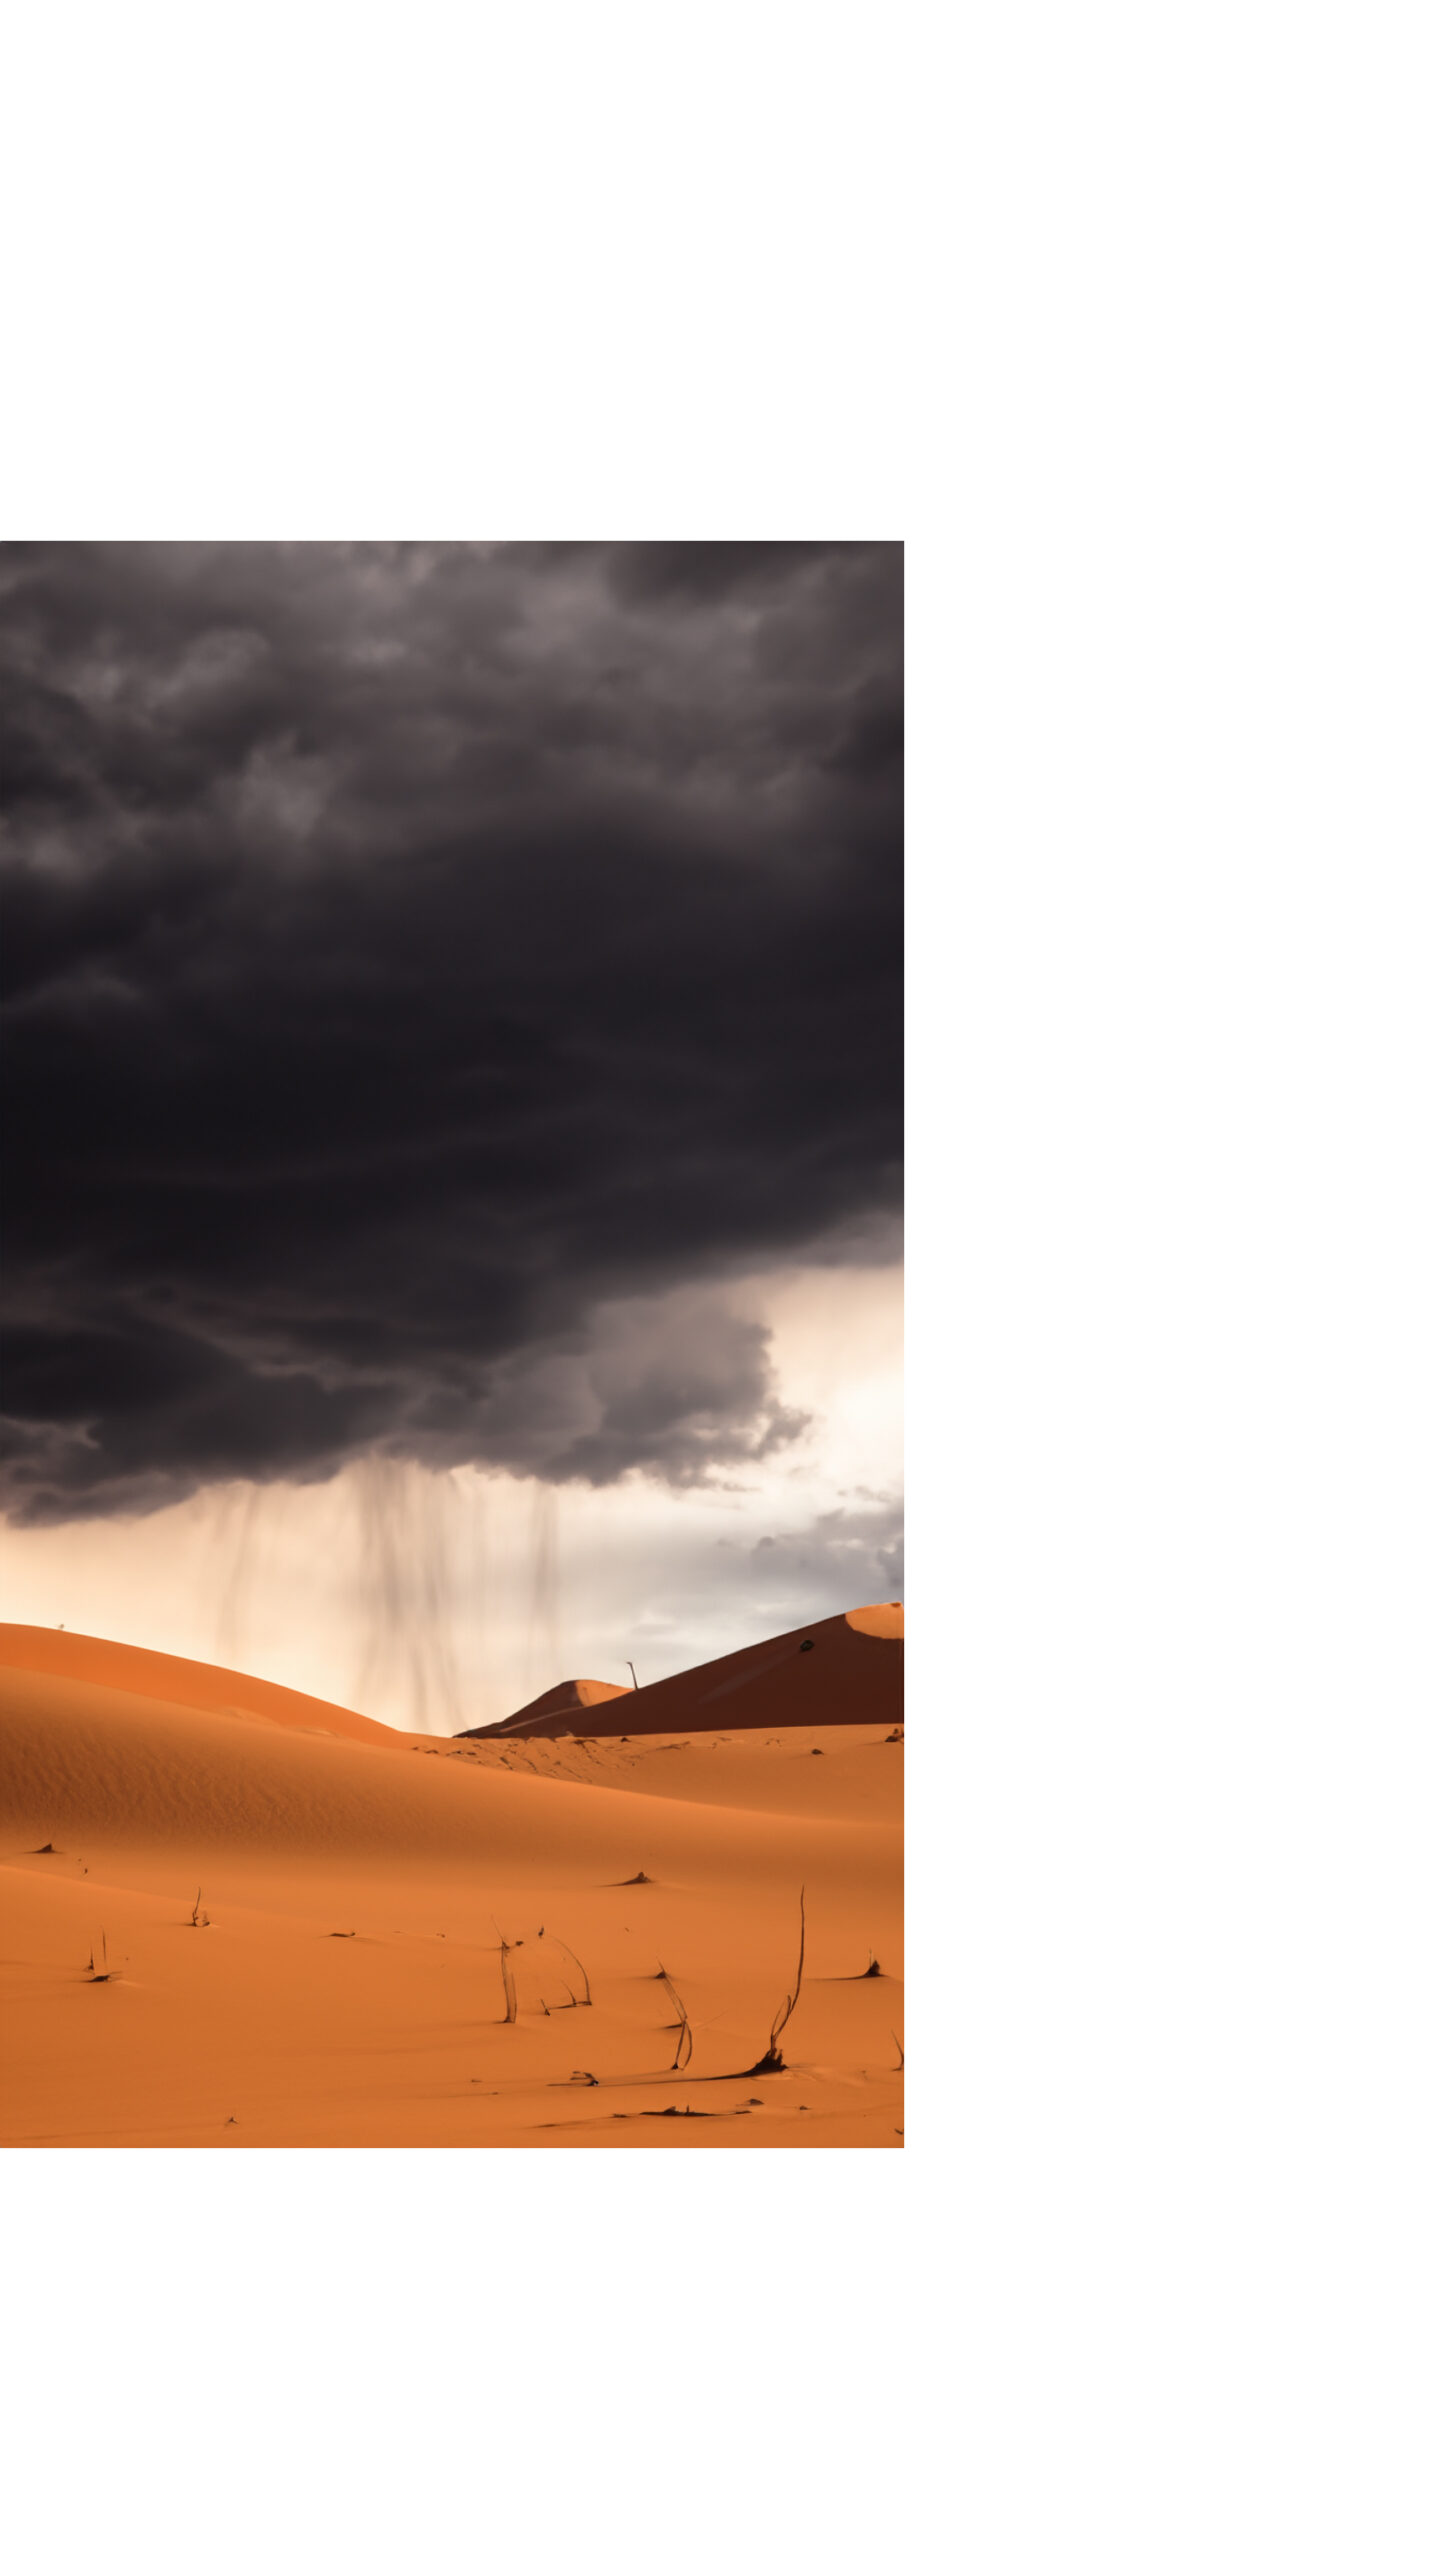
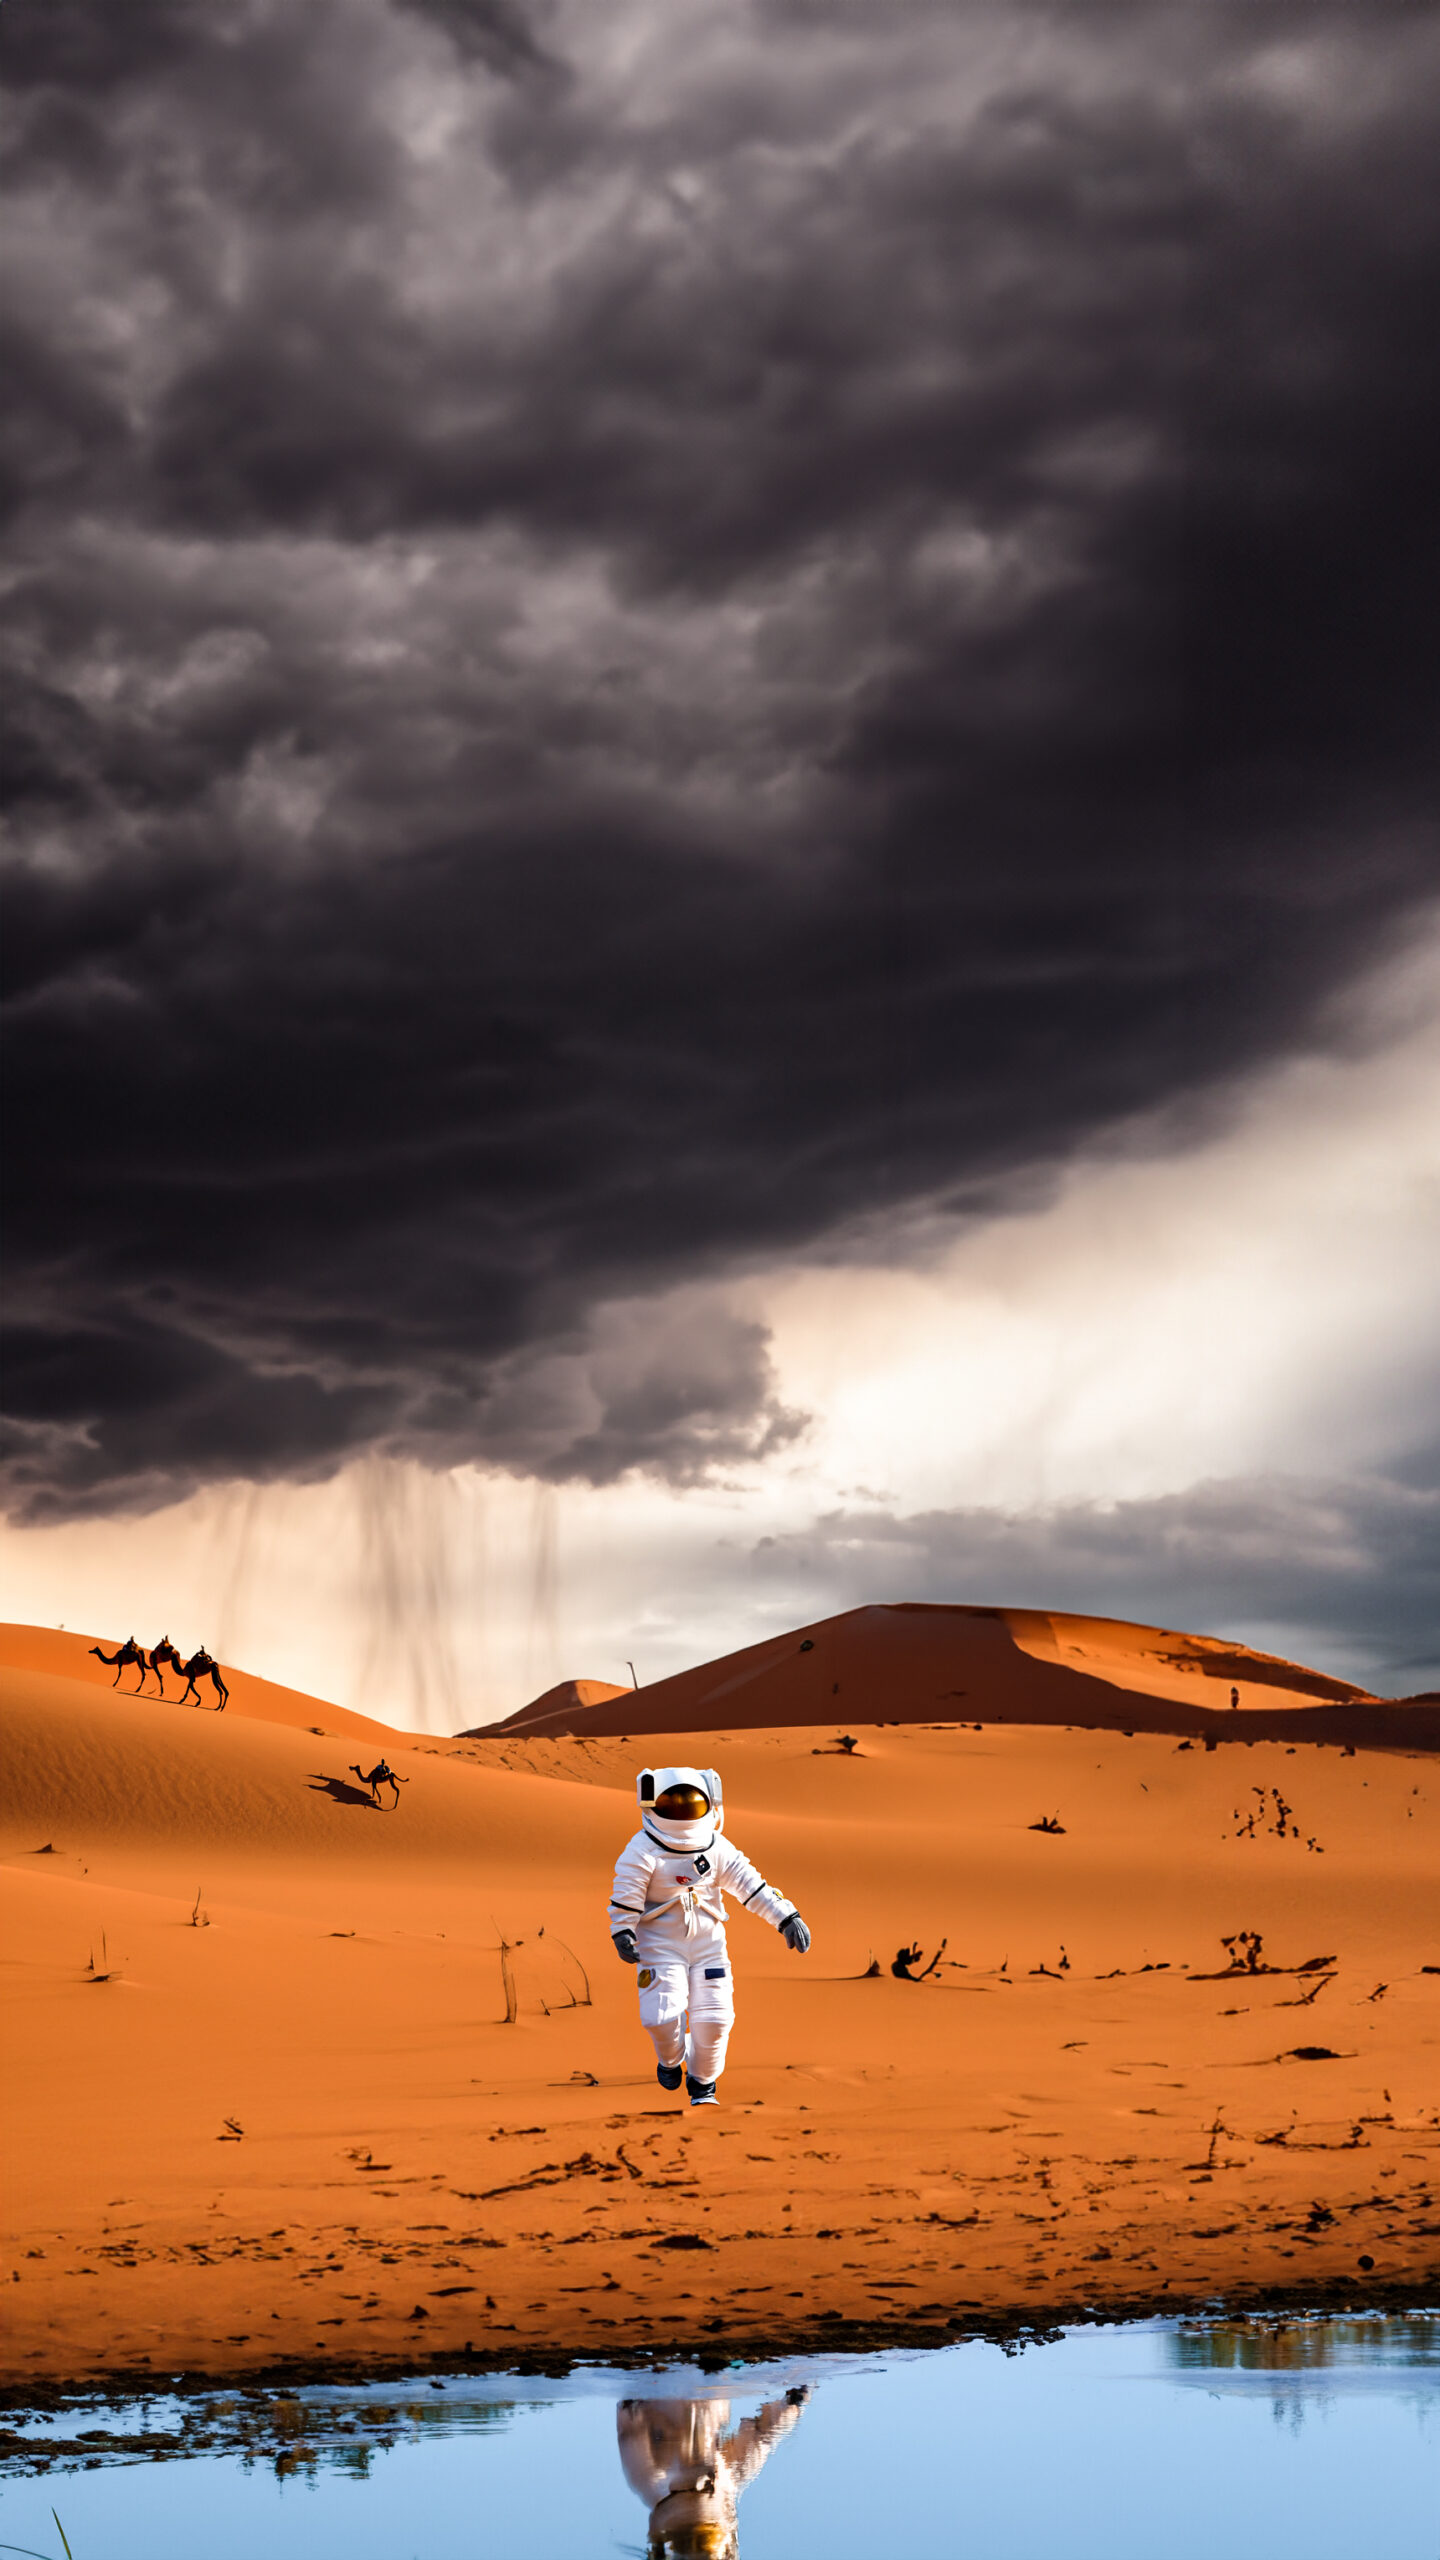
I imagine a desert view with a dark stormy sky. And then, I added some camels to the background, and it added without any problems. Later I added an astronaut and tried to add a crashed spaceship for him, but the scapeships weren’t as I imagined, so I removed it later.

Actually, I tried to add a path covered with snow in front of him to add more contrast to the image, but it just didn’t create any snow. I think it thinks that there shouldn’t be any snow in the desert and that’s why don’t add it.
Maybe I am wrong, but I thought like that because it analyzes the whole image for the new generations. I love how it adds reflections of the astronaut on the water; it really adds another level to the image and an extra layer of depth to the composition. And here is our final image with a step-by-step process.
I hope you liked the video; I tried to cover different use cases for the Adobe Firefly Photoshop update. I didn’t want to make this video any longer. That’s why I didn’t focus much on the other parts of the update. Did you try the new update, or are you planning to use it in your next project? Please let me know what you think about this update in the comments. See you in the next video!


 Just occasional emails with great value!)